2015 Nissan Altima Sun Visor Replacement
Is your 2015 Nissan Altima’s sun visor drooping, cracked, or simply missing? A functioning sun visor is crucial for safe driving, reducing glare and ensuring visibility. Replacing it is often a straightforward DIY project that can save you money compared to a professional repair. This guide provides a step-by-step approach to replacing the sun visor on your 2015 Nissan Altima, along with helpful tips and considerations.
Why Replace Your 2015 Nissan Altima Sun Visor?
Several reasons might necessitate a sun visor replacement:
- Broken Pivot Point: The most common issue. The visor droops and won't stay in the up position.
- Cracked or Damaged Visor: Compromises visibility and can be a safety hazard if pieces break off.
- Missing Visor: Obvious reason. Leaves you vulnerable to sun glare.
- Worn-Out Fabric: Unsightly and can obstruct your view if the fabric is peeling or tearing.
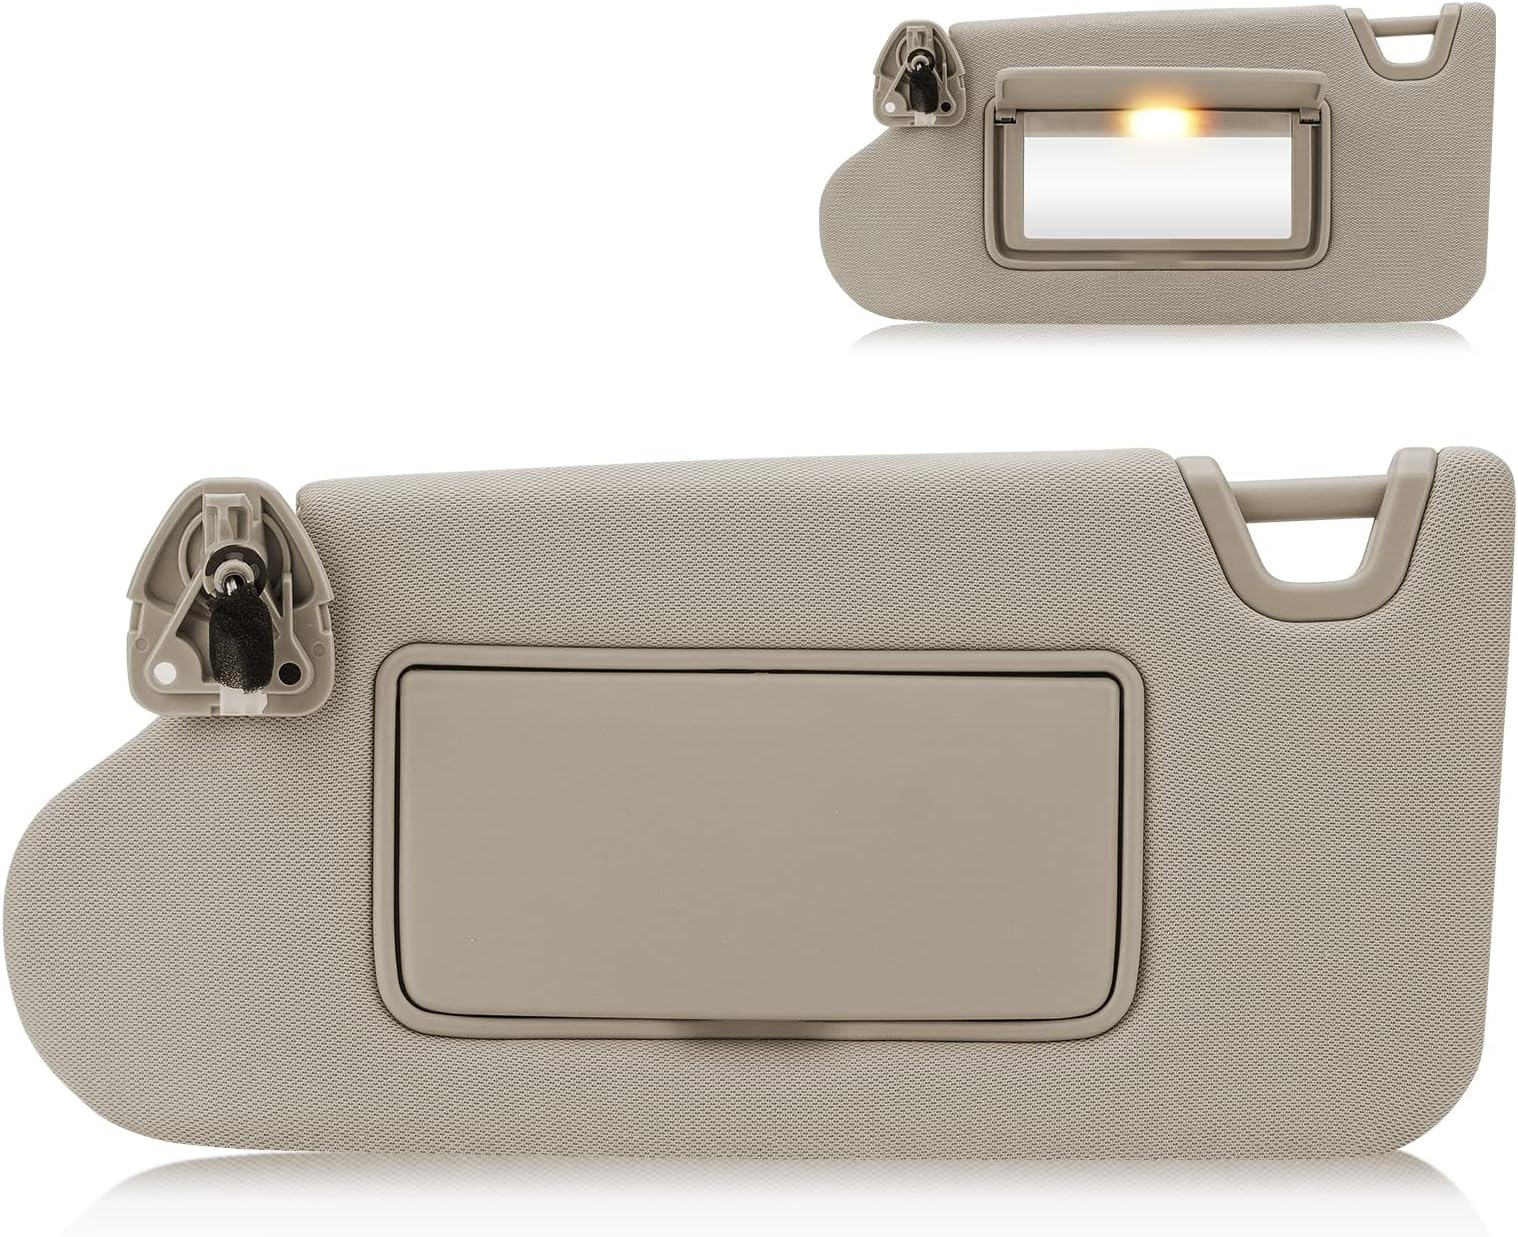
- Malfunctioning Vanity Mirror (if equipped): If the light doesn't work or the mirror is cracked, replacing the entire visor assembly is often the easiest solution.
Ignoring a faulty sun visor can lead to:
- Reduced Visibility: Increasing the risk of accidents, especially during sunrise and sunset.
- Driver Fatigue: Constant squinting to avoid glare can be tiring and distracting.
- Safety Concerns: A damaged visor can further obstruct your view or create a distraction if it falls unexpectedly.
Gathering Your Tools and Parts
Before you begin, gather the necessary tools and parts. Having everything on hand will streamline the replacement process.
Tools Needed:
- Screwdriver Set: A Phillips head screwdriver is usually required. A flathead screwdriver can be helpful for prying if necessary.
- Socket Set (Optional): Some visors might be secured with bolts instead of screws.
- Panel Removal Tool (Optional): Helpful for gently prying away any trim pieces without causing damage.
- Safety Glasses: To protect your eyes from debris.
- Gloves (Optional): To keep your hands clean.
Replacement Parts:
- New 2015 Nissan Altima Sun Visor: Ensure you purchase the correct visor for your model year and driver or passenger side. Check online retailers like Amazon, eBay, or auto parts stores like AutoZone, Advance Auto Parts, or O'Reilly Auto Parts. You can also order directly from a Nissan dealership. When purchasing, check the color to match your interior.
Tip: When ordering a replacement visor, double-check the part number and compatibility with your specific 2015 Nissan Altima trim level (e.g., S, SV, SL) as there might be slight variations.
Step-by-Step Guide to Replacing Your 2015 Nissan Altima Sun Visor
Follow these steps to safely and effectively replace your 2015 Nissan Altima sun visor.
Step 1: Preparation
Park your vehicle in a well-lit area and turn off the ignition. Engage the parking brake for safety. Clear the area around the sun visor to provide ample workspace.
Step 2: Locate the Fasteners
Examine the base of the sun visor where it attaches to the headliner. You will typically find two screws or bolts securing it in place. Some models might have a plastic cover concealing the fasteners. If so, gently pry off the cover using a small flathead screwdriver or panel removal tool. Be careful not to damage the surrounding headliner.
Step 3: Remove the Old Sun Visor
Using the appropriate screwdriver or socket wrench, carefully remove the screws or bolts securing the sun visor. Keep track of the screws as you remove them, so you don’t lose them. Once the fasteners are removed, gently pull the sun visor straight down and away from the headliner. Note: If your visor has a wiring harness for a vanity mirror light, carefully disconnect the connector. Press the release tab on the connector to detach it.
Step 4: Disconnect the Wiring Harness (If Applicable)
If your 2015 Nissan Altima sun visor has a built-in vanity mirror with a light, it will be connected to a wiring harness. Locate the connector and carefully disconnect it by pressing the release tab and gently pulling the connector apart. Do not yank on the wires, as this could damage the connector or the wiring itself.
Step 5: Install the New Sun Visor
If your new sun visor has a wiring harness, connect it to the corresponding connector in the headliner. Ensure the connector is securely fastened.
Step 6: Secure the New Sun Visor
Align the new sun visor with the mounting holes in the headliner. Insert the screws or bolts that you removed earlier and tighten them securely. Do not overtighten, as this could damage the visor or the headliner. If there was a plastic cover for the fasteners, snap it back into place.
Step 7: Test the Sun Visor
Test the new sun visor by folding it up and down. Ensure it moves smoothly and stays in the desired position. If it has a vanity mirror light, test the light to ensure it is working properly.
Troubleshooting Common Issues
While the sun visor replacement is generally straightforward, you might encounter some issues:
- Stripped Screws: If the screws are stripped, try using a rubber band or steel wool to improve grip. As a last resort, you might need to use a screw extractor.
- Broken Plastic Clips: If the plastic clips on the visor break, you may need to purchase a new visor or try to repair the clips with epoxy.
- Difficulty Disconnecting the Wiring Harness: Ensure you are pressing the release tab fully. If the connector is still stuck, try using a small flathead screwdriver to gently pry it apart.
- New Visor Doesn't Match Color: Double-check the part number and description to ensure you ordered the correct color. Contact the seller for an exchange if necessary.
Tips for a Successful Sun Visor Replacement
Here are some additional tips to ensure a smooth and successful sun visor replacement:
- Take Pictures: Before removing the old sun visor, take pictures of the mounting points and wiring connections. This can be helpful as a reference during reinstallation.
- Work in a Well-Lit Area: Good lighting will make it easier to see the fasteners and wiring connections.
- Be Gentle: Avoid using excessive force when removing or installing the sun visor. This can damage the visor, the headliner, or the wiring.
- Protect Your Car's Interior: Use a drop cloth or towel to protect your seats and dashboard from scratches or spills.
- Keep Track of Parts: Store the screws and other small parts in a safe place to avoid losing them.
- Consult the Service Manual: If you are unsure about any step in the process, consult the service manual for your 2015 Nissan Altima.
When to Seek Professional Help
While replacing a sun visor is typically a DIY project, there are certain situations where you might want to seek professional help:
- You are uncomfortable working on your car.
- You are unsure about any step in the process.
- You encounter significant difficulties during the replacement.
- You suspect there is a wiring problem.
A qualified mechanic can quickly and safely replace your sun visor and ensure that everything is working properly. Keep in mind that professional installation will add to the overall cost.
Cost of Sun Visor Replacement
The cost of replacing a 2015 Nissan Altima sun visor depends on several factors:
- The cost of the replacement visor: Prices range from $30 to $150 depending on the brand, quality, and features (e.g., vanity mirror).
- Labor costs (if applicable): Professional installation can cost between $50 and $150 per hour. The job usually takes less than an hour.
By doing the replacement yourself, you can save on labor costs and only pay for the replacement visor.
Conclusion
Replacing the sun visor on your 2015 Nissan Altima is a relatively simple DIY project that can improve your driving safety and comfort. By following these steps and taking your time, you can save money and restore your vehicle to its optimal condition. Remember safety first! Always disconnect the negative terminal on your car battery if working with electrical components.