2015 Nissan Rogue Sun Visor Driver Side
Let's talk about the driver's side sun visor on a 2015 Nissan Rogue. It's a component that often gets overlooked until it fails, and then it becomes incredibly annoying. We'll go over common issues, troubleshooting steps, potential fixes, and even delve into replacement options, assuming you’re already familiar with basic hand tools and automotive safety precautions. This isn't a complete beginner's guide, but rather a resource for someone comfortable tackling moderate DIY car repairs.
Common Sun Visor Problems in the 2015 Rogue
Several things can go wrong with the sun visor on a 2015 Rogue. Understanding these issues is the first step in diagnosing and resolving the problem.
- Sagging or Drooping: This is perhaps the most frequent complaint. The visor simply won't stay in the "up" position and keeps falling down, obstructing your view. This is often due to a worn-out or broken friction hinge mechanism.
- Inability to Swivel: A healthy sun visor should swivel on its mounting point, allowing it to block sun from both the front and the side. If yours is stuck, seized, or extremely difficult to move, the swivel joint is likely corroded or damaged.
- Broken Pivot Point: The plastic that connects the visor to the pivot arm can crack or break, causing the visor to detach completely or hang precariously. This often happens due to repeated use or accidental forceful movements.
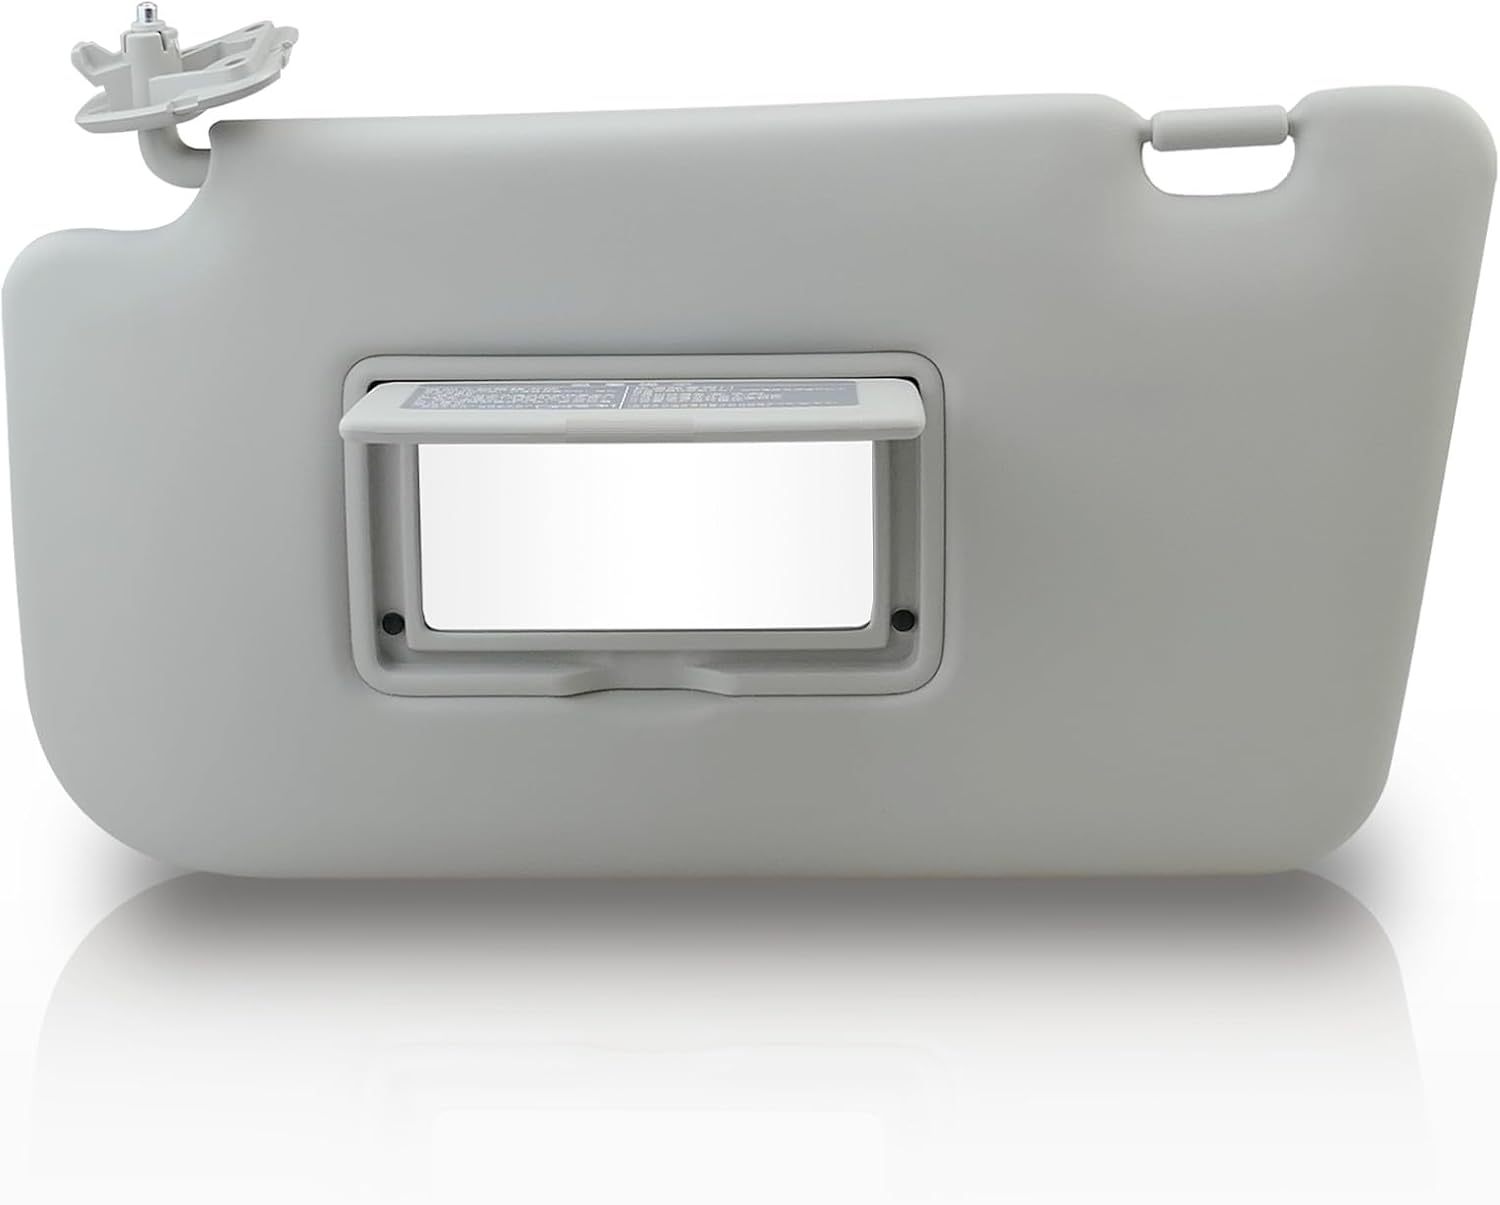
- Vanity Mirror Issues: Some 2015 Rogue sun visors include a vanity mirror with a light. If the mirror itself is cracked or the light no longer functions (despite a good bulb), you'll need to address those specific components or replace the entire visor.
- Electrical Problems (Vanity Light): If the vanity light isn't working, the problem could be a blown bulb, a faulty switch in the visor, a broken wire in the visor's internal wiring harness, or even a problem with the vehicle's wiring. We'll cover basic electrical troubleshooting later.
Troubleshooting the Sun Visor
Before tearing anything apart, let's try to pinpoint the source of the problem. Start with a visual inspection and some basic manipulations.
Sagging Visor:
First, try tightening the screw(s) on the mounting bracket (the piece attached to the roof). Sometimes, they simply loosen over time. Use the correct sized screwdriver – usually a Phillips head – to avoid stripping the screw head.
If tightening the screws doesn't work, the problem is almost certainly internal to the visor itself. The friction hinge, which provides resistance to movement and keeps the visor in place, is likely worn. Unfortunately, these hinges aren't typically serviceable as individual components.
Stuck or Seized Swivel:
Apply a small amount of penetrating oil (like WD-40 or PB Blaster) to the swivel point. Let it soak in for a few minutes, then gently try to work the visor back and forth. Caution: Be careful not to get the oil on the headliner, as it can stain. Wipe away any excess immediately.
If the penetrating oil doesn't free it up, the swivel point might be too corroded or damaged. In this case, replacement is usually the best option.
Broken Pivot Point:
This is a pretty straightforward diagnosis. If the plastic is cracked or broken, the visor needs to be replaced. Attempting to glue it back together is rarely a long-term solution, as the stress on the area will quickly cause the repair to fail.
Vanity Mirror/Light Issues:
Mirror: If the mirror itself is cracked, there's not much you can do besides replacing the entire visor. You *might* be able to carefully remove the old mirror and replace it with a generic adhesive-backed mirror cut to size, but the results will likely be less than ideal.
Light Not Working:
- Check the Bulb: This is the obvious first step. Most vanity mirrors use a small incandescent or LED bulb. Consult your owner's manual for the correct bulb type and wattage. Use a small flathead screwdriver to carefully pry out the bulb. Visually inspect the filament (if incandescent) or use a multimeter to check for continuity.
- Test the Switch: The vanity light typically activates when you open the cover over the mirror. The switch that controls this light can fail.
- Visual Inspection: Look for any visible signs of damage to the switch mechanism.
- Multimeter Test: If you're comfortable with electrical testing, you can use a multimeter to check the switch's continuity. Disconnect the wiring connector from the visor (after disconnecting the car's battery, for safety!). Set your multimeter to the continuity setting (often indicated by a diode symbol or a sound). Place one probe on each terminal of the switch. When the mirror cover is closed (switch open), the multimeter should read "OL" or infinite resistance. When the cover is opened (switch closed), the multimeter should read close to 0 ohms (indicating continuity). If the switch doesn't behave as expected, it's likely faulty.
- Wiring: Internal wiring within the visor can break, especially near the pivot points. This is difficult to diagnose without disassembling the visor, which is usually not recommended. You can try gently wiggling the wires near the pivot points while testing for voltage at the bulb socket with a multimeter (with the visor connected and the ignition on, of course). If the voltage flickers or disappears when you wiggle the wires, you've likely found a broken wire. Repairing this requires soldering skills and can be tricky due to the limited space.
- Vehicle Wiring: While less common, the problem could be in the vehicle's wiring harness. Check the fuse that controls the interior lights (consult your owner's manual for the fuse location). Also, inspect the wiring connector that plugs into the visor for any signs of corrosion or damage. You can use a test light or multimeter to check for voltage at the connector when the ignition is on.
Sun Visor Replacement
If troubleshooting leads you to the conclusion that the visor needs to be replaced, here's a general outline of the replacement process. Always disconnect the negative terminal of the battery before working on any electrical components.
- Gather Tools: You'll typically need a Phillips head screwdriver, a flathead screwdriver (for prying carefully), and possibly a trim removal tool (to avoid damaging the headliner).
- Remove the Old Visor:
- Locate the Mounting Screws: There are usually two or three screws holding the visor bracket to the roof.
- Remove the Screw Covers (if any): Some visors have plastic covers over the screws. Use a small flathead screwdriver or trim removal tool to carefully pry them off. Be gentle to avoid breaking them.
- Remove the Screws: Unscrew the screws and carefully remove the visor.
- Disconnect the Wiring (if applicable): If the visor has a vanity mirror light, there will be a wiring connector. Disconnect it by pressing the release tab (if there is one) and pulling the connector apart.
- Install the New Visor:
- Connect the Wiring (if applicable): Plug the wiring connector from the vehicle into the new visor's connector.
- Position the Visor: Align the mounting bracket with the holes in the roof.
- Install the Screws: Secure the visor with the screws. Tighten them snugly, but don't overtighten, as you could strip the threads or damage the headliner.
- Replace the Screw Covers: Snap the plastic screw covers back into place (if applicable).
- Test: Reconnect the battery. Test the visor's movement, swivel, and vanity mirror light (if equipped).
Finding a Replacement Visor
You have several options for sourcing a replacement sun visor:
- Nissan Dealership: This is the most expensive option, but you're guaranteed to get a genuine Nissan part that fits perfectly.
- Online Retailers (e.g., Amazon, eBay): You can find a wide range of aftermarket visors at varying prices. Pay close attention to the product description to ensure it's compatible with your 2015 Rogue and the correct side (driver's side). Read reviews carefully.
- Auto Parts Stores (e.g., AutoZone, Advance Auto Parts, O'Reilly): These stores often carry aftermarket visors. Check their online catalogs or visit a store in person.
- Salvage Yards: You might be able to find a used visor in good condition at a salvage yard for a significantly lower price. However, be prepared to do some searching and potentially remove the visor yourself.
When selecting a replacement, make sure it matches the original in terms of color, features (e.g., vanity mirror, light), and overall design. Using your VIN (Vehicle Identification Number) can help ensure you get the correct part.
Replacing a sun visor on a 2015 Nissan Rogue is usually a straightforward DIY project. By following these steps and taking your time, you can save money and restore the functionality of this important safety feature.