2015 Nissan Versa Spark Plug Replacement
Alright, let's dive into replacing the spark plugs on your 2015 Nissan Versa. It's a job that might seem intimidating at first, but with the right tools and a methodical approach, you can definitely tackle this yourself and save some money. This guide assumes you have a basic understanding of automotive tools and safety procedures. If you're unsure about anything, it's always best to consult a professional mechanic.
Understanding Spark Plugs and Their Importance
Before we get started, let's quickly recap what spark plugs do. They're a critical component of your Versa's ignition system. Their primary job is to ignite the air-fuel mixture in the combustion chamber. This combustion process is what creates the power that drives your car. Over time, spark plugs wear out due to the intense heat and electrical discharge they endure. Worn spark plugs can lead to several problems, including reduced fuel efficiency, a rough idle, misfires, and even damage to the catalytic converter. That's why regular spark plug replacement is a crucial part of vehicle maintenance.
For the 2015 Versa, Nissan typically recommends replacing the spark plugs every 30,000 miles, but always refer to your owner's manual for the manufacturer's specific recommendations. Factors like driving habits and environmental conditions can affect the lifespan of your spark plugs.
Tools and Materials You'll Need
Gathering the necessary tools and materials beforehand will make the job much smoother. Here's what you'll need:
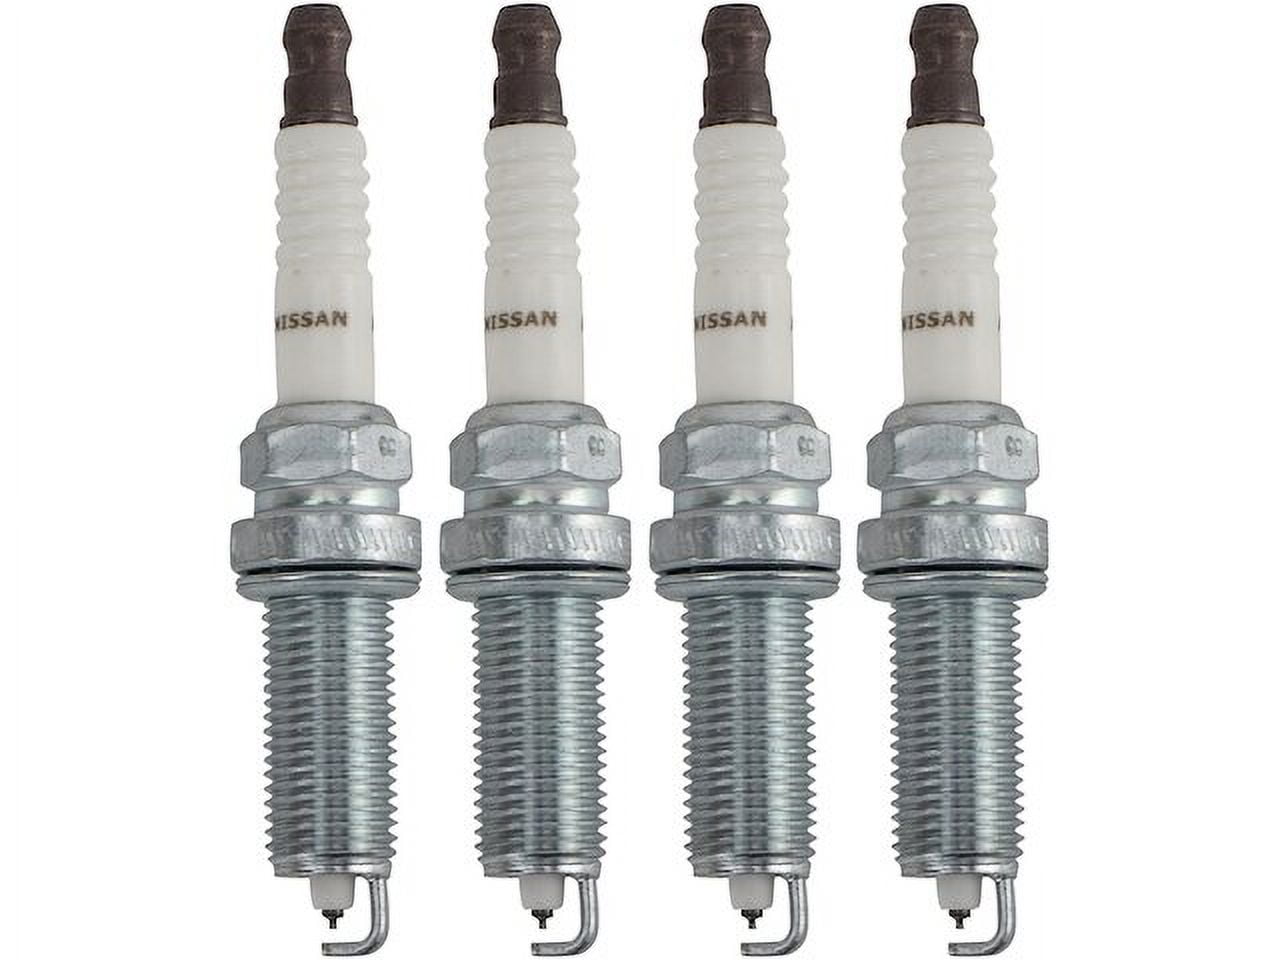
- New Spark Plugs: Make sure you get the correct spark plugs for your 2015 Nissan Versa. Consult your owner's manual or a reputable auto parts store to ensure compatibility. Using the wrong spark plugs can cause serious engine damage.
- Spark Plug Socket: This is a specialized socket with a rubber insert to grip and protect the ceramic insulator of the spark plug. A 5/8-inch (16mm) spark plug socket is typically the correct size for the Versa.
- Socket Wrench (Ratchet): A standard socket wrench with a 3/8-inch drive is usually sufficient.
- Socket Extensions: You'll likely need extensions to reach the spark plugs, especially the ones located in the back of the engine. A combination of short and long extensions is helpful.
- Torque Wrench: This is crucial for tightening the spark plugs to the correct specification. Over-tightening can damage the spark plugs or cylinder head, while under-tightening can lead to leaks and misfires. The torque specification for your 2015 Versa will be in your owner’s manual or repair manual.
- Gap Tool (Spark Plug Gapper): Although most new spark plugs come pre-gapped, it's always a good idea to check and adjust the gap if necessary. The correct gap specification will be in your owner’s manual or repair manual.
- Anti-Seize Compound: Apply a small amount of anti-seize compound to the threads of the new spark plugs to prevent them from seizing in the cylinder head in the future. Use sparingly!
- Dielectric Grease: Apply a small amount of dielectric grease to the inside of the spark plug boot to protect the electrical connection and prevent corrosion.
- Clean Rags or Shop Towels: To wipe away any dirt or oil.
- Penetrating Oil (Optional): If the spark plugs are difficult to remove, a little penetrating oil can help loosen them.
- Gloves: To protect your hands.
- Safety Glasses: To protect your eyes.
- Headlamp or Work Light: Good lighting is essential for working on the engine.
- Owner's Manual or Repair Manual: For torque specifications, spark plug gap specifications, and other important information.
Step-by-Step Spark Plug Replacement Procedure
Now, let's get down to the actual replacement process. Remember to work on a cool engine to avoid burns. Disconnect the negative terminal of your battery for safety. This prevents accidental electrical shorts.
1. Accessing the Spark Plugs
The spark plugs on the 2015 Versa are located under the ignition coils. You'll need to remove any engine covers or air intake components that are obstructing access to the ignition coils. Disconnect the electrical connector from each ignition coil. These connectors usually have a small clip that you need to depress to release them.
2. Removing the Ignition Coils
Once the electrical connectors are disconnected, you can remove the ignition coils. Each coil is typically held in place by a single bolt. Remove the bolt and then gently pull the coil straight up. Be careful not to damage the coil or the connector. Store the coils in a safe place, and keep track of which coil came from which cylinder. This is good practice should you suspect an ignition coil is failing later.
3. Removing the Old Spark Plugs
Now you'll see the spark plugs down in the spark plug wells. Use your spark plug socket and socket wrench with extensions to loosen and remove the old spark plugs. It's important to use a spark plug socket because it has a rubber insert that grips the spark plug and prevents damage to the ceramic insulator. If the spark plugs are difficult to remove, try applying a small amount of penetrating oil to the threads and letting it soak for a few minutes.
Inspect the old spark plugs as you remove them. The appearance of the spark plugs can provide valuable clues about the condition of your engine. For example, excessive carbon buildup can indicate a rich running condition, while oil fouling can indicate worn valve seals or piston rings. Consult a spark plug diagnosis chart online to interpret the appearance of your old spark plugs.
4. Gapping the New Spark Plugs
Before installing the new spark plugs, check the gap using a spark plug gapper. The correct gap specification for your 2015 Versa will be in your owner's manual or repair manual. To adjust the gap, gently bend the ground electrode (the curved metal piece) using the gapping tool until the gap is correct. It is much better to widen a gap then narrow a gap on a new spark plug as narrowing a gap often damages the electrode.
5. Installing the New Spark Plugs
Apply a small amount of anti-seize compound to the threads of the new spark plugs. Be careful not to get any anti-seize compound on the electrode. Carefully thread the new spark plugs into the cylinder head by hand. This prevents cross-threading, which can damage the threads in the cylinder head. Once the spark plugs are hand-tight, use your torque wrench to tighten them to the specified torque. Using a torque wrench is critical to ensure that the spark plugs are properly seated and sealed.
6. Reinstalling the Ignition Coils
Apply a small amount of dielectric grease to the inside of the spark plug boot. This will protect the electrical connection and prevent corrosion. Reinstall the ignition coils onto the spark plugs, making sure they are fully seated. Reinstall the bolts that hold the coils in place. Tighten the bolts to the specified torque (if available) or just snug them down.
7. Reconnecting the Electrical Connectors
Reconnect the electrical connectors to the ignition coils. Make sure the connectors are fully seated and that the clips are engaged.
8. Reassembling the Engine Components
Reinstall any engine covers or air intake components that you removed to access the spark plugs.
9. Reconnecting the Battery
Reconnect the negative terminal of your battery.
10. Starting the Engine and Checking for Problems
Start the engine and let it idle for a few minutes. Listen for any unusual noises or vibrations. Check the engine for any leaks. If everything sounds and looks good, take the car for a test drive. Pay attention to how the engine performs. You should notice improved fuel efficiency, smoother acceleration, and a more stable idle.
Important Considerations
- Spark Plug Torque: Always use a torque wrench to tighten the spark plugs to the specified torque. This is crucial for preventing damage to the spark plugs or cylinder head.
- Anti-Seize Compound: Use anti-seize compound sparingly. Too much anti-seize can actually decrease the torque reading and lead to over-tightening.
- Spark Plug Gap: Always check and adjust the spark plug gap to the correct specification.
- Cleanliness: Keep everything clean during the spark plug replacement process. Dirt and debris can contaminate the spark plugs and cause problems.
- One Spark Plug at a Time: It's generally recommended to replace one spark plug at a time. This prevents any confusion about the firing order and ensures that you reinstall everything correctly.
Troubleshooting Common Issues
Even with careful preparation, you might encounter some problems during the spark plug replacement process. Here are a few common issues and how to troubleshoot them:
- Spark Plug Stuck: If a spark plug is stuck, try applying penetrating oil to the threads and letting it soak for a few minutes. You can also try gently rocking the spark plug back and forth with your socket wrench. Avoid using excessive force, as this can damage the spark plug or cylinder head.
- Cross-Threading: If you accidentally cross-thread a spark plug, stop immediately. Attempting to force the spark plug in will only make the problem worse. You may need to have the threads repaired by a professional mechanic.
- Engine Misfires After Replacement: If the engine misfires after replacing the spark plugs, double-check that the spark plugs are properly gapped and torqued. Also, make sure that the ignition coils are properly connected and functioning correctly. If the problem persists, you may need to have the ignition system diagnosed by a professional mechanic.
Replacing the spark plugs on your 2015 Nissan Versa is a manageable task for the experienced DIYer. By following these steps and taking your time, you can save money and gain a better understanding of your vehicle's engine. Remember to always prioritize safety and consult a professional mechanic if you're unsure about any aspect of the process. Good luck!