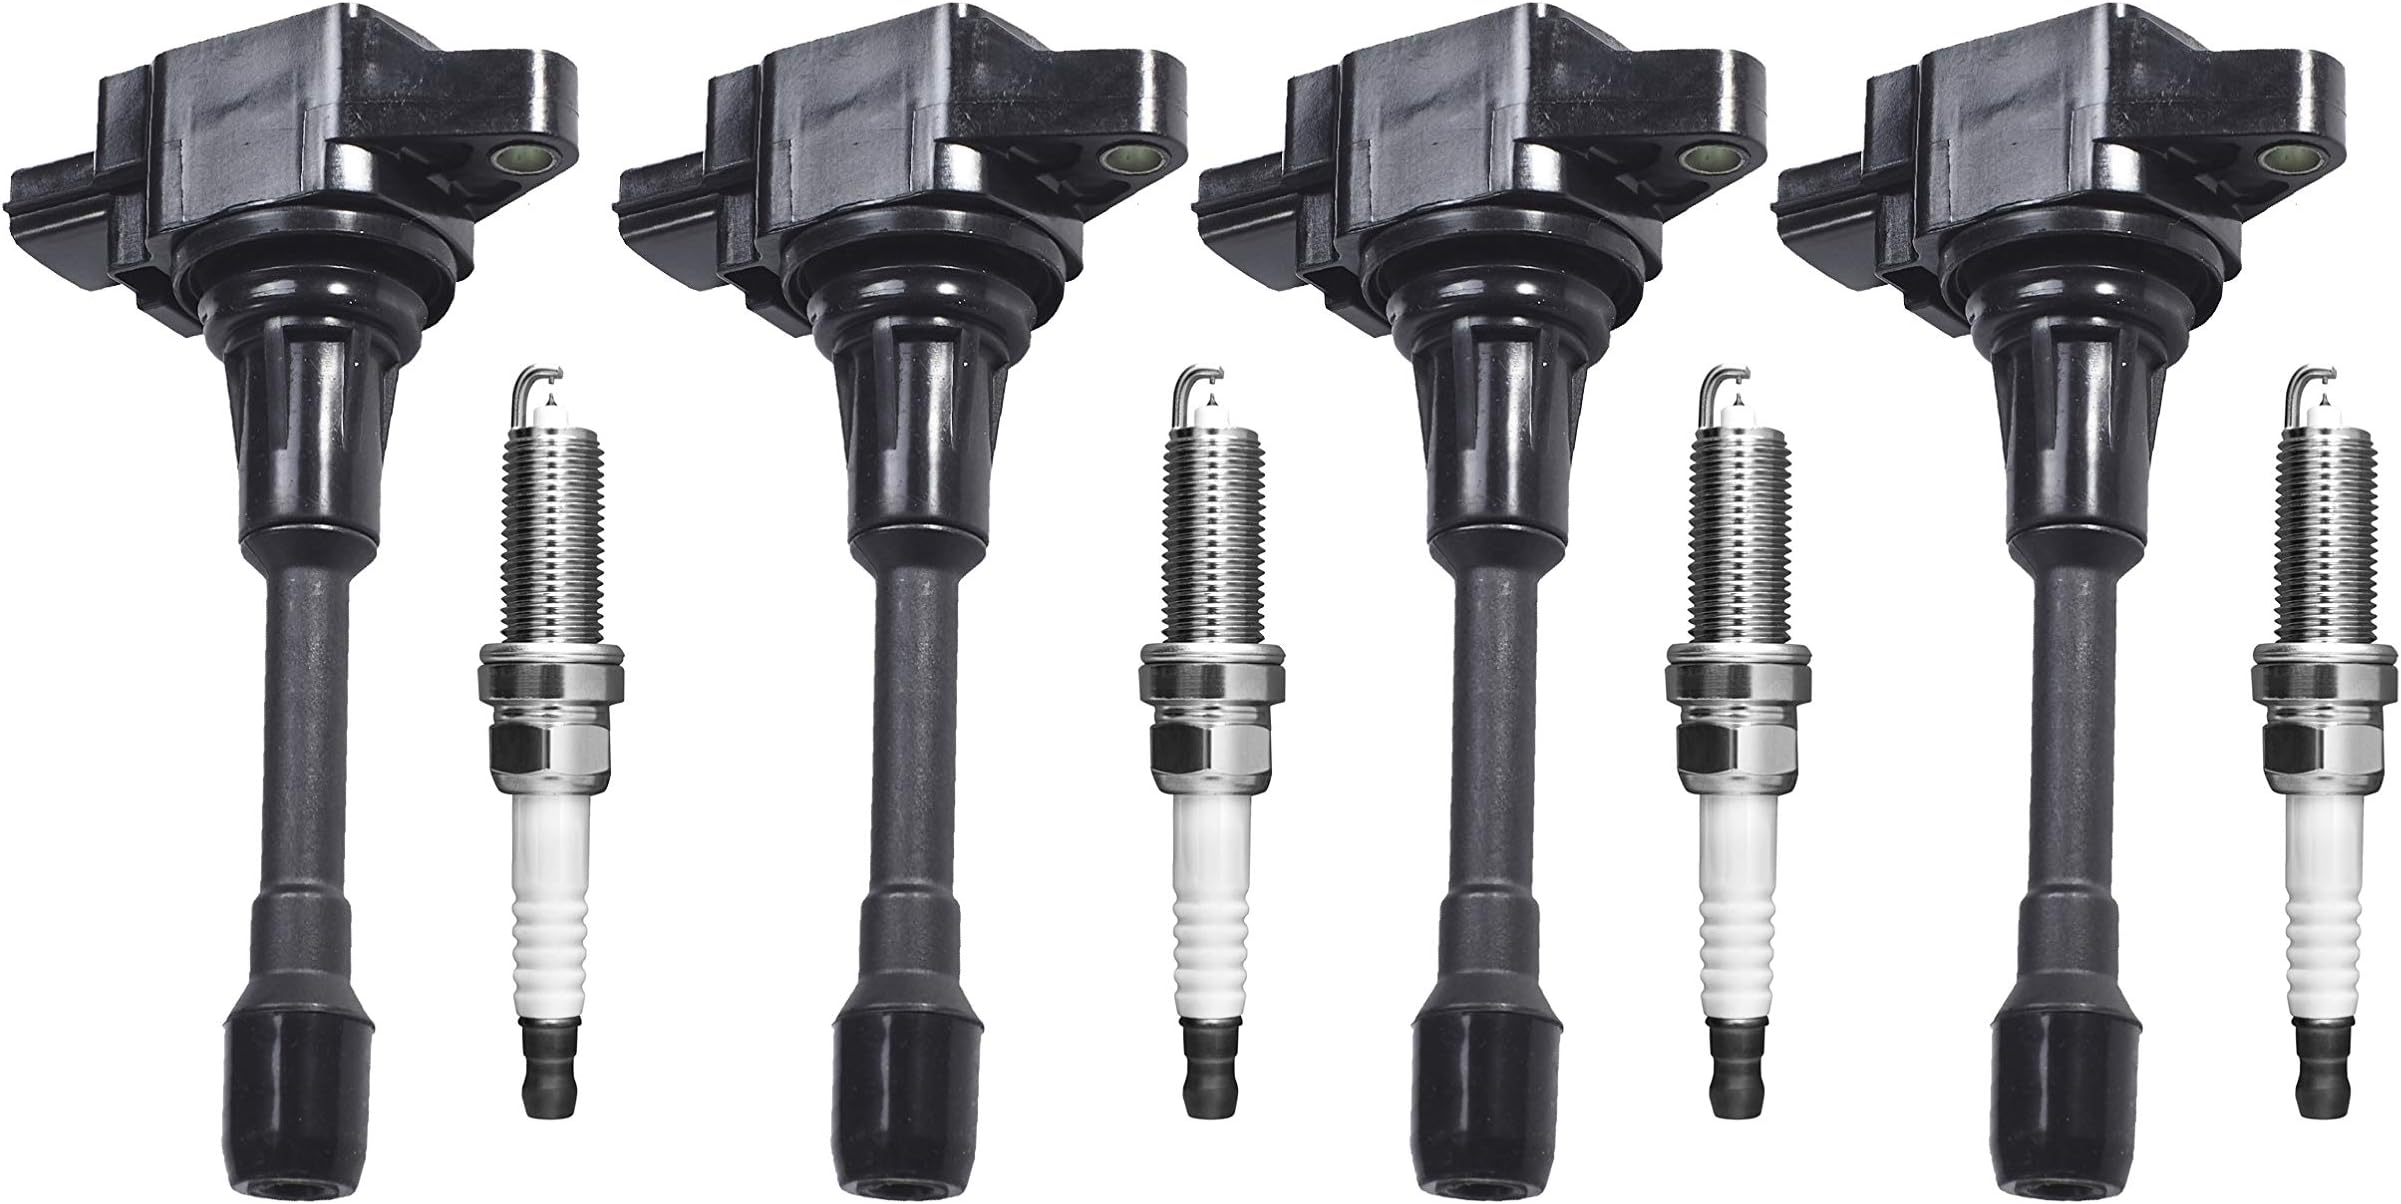
2016 Nissan Altima Coil Pack
So, your 2016 Nissan Altima isn't running quite right, huh? Stuttering, shaking, maybe even a check engine light staring you down? One likely culprit, especially if the code reader is spitting out a P0300-P0304 series code, is a faulty coil pack. Let's dive into what that means, why it happens, and how to tackle it.
Understanding the Coil Pack Problem
Your Altima, like most modern vehicles, uses individual coil packs (also sometimes called ignition coils) for each cylinder. These little guys are responsible for taking the 12-volt current from your car's battery and boosting it to a much higher voltage – we're talking tens of thousands of volts – needed to create the spark that ignites the air/fuel mixture in the cylinder. When a coil pack fails, you lose that spark, and the cylinder stops contributing to the engine's power. This is what causes the misfire, rough running, and reduced performance you're experiencing.
Why Do Coil Packs Fail?
Several factors can contribute to coil pack failure in your 2016 Altima. Here are a few common culprits:
- Heat: The engine compartment is a hot place, and prolonged exposure to high temperatures can break down the coil pack's internal components, especially the insulation.
- Vibration: Constant engine vibration can also take its toll, leading to cracks or internal damage.
- Age: Like any electrical component, coil packs have a limited lifespan. Over time, they simply wear out.
- Spark Plug Condition: This is a big one! Worn or damaged spark plugs create a much higher load on the coil pack. Think of it like trying to push a car uphill versus pushing it on a flat surface. The coil pack has to work much harder to generate a spark with a bad plug, leading to premature failure.
- Moisture/Contamination: Exposure to moisture, oil leaks, or other contaminants can damage the coil pack and cause it to short out.
Identifying the Problem: Symptoms and Diagnosis
Okay, so how do you know for sure it's a coil pack and not something else? Here are some tell-tale signs:
- Check Engine Light: This is often the first indication. A misfire code (P0300, P0301, P0302, P0303, P0304 – P0300 being a random misfire and the others indicating specific cylinders) will likely be stored in the car's computer. You'll need an OBD-II scanner to read these codes.
- Rough Idle: The engine may shake or vibrate noticeably at idle.
- Reduced Power: You'll likely feel a decrease in acceleration and overall engine performance.
- Poor Fuel Economy: A misfiring cylinder wastes fuel, leading to lower gas mileage.
- Stalling: In severe cases, the engine may stall, especially at low speeds.
Diagnosis is Key! Don't just throw parts at the problem. While a faulty coil pack is a common issue, it's important to confirm the diagnosis. Here's how you can proceed:
- Read the Codes: Use an OBD-II scanner to identify the misfiring cylinder(s). Most auto parts stores will do this for free.
- Inspect the Coil Packs: Visually inspect the coil packs for any signs of damage, such as cracks, swelling, or oil contamination.
- Swap Coil Packs: This is a common diagnostic technique. If the code is for cylinder #1, swap the coil pack from cylinder #1 with the coil pack from cylinder #2. Clear the code and drive the car. If the code now shows a misfire in cylinder #2, the coil pack is likely bad. Remember to label the coil packs before swapping them so you know where they came from!
- Check Spark Plugs: As mentioned earlier, bad spark plugs can kill coil packs. Inspect your spark plugs to see if they are fouled, worn, or damaged. Replacing them is often a good idea when replacing coil packs, especially if they haven't been changed in a while.
- Use a Multimeter (Advanced): If you're comfortable using a multimeter, you can test the primary and secondary resistance of the coil packs. Consult your vehicle's service manual for the correct resistance values.
Replacing the Coil Pack: A Step-by-Step Guide
If you've confirmed that a coil pack is bad, you can usually replace it yourself with some basic tools and a little patience. Here's a general guide. Always consult your vehicle's service manual for specific instructions and torque specifications.
Tools You'll Need:
- Socket set (usually 10mm or 12mm)
- Ratchet
- Extension (for hard-to-reach coil packs)
- Screwdriver (flathead or Phillips, depending on the coil pack connector)
- OBD-II scanner (to clear the code after replacement)
- Torque wrench (optional, but recommended for tightening the coil pack bolts)
- Dielectric grease
Steps:
- Safety First! Disconnect the negative terminal of your battery to prevent any electrical shorts.
- Locate the Coil Packs: The coil packs are typically located on top of the engine, directly above the spark plugs. They'll be connected to the spark plugs by spark plug wires (although some newer coil packs are "coil-on-plug," meaning they sit directly on the spark plug with no wire).
- Disconnect the Electrical Connector: Carefully disconnect the electrical connector from the coil pack. There's usually a small clip or tab that needs to be released. Be gentle! These connectors can become brittle with age.
- Remove the Coil Pack: Use a socket and ratchet to remove the bolt (or bolts) that hold the coil pack in place.
- Remove the Old Coil Pack: Gently pull the coil pack straight up and out.
- Install the New Coil Pack: Apply a small amount of dielectric grease to the boot of the new coil pack (where it connects to the spark plug). This helps to prevent corrosion and ensures a good connection.
- Install the New Coil Pack: Place the new coil pack into position and secure it with the bolt(s). Tighten the bolt(s) to the torque specification listed in your vehicle's service manual. If you don't have a torque wrench, tighten them snugly but don't overtighten.
- Reconnect the Electrical Connector: Reconnect the electrical connector to the coil pack. Make sure it clicks into place securely.
- Repeat for Other Coil Packs (if necessary): If you're replacing multiple coil packs, repeat steps 3-7 for each one. It's generally recommended to replace all coil packs at the same time, especially if they're all the same age and mileage. This can help prevent future failures.
- Reconnect the Battery: Reconnect the negative terminal of your battery.
- Clear the Codes: Use your OBD-II scanner to clear the misfire code from the car's computer.
- Test Drive: Start the engine and take the car for a test drive to make sure the problem is resolved.
Cost Considerations
The cost of replacing a coil pack can vary depending on several factors, including:
- The Brand of the Coil Pack: OEM (Original Equipment Manufacturer) coil packs are usually more expensive than aftermarket brands.
- Where You Buy the Coil Pack: Prices can vary between auto parts stores and online retailers.
- Whether You Do It Yourself or Hire a Mechanic: Labor costs can add significantly to the overall price.
Here's a rough estimate:
- Coil Pack: $30 - $100 per coil pack (aftermarket) or $80-$150+ (OEM).
- Spark Plugs: $5 - $20 per spark plug (depending on the type).
- Labor (if you hire a mechanic): $50 - $150 per coil pack (depending on the shop and the location of the coil pack).
So, if you're doing it yourself, you can expect to pay around $35 - $120 per cylinder you're fixing. If you're having a mechanic do it, the total cost could be anywhere from $100 to $300+ per cylinder. Getting quotes from a few different shops is always a good idea.
Preventing Future Coil Pack Failures
Here are a few tips to help extend the life of your coil packs:
- Replace Spark Plugs Regularly: Follow the manufacturer's recommended maintenance schedule for spark plug replacement. Using the correct spark plugs is also very important.
- Keep the Engine Clean: Wipe down the engine bay periodically to remove any oil, dirt, or debris that could damage the coil packs.
- Address Oil Leaks Promptly: Oil leaks can contaminate the coil packs and cause them to fail.
- Don't Ignore Warning Signs: If you notice any signs of a misfire, such as a rough idle or reduced power, have the problem diagnosed and repaired promptly.
By understanding the causes of coil pack failure and taking preventative measures, you can help keep your 2016 Nissan Altima running smoothly for years to come. Good luck with your repair!