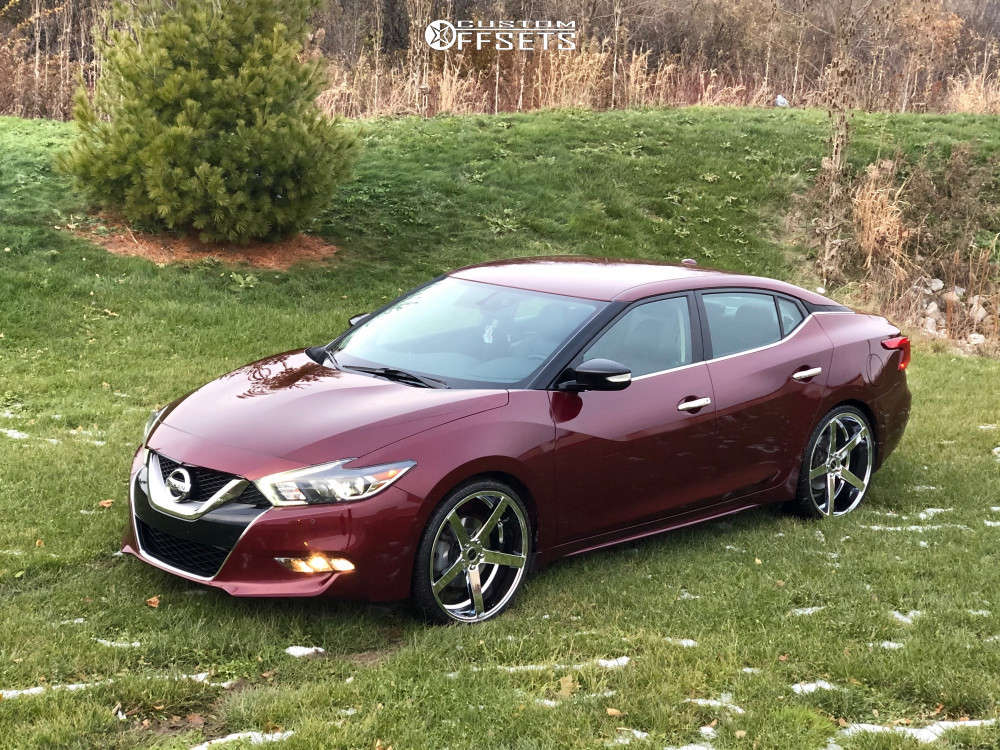
2017 Nissan Maxima With Rims
So, you've got a 2017 Nissan Maxima with aftermarket rims. That's a great look, and it probably improves handling and ride quality too! However, sometimes aftermarket rims can introduce a few unique problems compared to the stock wheels. Let's troubleshoot some common issues and explore solutions.
Common Problems with Aftermarket Rims on a 2017 Maxima
It's important to note that not all aftermarket rims cause problems. A reputable brand, proper installation, and matching specifications (bolt pattern, offset, center bore) are crucial for a smooth experience. When things go wrong, here are some culprits:
1. Vibration Issues
One of the most frequent complaints after installing aftermarket rims is vibration, especially at higher speeds. This can be caused by several factors:
- Incorrect Wheel Balancing: This is the most common reason. Even a slight imbalance can translate into noticeable vibrations. Always get your wheels balanced after installing new rims, and re-check the balance periodically.
- Poor Wheel Mounting: If the wheel isn't sitting perfectly flush against the hub, you'll experience vibrations. Clean the hub surface thoroughly with a wire brush to remove any rust or debris before mounting the wheels. Make sure the lug nuts are tightened in a star pattern to the correct torque specification (usually around 80 ft-lbs for your Maxima – consult your owner's manual or a repair database like ALLDATA).
- Hub Centric Rings: The 2017 Maxima likely has a 66.1mm center bore. If your aftermarket rims have a larger center bore, you need hub centric rings to fill the gap between the hub and the wheel. Without them, the wheel isn't properly centered, leading to vibration. These rings are relatively inexpensive (around $10-$20 per set) and crucial for proper alignment.
- Damaged Rims or Tires: Bent rims or tires with bulges or uneven wear can also cause vibrations. Inspect your rims and tires carefully for any damage.
- Loose Suspension Components: While not directly related to the rims themselves, loose ball joints, tie rod ends, or wheel bearings can exacerbate vibrations. If you've ruled out the rims and tires, have your suspension inspected.
2. Lug Nut Problems
Aftermarket rims often require different lug nuts than your factory wheels. This is especially true if the rims have recessed lug holes or are made of a different material.
- Incorrect Lug Nut Type: Using the wrong lug nut type (e.g., using a conical lug nut on a wheel designed for a ball-seat lug nut) can damage the wheel and cause the lug nuts to loosen over time. Always use the correct lug nut type specified for your aftermarket rims.
- Over-Tightening or Under-Tightening: Over-tightening can damage the studs, while under-tightening can cause the wheels to come loose. Use a torque wrench and tighten the lug nuts to the specified torque.
- Damaged Lug Studs: If you've experienced repeated lug nut problems, inspect the lug studs for damage. Replace any damaged studs immediately.
3. TPMS (Tire Pressure Monitoring System) Issues
Your 2017 Maxima uses a TPMS to monitor tire pressure. Aftermarket rims can sometimes interfere with the TPMS sensors.
- Sensor Compatibility: Make sure your TPMS sensors are compatible with your aftermarket rims. Some rims may require specific sensors or adapters.
- Sensor Installation: Ensure the TPMS sensors are properly installed in the new rims. The rubber seal around the sensor stem must be properly seated to prevent air leaks.
- Sensor Programming: After installing new rims and TPMS sensors, you may need to reprogram the sensors to your vehicle's computer. Most tire shops can perform this service.
- Damaged Sensors: Sometimes, sensors get damaged during the tire mounting process. Ensure you have your tire shop double check all the sensors before you leave.
4. Brake Clearance Problems
While less common, aftermarket rims can sometimes interfere with the brake calipers, especially if you've installed larger or more aggressive brake systems.
- Rim Offset: The offset of the rim determines how far the wheel sits inward or outward. An incorrect offset can cause the rim to rub against the brake caliper.
- Rim Size: A smaller rim size than recommended can also cause clearance issues.
- Spacers: Wheel spacers can be used to create more clearance between the rim and the brake caliper, but use them cautiously. Make sure they are hub-centric and of high quality. Using incorrect spacers can cause vibrations and damage to the wheel studs.
Troubleshooting and Solutions
Here's a step-by-step approach to diagnosing and fixing problems with your aftermarket rims:
- Inspect the Rims and Tires: Look for any visible damage, such as dents, cracks, bulges, or uneven wear. If you find any damage, replace the affected rim or tire.
- Check Wheel Balance: Take your car to a reputable tire shop and have them balance the wheels. Ask them to use a road force balancer if possible, as this type of balancer can identify problems that a standard balancer might miss.
- Inspect the Hub Surface: Clean the hub surface thoroughly with a wire brush to remove any rust or debris.
- Install Hub Centric Rings: If your aftermarket rims have a larger center bore than your vehicle's hub, install hub centric rings.
- Check Lug Nut Type and Torque: Verify that you're using the correct lug nut type for your aftermarket rims and that they're tightened to the correct torque specification. Use a torque wrench to ensure accurate tightening.
- Inspect Lug Studs: Check the lug studs for damage. Replace any damaged studs immediately.
- Check TPMS Sensors: Ensure the TPMS sensors are properly installed and programmed. If you suspect a faulty sensor, have it tested and replaced if necessary.
- Check Brake Clearance: Inspect the clearance between the rims and brake calipers. If there's not enough clearance, you may need to use wheel spacers or replace the rims with a different offset.
- Consult a Professional: If you've tried these steps and are still experiencing problems, consult a qualified mechanic or tire specialist. They can diagnose the problem and recommend the appropriate solution.
Tools and Estimated Costs
Here's a list of tools you might need and estimated costs for common repairs:
- Torque Wrench: ($30-$100) - Essential for tightening lug nuts correctly.
- Socket Set: ($20-$50) - For removing and installing lug nuts.
- Wire Brush: ($5-$10) - For cleaning the hub surface.
- Hub Centric Rings: ($10-$20 per set) - If needed to match center bore.
- Lug Nuts (if needed): ($2-$5 per lug nut) - Make sure you get the correct type!
- Wheel Balancing: ($10-$20 per wheel) - Typically done at a tire shop.
- TPMS Sensor Programming: ($25-$50 per sensor) - Usually done at a tire shop.
- Wheel Spacers (if needed): ($50-$150 per pair) - Buy quality, hub-centric spacers.
- Lug Stud Replacement: ($50-$150 per wheel) - Labor cost, depending on location and shop.
Prevention is Key
To avoid problems with aftermarket rims, follow these tips:
- Purchase from Reputable Brands: Choose rims from well-known and respected manufacturers.
- Verify Fitment: Before purchasing rims, make sure they're compatible with your vehicle's specifications (bolt pattern, offset, center bore, etc.). Many online retailers have fitment guides.
- Professional Installation: Have your rims installed by a qualified tire shop. They have the tools and expertise to ensure proper installation.
- Regular Maintenance: Check your lug nuts periodically to make sure they're properly tightened. Rotate your tires regularly and inspect them for damage.
By following these tips and being proactive about maintenance, you can enjoy the benefits of aftermarket rims without experiencing unnecessary problems. Remember, a little prevention goes a long way!
Disclaimer: These are general troubleshooting tips and may not cover every possible scenario. Always consult a qualified mechanic for specific advice regarding your vehicle.