2017 Nissan Titan Sun Visor Replacement
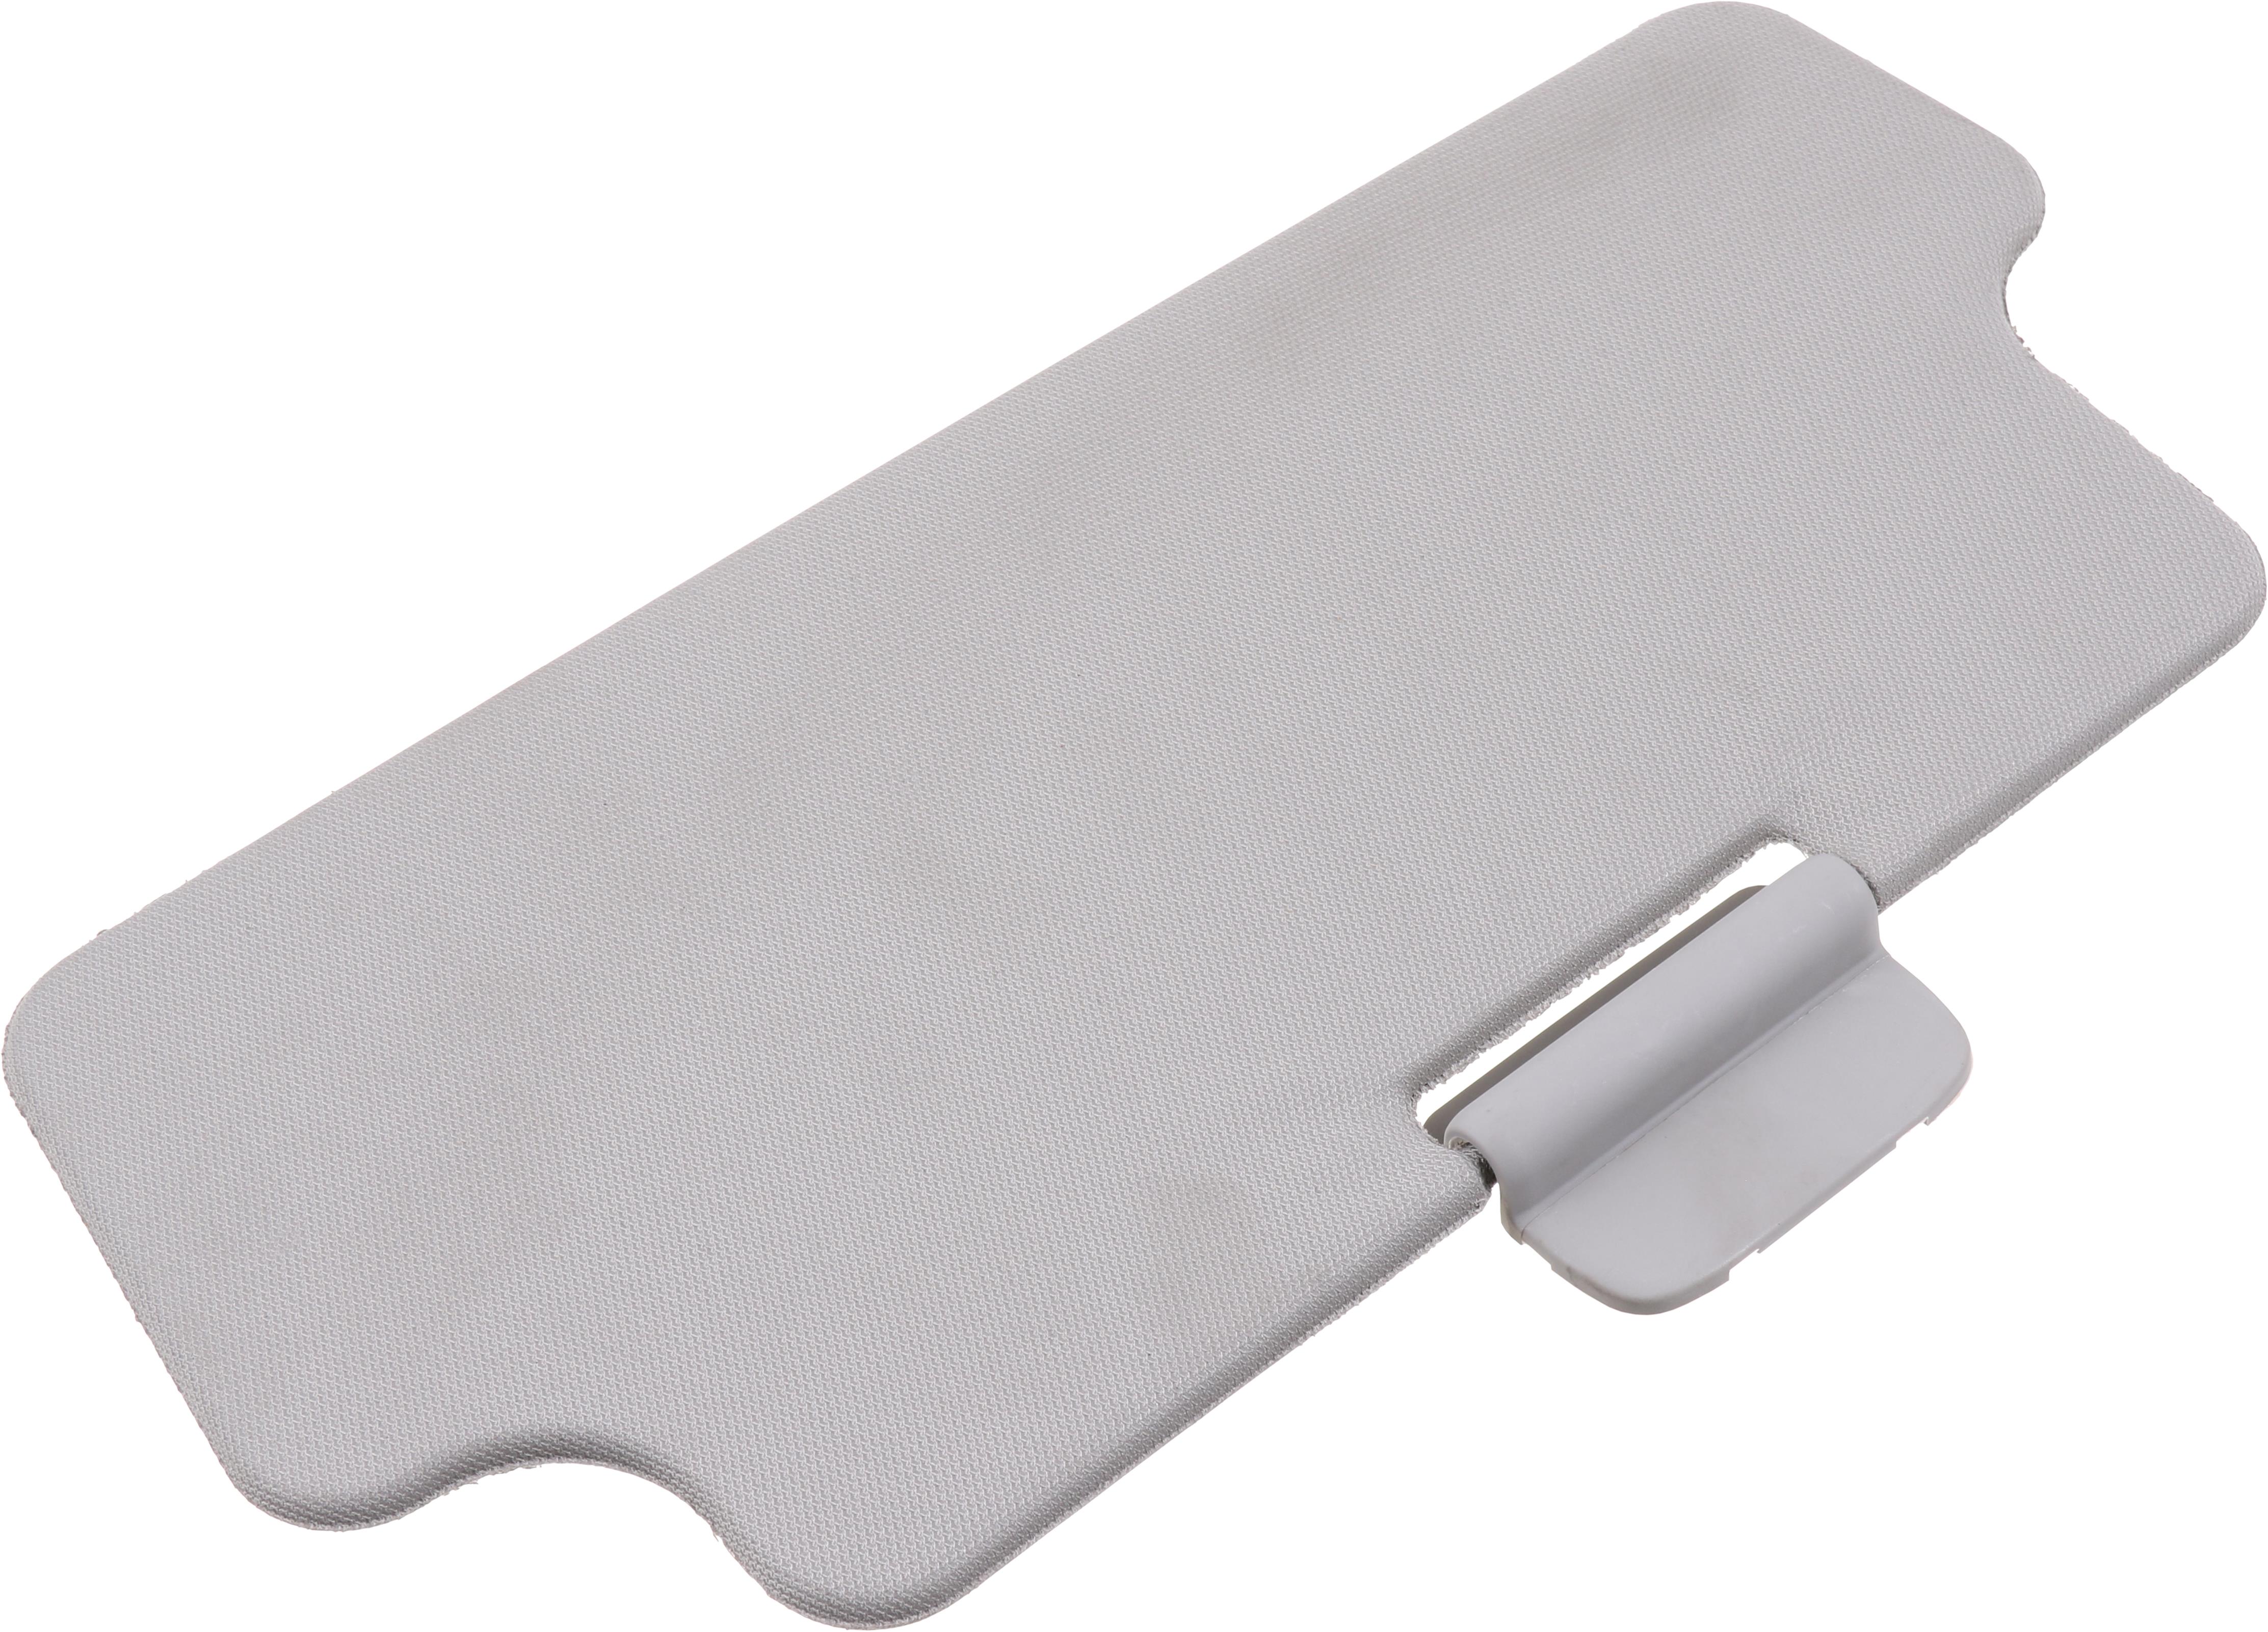
The 2017 Nissan Titan, a robust contender in the full-size truck segment, is known for its durability. However, like any vehicle, components can wear down or become damaged over time. A common issue encountered by Titan owners is a malfunctioning or broken sun visor. This article provides a comprehensive guide to replacing the sun visor on a 2017 Nissan Titan, covering everything from diagnostic signs to step-by-step instructions and potential pitfalls.
Identifying the Need for Sun Visor Replacement
Before diving into the replacement process, it's crucial to accurately diagnose whether a replacement is actually necessary. Common indicators include:
- Sagging or Drooping: The visor no longer stays in the desired position. This can be caused by a worn-out detent mechanism or a broken hinge.
- Broken or Cracked Plastic: Physical damage to the visor's housing or arm.
- Detached Fabric: The fabric covering peels away from the visor's core, becoming unsightly and potentially obstructing vision.
- Inability to Extend: Some Titan models feature extendable sun visors for enhanced sun protection. If this mechanism fails, replacement might be the best course of action.
- Vanity Mirror Issues: If equipped, the vanity mirror light may stop functioning, or the mirror itself could be cracked or broken.
These issues not only impact comfort and convenience but can also affect driver safety by hindering visibility, especially during sunrise or sunset.
Gathering the Necessary Tools and Materials
Proper preparation is key to a smooth and efficient sun visor replacement. Ensure you have the following tools and materials readily available:
- New Sun Visor: Obtain a replacement visor specifically designed for the 2017 Nissan Titan. Verify the color and features (e.g., with or without a vanity mirror, extendable) to match your original visor. Consider the trim level (S, SV, SL, PRO-4X, Platinum Reserve) as there may be slight variations. Part numbers will vary depending on the specific configuration of your Titan.
- Screwdriver Set: A set of both Phillips-head and flat-head screwdrivers. Pay close attention to the screw head sizes to prevent stripping.
- Panel Removal Tool (Optional but Recommended): This tool helps to gently pry off trim pieces without causing damage. A plastic trim tool is preferable to a metal one.
- Socket Set (Possibly Needed): Some visors may be secured with bolts rather than screws. A small socket set with various sizes will be helpful.
- Pliers (Optional): Useful for gripping and manipulating small parts or connectors. Needle-nose pliers can be particularly helpful.
- Work Gloves: Protect your hands from sharp edges and dirt.
- Safety Glasses: Protect your eyes from debris.
- Shop Towels: For cleaning and wiping down surfaces.
Step-by-Step Sun Visor Replacement Procedure
Follow these steps carefully to replace the sun visor on your 2017 Nissan Titan:
- Preparation: Park the vehicle on a level surface and turn off the ignition. Disconnecting the negative battery terminal is generally recommended for electrical safety, especially if the visor has a lighted vanity mirror. This prevents accidental shorts.
- Locate and Remove Fasteners: Examine the sun visor mounting points. Typically, you'll find screws or bolts concealed under plastic covers or caps. Use a small flat-head screwdriver or panel removal tool to carefully pry off these covers. Avoid excessive force to prevent damage to the surrounding trim.
- Remove the Visor: Once the fasteners are exposed, use the appropriate screwdriver or socket to remove them. Support the visor with your other hand as you remove the last fastener to prevent it from falling and potentially damaging the interior.
- Disconnect Electrical Connectors (If Applicable): If your Titan's sun visor has a vanity mirror with a light, there will be an electrical connector attached to the visor. Carefully disconnect this connector by pressing the release tab and pulling the connector apart. Do not pull on the wires themselves.
- Install the New Visor: Align the new sun visor with the mounting holes. Reconnect the electrical connector if applicable, ensuring it clicks into place securely.
- Secure the Visor: Install the screws or bolts, tightening them to the proper torque specification (consult a repair manual if available, but generally snug is sufficient). Avoid over-tightening, as this can strip the threads or crack the plastic housing.
- Replace the Covers: Reinstall the plastic covers or caps over the fasteners. Ensure they are properly seated and flush with the surrounding trim.
- Test the Visor: Move the visor through its full range of motion to ensure it operates smoothly and stays in the desired positions. If equipped, test the vanity mirror light.
- Final Check: Reconnect the negative battery terminal (if disconnected).
Troubleshooting Common Issues
Even with careful execution, you might encounter some challenges during the sun visor replacement process. Here are a few common issues and their solutions:
- Stripped Screws: If a screw head is stripped, try using a rubber band or steel wool between the screwdriver and the screw head to increase grip. If that fails, a screw extractor tool may be necessary.
- Broken Plastic Clips: If a plastic clip breaks on the trim piece, you may need to purchase a replacement clip from an auto parts store.
- Difficulty Disconnecting Electrical Connectors: Sometimes, electrical connectors can be difficult to disconnect. Ensure you are pressing the release tab firmly and wiggling the connector gently. A small amount of silicone-based electrical grease can help with future disconnections.
- Visor Doesn't Stay in Position: Double-check that all fasteners are properly tightened. If the visor still sags, the replacement visor may be defective, or the mounting bracket in the headliner could be damaged.
Real-World Example: Addressing a Sagging Sun Visor
Consider a scenario where a 2017 Nissan Titan owner, John, noticed his driver-side sun visor drooping significantly, obstructing his view. After confirming the issue, John purchased a replacement visor online. Following the steps outlined above, he carefully removed the old visor, disconnected the electrical connector for the vanity mirror light, and installed the new visor. During the process, he discovered that one of the plastic clips holding the trim cover in place had broken. He sourced a replacement clip from a local auto parts store and completed the installation. The new visor restored his visibility and improved the overall driving experience. This demonstrates how a relatively simple repair can significantly enhance vehicle safety and comfort.
Preventative Maintenance Tips
While sun visor replacement is sometimes unavoidable, certain measures can help prolong the life of your visor:
- Avoid Excessive Force: Do not yank or force the visor when adjusting its position.
- Regular Cleaning: Clean the visor with a soft cloth and mild detergent to remove dirt and grime.
- Park in Shaded Areas: Prolonged exposure to direct sunlight can degrade the visor's materials. Parking in shaded areas when possible can help.
- Inspect Regularly: Periodically check the visor for signs of wear and tear, such as sagging or loose fabric. Early detection can prevent more significant problems.
Choosing the Right Replacement Visor
Selecting the correct replacement sun visor is essential for a proper fit and functionality. Consider these factors:
- Model Year and Trim Level: Ensure the visor is specifically designed for the 2017 Nissan Titan and the correct trim level (S, SV, SL, PRO-4X, Platinum Reserve).
- Side (Driver or Passenger): Visors are typically side-specific.
- Features: Determine whether you need a visor with or without a vanity mirror, and whether you require an extendable visor.
- Color: Match the color of the new visor to the existing interior.
- Brand Reputation: Consider purchasing from a reputable brand or supplier to ensure quality and durability. OEM (Original Equipment Manufacturer) visors are typically the best quality, but aftermarket options can be more affordable.
Conclusion
Replacing a sun visor on a 2017 Nissan Titan is a relatively straightforward repair that most DIY enthusiasts can tackle. By following the steps outlined in this guide, gathering the necessary tools and materials, and taking your time, you can restore the functionality and appearance of your vehicle's interior and improve your driving experience. Remember to prioritize safety throughout the process and consult a professional mechanic if you encounter any difficulties or are unsure about any aspect of the repair. A functioning sun visor is a crucial safety component, and addressing any issues promptly is essential for safe and comfortable driving. The correct part numbers can be located at your local Nissan dealer or online parts retailer. Remember to double check the part number with your VIN to ensure proper fitment.