2022 Frontier Led Headlights
The 2022 Nissan Frontier marked a significant step forward in technology and design, including the adoption of LED headlights on many trims. LED headlights offer numerous advantages over traditional halogen bulbs, including increased brightness, longer lifespan, and reduced energy consumption. However, even with their benefits, LED headlights on the 2022 Frontier can experience issues. This article provides a practical guide for car owners and mechanics on maintaining, troubleshooting, and addressing common problems with the 2022 Frontier's LED headlights.
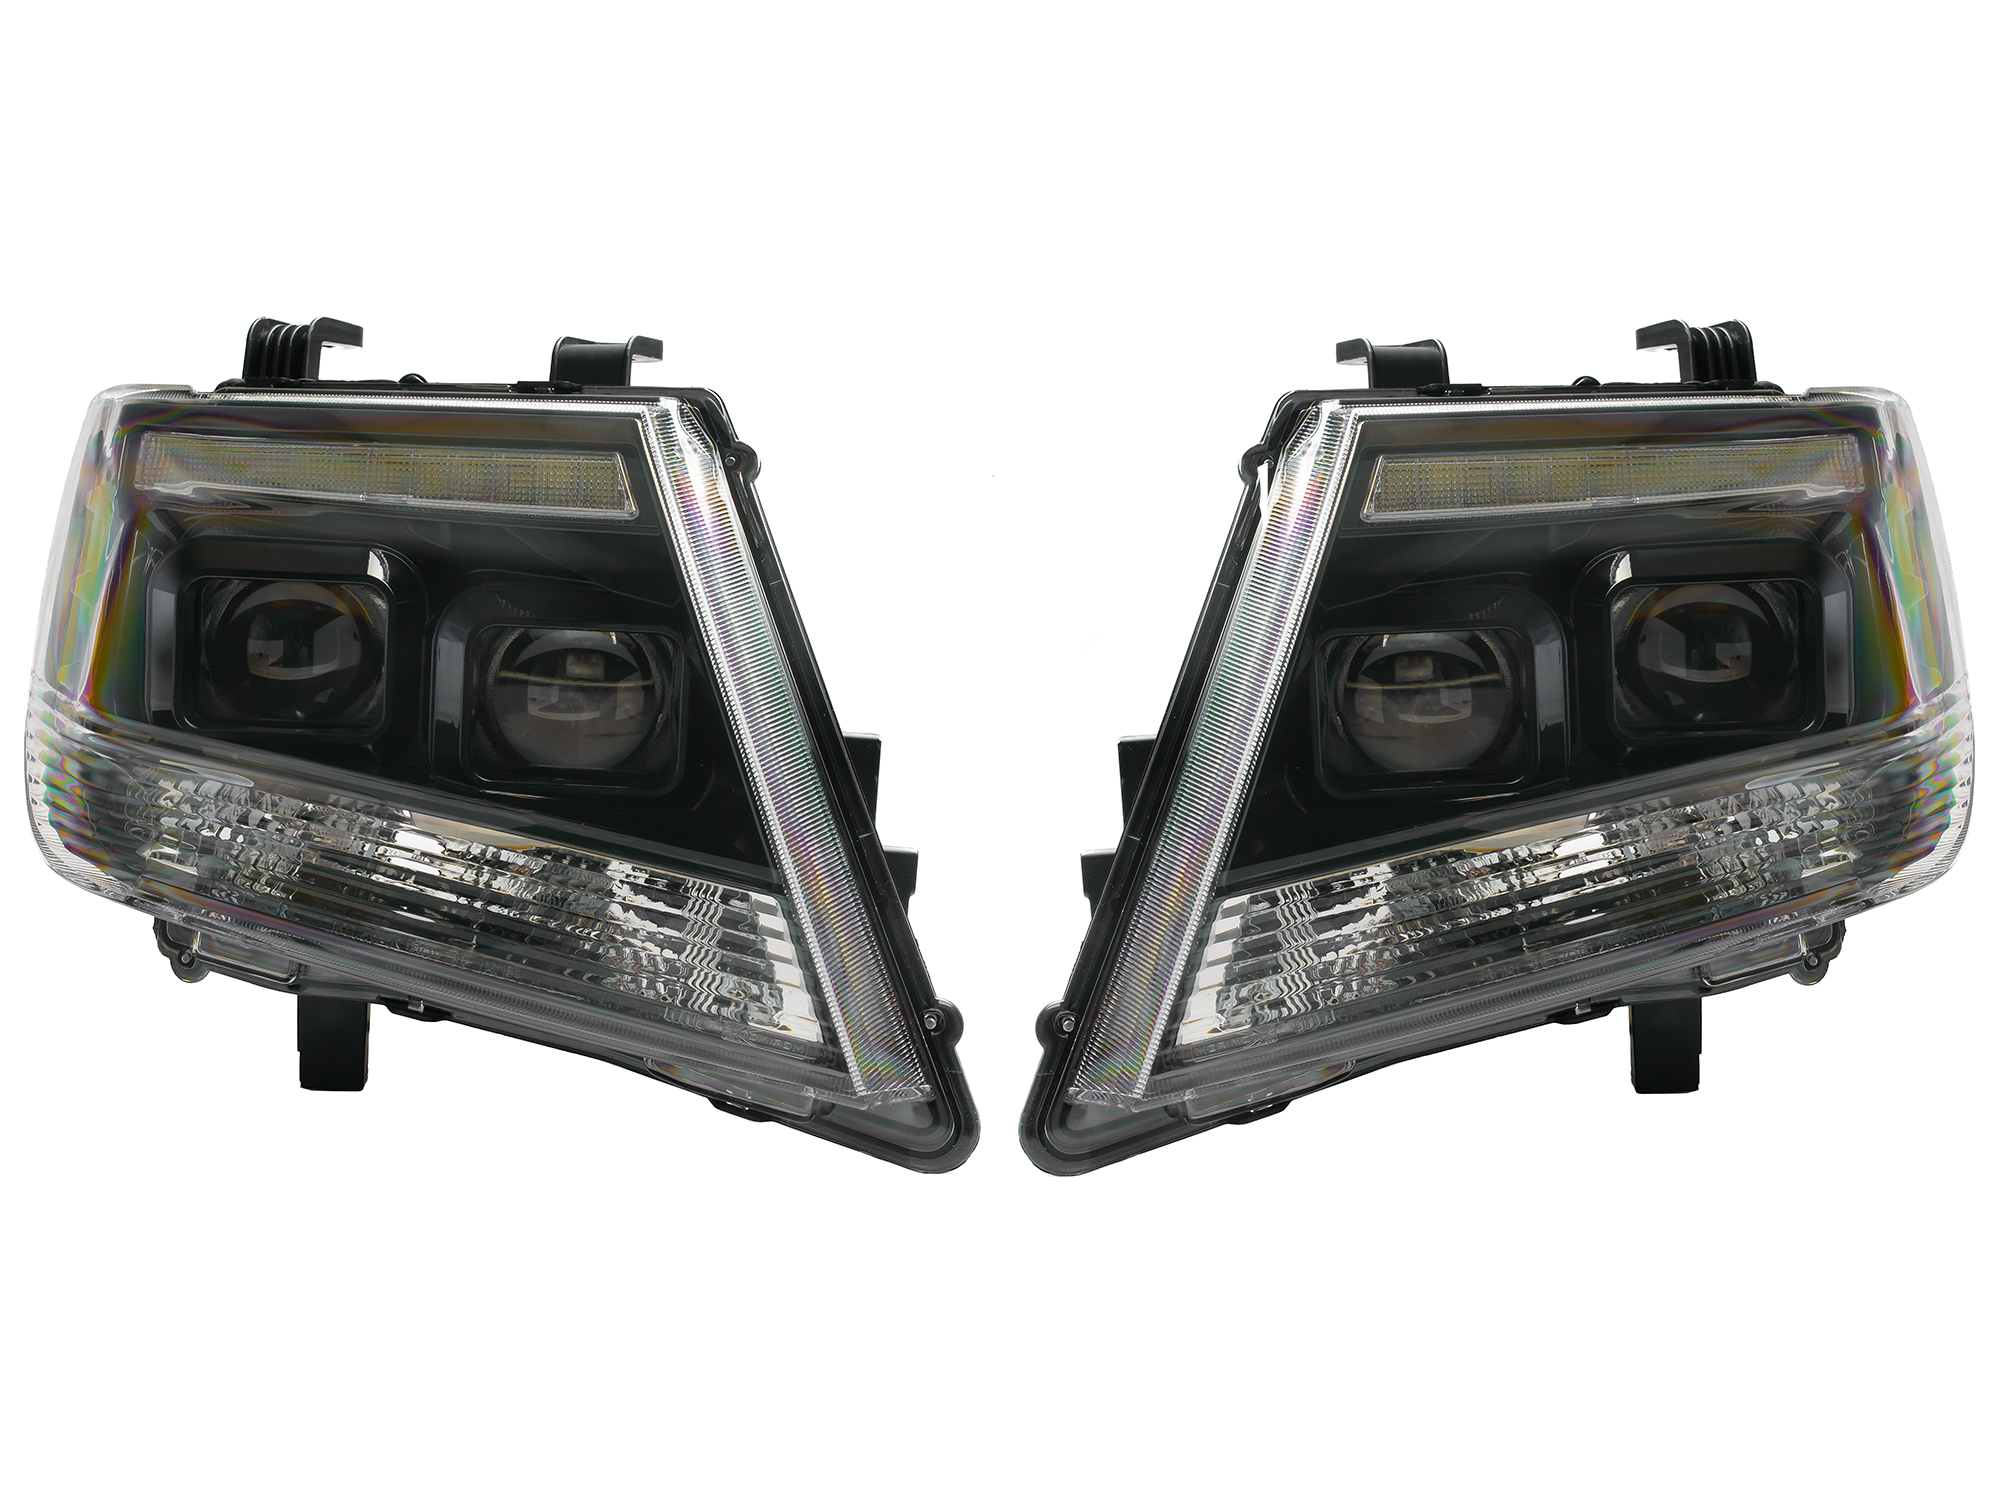
Understanding 2022 Frontier LED Headlights
Before diving into troubleshooting, it’s crucial to understand the basic components of the LED headlight system. The 2022 Frontier typically uses a combination of LEDs for different functions, such as low beams, high beams, and daytime running lights (DRLs). These LEDs are integrated into a headlight assembly that includes lenses, reflectors, and a control module. Unlike halogen bulbs that can be easily replaced, LEDs are often integrated into the headlight unit, making replacement or repair more complex.
Common Issues and Troubleshooting
Here's a breakdown of common problems encountered with 2022 Frontier LED headlights, along with potential causes and solutions:
1. Headlight Failure (Complete Outage)
Symptom: One or both headlights completely fail to illuminate.
Possible Causes:
- Blown Fuse: This is the first and simplest thing to check. A blown fuse can cut power to the headlight circuit.
- Faulty Headlight Control Module: The control module regulates the power and operation of the LEDs. A malfunctioning module can cause complete failure.
- Wiring Issues: Damaged or corroded wiring can interrupt the electrical connection to the headlight.
- LED Failure (Less Common): While LEDs are known for their longevity, they can still fail prematurely due to manufacturing defects or extreme operating conditions.
Troubleshooting and Solutions:
- Check the Fuses: Consult the owner's manual to locate the headlight fuse(s). Use a fuse tester or simply visually inspect the fuse for a broken filament. Replace any blown fuses with the correct amperage rating.
Example: On many Nissan models, the headlight fuse is located in the engine compartment fuse box.
- Inspect Wiring: Visually inspect the wiring harness leading to the headlight assembly. Look for signs of damage, such as cuts, abrasions, or corrosion. Repair or replace damaged wiring as needed. Use a multimeter to test for continuity in the wiring.
- Test the Headlight Control Module: This typically requires specialized diagnostic equipment. A mechanic can use a scan tool to check for error codes related to the headlight control module. If the module is faulty, it will need to be replaced.
Warning: Replacing the control module may require programming to match the vehicle's VIN.
- LED Headlight Assembly Replacement: If all other troubleshooting steps fail, the LED headlight assembly itself may be faulty and require replacement. This is generally the most expensive option.
2. Dim or Flickering Headlights
Symptom: Headlights appear dimmer than usual, or flicker intermittently.
Possible Causes:
- Low Voltage: Insufficient voltage can cause LEDs to dim or flicker. This could be due to a weak battery, a faulty alternator, or poor ground connections.
- Wiring Issues: Loose or corroded connections can restrict the flow of electricity, leading to dimming or flickering.
- Faulty Headlight Control Module: A failing control module may not be providing consistent power to the LEDs.
- Partial LED Failure: One or more LEDs within the assembly may be failing, resulting in reduced brightness.
Troubleshooting and Solutions:
- Check Battery Voltage: Use a multimeter to check the battery voltage with the engine off and running. A healthy battery should read around 12.6 volts with the engine off and 13.7-14.7 volts with the engine running.
- Inspect Ground Connections: Ensure that the ground connections for the headlights are clean and tight. Corroded ground connections can significantly reduce voltage. Clean or retighten ground connections as needed.
Example: Ground connections are often located near the headlight assembly and on the vehicle's chassis.
- Check for Voltage Drop: Use a multimeter to check for voltage drop across the wiring harness leading to the headlights. Excessive voltage drop indicates a problem with the wiring.
- Test the Headlight Control Module: As with a complete failure, a scan tool can be used to check for error codes related to the headlight control module.
- LED Headlight Assembly Replacement: If the problem persists after checking the above, the headlight assembly may need to be replaced.
3. Uneven Headlight Beam Pattern
Symptom: One headlight beam is noticeably higher or lower than the other, or the beam pattern is distorted.
Possible Causes:
- Headlight Aiming Issues: The headlight assembly may be misaligned, causing an uneven beam pattern.
- Damaged Headlight Assembly: Physical damage to the headlight assembly, such as a cracked lens or broken reflector, can distort the beam pattern.
- Aftermarket Modifications: Improper installation of aftermarket LED bulbs or modifications to the headlight assembly can affect the beam pattern.
Troubleshooting and Solutions:
- Check Headlight Aim: Use a headlight aiming tool or follow the procedure outlined in the owner's manual to adjust the headlight aim. This is a common adjustment after collision repair or headlight assembly replacement.
Note: Incorrect headlight aiming can blind oncoming drivers.
- Inspect for Damage: Carefully inspect the headlight assembly for any signs of damage. Replace the assembly if necessary.
- Revert to Original Configuration: If aftermarket LED bulbs or modifications have been made, revert to the original configuration to see if the problem is resolved.
4. Condensation Inside Headlight Assembly
Symptom: Moisture or condensation is visible inside the headlight assembly.
Possible Causes:
- Cracked or Damaged Seal: A crack or damaged seal around the headlight assembly allows moisture to enter.
- Ventilation Issues: The headlight assembly may have vents that are clogged or blocked, preventing proper ventilation.
Troubleshooting and Solutions:
- Inspect Seals: Carefully inspect the seals around the headlight assembly for any signs of damage.
- Check Ventilation: Ensure that the vents on the headlight assembly are clear and unobstructed.
- Remove and Dry: In some cases, you can remove the headlight assembly and allow it to dry completely in a warm, dry environment. However, this may not be effective if the seal is significantly damaged.
- Replace Headlight Assembly: If the condensation persists, the headlight assembly may need to be replaced to ensure a proper seal.
Real-World Examples
Similar issues occur across various car models with LED headlights:
- Toyota Tacoma: Owners have reported issues with flickering LED headlights, often traced to wiring problems or a failing headlight control module.
- Ford F-150: Condensation inside the headlight assembly is a common complaint, often requiring replacement of the entire unit.
- Honda Civic: Dimming LED headlights have been linked to low voltage issues or a faulty alternator.
Maintenance Tips for 2022 Frontier LED Headlights
Preventive maintenance can help extend the life of your 2022 Frontier's LED headlights:
- Regular Inspections: Periodically inspect the headlights for any signs of damage, dimming, or flickering.
- Clean Headlight Lenses: Keep the headlight lenses clean to ensure optimal light output. Use a mild soap and water solution or a dedicated headlight cleaning product.
- Check Battery and Charging System: Ensure that the battery and charging system are in good condition to provide consistent voltage to the headlights.
- Address Issues Promptly: Address any headlight problems promptly to prevent further damage or potential safety hazards.
Conclusion
While LED headlights on the 2022 Nissan Frontier offer numerous advantages, they are not immune to problems. By understanding the common issues, troubleshooting steps, and maintenance tips outlined in this article, car owners and mechanics can effectively diagnose and resolve headlight problems, ensuring safe and reliable operation. Always prioritize safety when working on electrical components and consult a qualified mechanic if you are unsure about any repair procedures. Regular maintenance and prompt attention to any issues will keep your Frontier's headlights shining brightly for years to come.
To keep your car in top condition, consider the following advice:
- Follow the manufacturer's recommended maintenance schedule for your 2022 Frontier.
- Use quality parts and fluids when performing maintenance or repairs.
- Address any issues promptly to prevent them from escalating into more significant problems.
- Keep your car clean and protected from the elements.
- Consult a qualified mechanic for any complex repairs or maintenance procedures.