2023 Nissan Frontier Pro 4x Leveling Kit
The 2023 Nissan Frontier Pro-4X stands as a testament to Nissan's commitment to off-road capability. With its factory-installed Bilstein shocks, electronic locking rear differential, and skid plates, it's already a formidable contender. However, some owners seek to enhance its appearance and off-road prowess further, often opting for a leveling kit. This guide delves into the technical aspects of installing a leveling kit on a 2023 Nissan Frontier Pro-4X, exploring the 'why' and 'how' beyond just the 'what'.
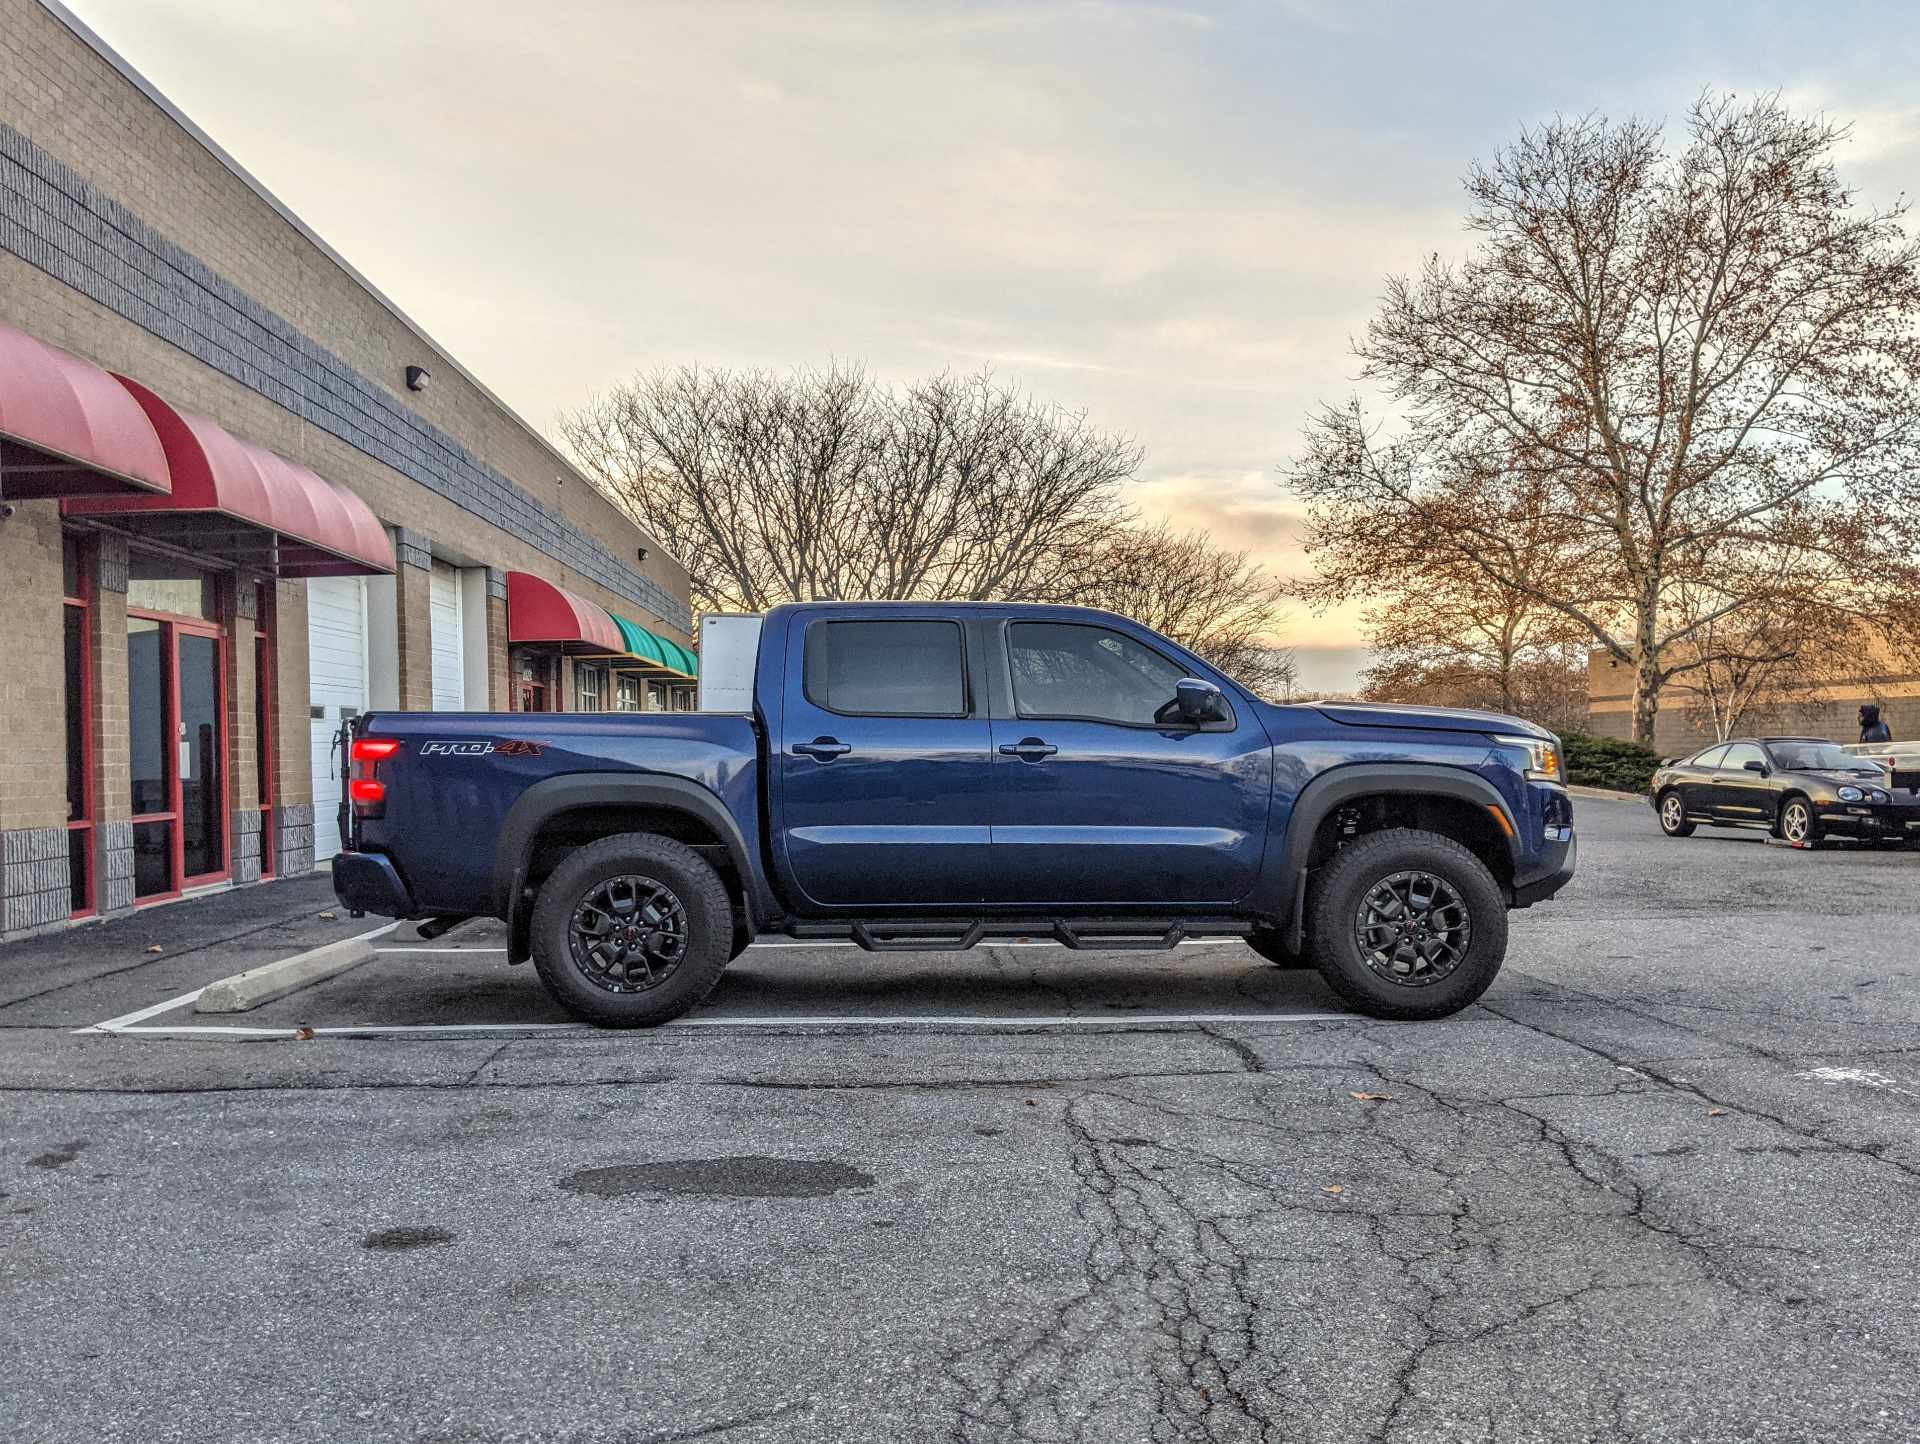
Understanding the Factory Rake
Before diving into leveling kits, it's crucial to understand the concept of "rake." Rake refers to the factory-designed difference in height between the rear and front of a vehicle. Most trucks, including the Frontier Pro-4X, are manufactured with a slight rake, meaning the rear sits higher than the front. This is intentional, serving several purposes:
- Load Capacity: The rake accounts for the rear suspension compressing when carrying heavy loads or towing. Without it, the truck would sag in the rear when loaded, potentially impacting handling and safety.
- Aerodynamics: A slight rake can improve aerodynamics at highway speeds, contributing to better fuel efficiency.
- Aesthetics (subjective): Some find the raked stance visually appealing, while others prefer a more level appearance.
A leveling kit aims to eliminate or reduce this rake, bringing the front of the truck closer in height to the rear.
Types of Leveling Kits for the 2023 Frontier Pro-4X
Leveling kits primarily achieve their objective through two main methods:
Strut Spacers
Strut spacers are the most common and generally least expensive type of leveling kit. They are typically made from aluminum or polyurethane and are installed on top of the front strut assembly. These spacers effectively lower the entire strut assembly relative to the vehicle's frame, thus raising the front end.
Technical Considerations: The thickness of the spacer directly correlates to the amount of lift achieved. However, it's not a 1:1 ratio. Suspension geometry and leverage ratios mean that a 1-inch spacer might result in closer to 1.5-2 inches of lift. The quality of the spacer material is critical. Aluminum spacers offer superior durability and heat dissipation compared to polyurethane. Furthermore, the design of the spacer can impact ride quality. Thicker spacers can reduce suspension travel and potentially lead to a harsher ride, especially over rough terrain. It's also important to note that longer strut bolts may be required for installation, depending on the spacer thickness.
Pros: Affordable, relatively easy to install, maintains factory ride quality (when using smaller spacers).
Cons: Can reduce suspension travel, potentially cause premature wear on ball joints and CV axles (with larger lifts), doesn't improve off-road performance directly (besides ground clearance).
Coil Spring Spacers
Coil spring spacers are less common for the 2023 Frontier Pro-4X but exist. They are installed either inside the coil spring (between the coils themselves) or underneath the coil spring assembly. Similar to strut spacers, they increase the ride height.
Technical Considerations: Inside coil spring spacers can compress the coil spring, increasing its spring rate and resulting in a firmer ride. Under-coil spring spacers are more like strut spacers in their effect, but they can be more difficult to install. Both types of coil spring spacers alter the spring's natural frequency and damping characteristics, potentially affecting handling and ride quality. Careful attention must be paid to coil spring compression when installing, and specialized tools may be required.
Pros: Can be a cost-effective option, potential for adjustable lift (depending on design).
Cons: Can negatively impact ride quality significantly, more complex installation than strut spacers, may require coil spring compressor tool.
Installation Process (General Overview)
While specific instructions vary depending on the chosen leveling kit, the general process typically involves the following steps:
- Preparation: Gather necessary tools (socket set, wrenches, torque wrench, jack stands, penetrating oil, spring compressor if needed), review the kit's instructions, and ensure a safe and level work area.
- Vehicle Preparation: Loosen the lug nuts on the front wheels, then jack up the front of the truck and securely support it with jack stands. Remove the front wheels.
- Strut Assembly Removal: Disconnect any brake lines or ABS wires attached to the strut assembly. Loosen and remove the bolts connecting the strut assembly to the steering knuckle (hub assembly). Carefully remove the strut assembly. This often involves disconnecting the sway bar end links for easier access.
- Spacer Installation: For strut spacers, place the spacer on top of the strut assembly and align the bolt holes. Some kits provide new, longer bolts, while others require reusing the factory bolts. Ensure proper torque specifications are followed when tightening the bolts.
- Reinstallation: Carefully reinstall the strut assembly back into the truck, ensuring proper alignment and tightening all bolts to the manufacturer's specifications. Reconnect any brake lines, ABS wires, and sway bar end links.
- Wheel Reinstallation: Reinstall the front wheels and torque the lug nuts to the proper specification.
- Lowering the Vehicle: Carefully lower the truck back to the ground.
- Alignment: Crucially, after installing a leveling kit, the truck must be taken to a qualified alignment shop for a front-end alignment. Leveling kits alter the suspension geometry, and a proper alignment is essential to prevent premature tire wear and ensure safe handling.
Technical Considerations and Potential Issues
Installing a leveling kit, while seemingly straightforward, can introduce several technical challenges and potential issues:
- Ball Joint Angle: Leveling kits, especially those providing a significant amount of lift, can alter the operating angle of the ball joints. This can accelerate wear and lead to premature failure. Consider aftermarket upper control arms that are designed to accommodate the altered geometry.
- CV Axle Angle: Similar to ball joints, CV axles (on 4x4 models) operate at different angles after a leveling kit installation. Excessive angles can cause vibration and accelerated wear. Dropping the front differential slightly can help mitigate this issue on some vehicles.
- Ride Quality: As mentioned earlier, thicker spacers can reduce suspension travel and result in a harsher ride, particularly when encountering bumps and potholes.
- Tire Clearance: While a leveling kit can provide more room for larger tires, it's essential to research tire fitment to ensure proper clearance at full steering lock and suspension compression. Rubbing can damage tires and suspension components.
- Headlight Aim: Leveling the front of the truck will likely affect headlight aim. You may need to adjust the headlight alignment to ensure proper illumination and avoid blinding oncoming traffic.
- Sensor Recalibration: Some advanced driver-assistance systems (ADAS), such as forward collision warning and automatic emergency braking, rely on sensors that may require recalibration after a leveling kit installation. Consult the vehicle's owner's manual or a qualified technician for more information.
Choosing the Right Leveling Kit
Selecting the appropriate leveling kit requires careful consideration of several factors:
- Desired Lift Height: Determine the amount of lift you want to achieve. A 1-2 inch lift is generally considered a safe and reliable option.
- Intended Use: Consider how you primarily use your truck. If you frequently engage in off-road driving, prioritize kits that maintain or improve suspension travel and articulation.
- Budget: Leveling kits range in price from a few hundred dollars to over a thousand, depending on the type, materials, and brand.
- Brand Reputation: Research different brands and read reviews to gauge the quality and reliability of their products.
- Installation Difficulty: Assess your mechanical skills and choose a kit that you are comfortable installing yourself or hire a qualified mechanic.
Important Note: Always consult the manufacturer's recommendations and warnings before installing any aftermarket suspension components. Improper installation can void warranties and compromise vehicle safety.
Beyond the Level: Considerations for a Complete Suspension Upgrade
While a leveling kit improves aesthetics and provides a small lift, it is often seen as a first step towards a more comprehensive suspension upgrade. If you intend to engage in serious off-roading, consider upgrading the shocks, springs, and control arms for improved performance and durability. A full suspension system, although more expensive, offers significant advantages in terms of ride quality, handling, and off-road capability.
In conclusion, installing a leveling kit on a 2023 Nissan Frontier Pro-4X can enhance its appearance and provide a small increase in ground clearance. However, it's crucial to understand the technical implications and potential issues associated with these modifications. By carefully considering your needs, selecting the right kit, and following proper installation procedures, you can achieve a more level stance and improved driving experience. Always prioritize safety and consult with qualified professionals when necessary.