Ac Evaporator Cleaning In Car
The evaporator core, nestled deep within your vehicle's HVAC (Heating, Ventilation, and Air Conditioning) system, plays a crucial role in keeping you cool and comfortable. It's responsible for absorbing heat from the air passing through, providing you with that refreshing blast of cold air on a hot day. However, its location and constant exposure to moisture make it a breeding ground for mold, mildew, bacteria, and accumulated debris. This leads to unpleasant odors, reduced cooling efficiency, and potentially even health issues. Cleaning the evaporator is therefore a critical maintenance task that should not be overlooked. This article delves into the "what, why, and how" of AC evaporator cleaning.
Understanding the AC Evaporator Core
The evaporator core is essentially a small radiator-like component through which refrigerant flows. As the warm air from the cabin is forced across the evaporator's fins, the refrigerant absorbs the heat, causing the air to cool. This process creates condensation, which is then drained away. However, some moisture always remains, creating a damp environment conducive to microbial growth and debris accumulation. Common culprits include dust, pollen, leaves, and even small insects that find their way into the HVAC system. Over time, this buildup can significantly reduce airflow, diminish cooling performance, and generate foul odors, often described as musty or moldy. A neglected evaporator can also contribute to allergic reactions and respiratory problems, especially for individuals with sensitivities.
Identifying the Need for Evaporator Cleaning
Several telltale signs indicate that your AC evaporator needs cleaning. These include:
- Unpleasant Odors: A musty or moldy smell emanating from the vents, especially when the AC is first turned on.
- Reduced Cooling Efficiency: The AC struggles to cool the cabin adequately, even on moderately warm days.
- Weak Airflow: The blower motor seems to be working fine, but the air coming from the vents is noticeably weak.
- Visible Mold or Mildew: In some cases, you might be able to see mold or mildew growth around the vents or on the dashboard.
- Allergic Reactions: Experiencing increased allergy symptoms, such as sneezing, coughing, or itchy eyes, when the AC is running.
If you notice any of these symptoms, it's time to consider cleaning your AC evaporator. Ignoring these signs can lead to more significant problems down the road, potentially requiring costly repairs or even evaporator replacement.
Cleaning Methods: A Comparative Overview
There are several methods for cleaning an AC evaporator, each with its own advantages and disadvantages. The choice of method depends on the severity of the contamination, your technical skills, and the tools available.
DIY Cleaning with Aerosol Sprays
This is the most common and accessible method for DIYers. It involves using a specially formulated aerosol cleaner designed to kill mold, mildew, and bacteria, while also dissolving debris. The process typically involves:
- Locating the Evaporator Drain: This is usually a small rubber hose extending from the firewall on the engine side of the vehicle. Consult your vehicle's service manual for the exact location.
- Inserting the Spray Nozzle: Carefully insert the spray nozzle into the evaporator drain and spray the entire contents of the can, following the manufacturer's instructions. Some cleaners also come with extended tubes that can be inserted directly into the evaporator core through the cabin air filter housing (if equipped) or other access points.
- Allowing Soak Time: Let the cleaner soak in the evaporator core for the recommended time, usually 15-30 minutes.
- Draining and Drying: The cleaner will drain out through the evaporator drain, carrying away dirt and debris. Allow the system to air dry completely before using the AC.
- Replacing the Cabin Air Filter: If your vehicle has a cabin air filter, replace it with a new one after cleaning. This will help prevent recontamination of the evaporator core.
Pros: Relatively inexpensive, easy to do, requires minimal tools.
Cons: May not be effective for heavily contaminated evaporators, requires identifying the evaporator drain location, can be messy.
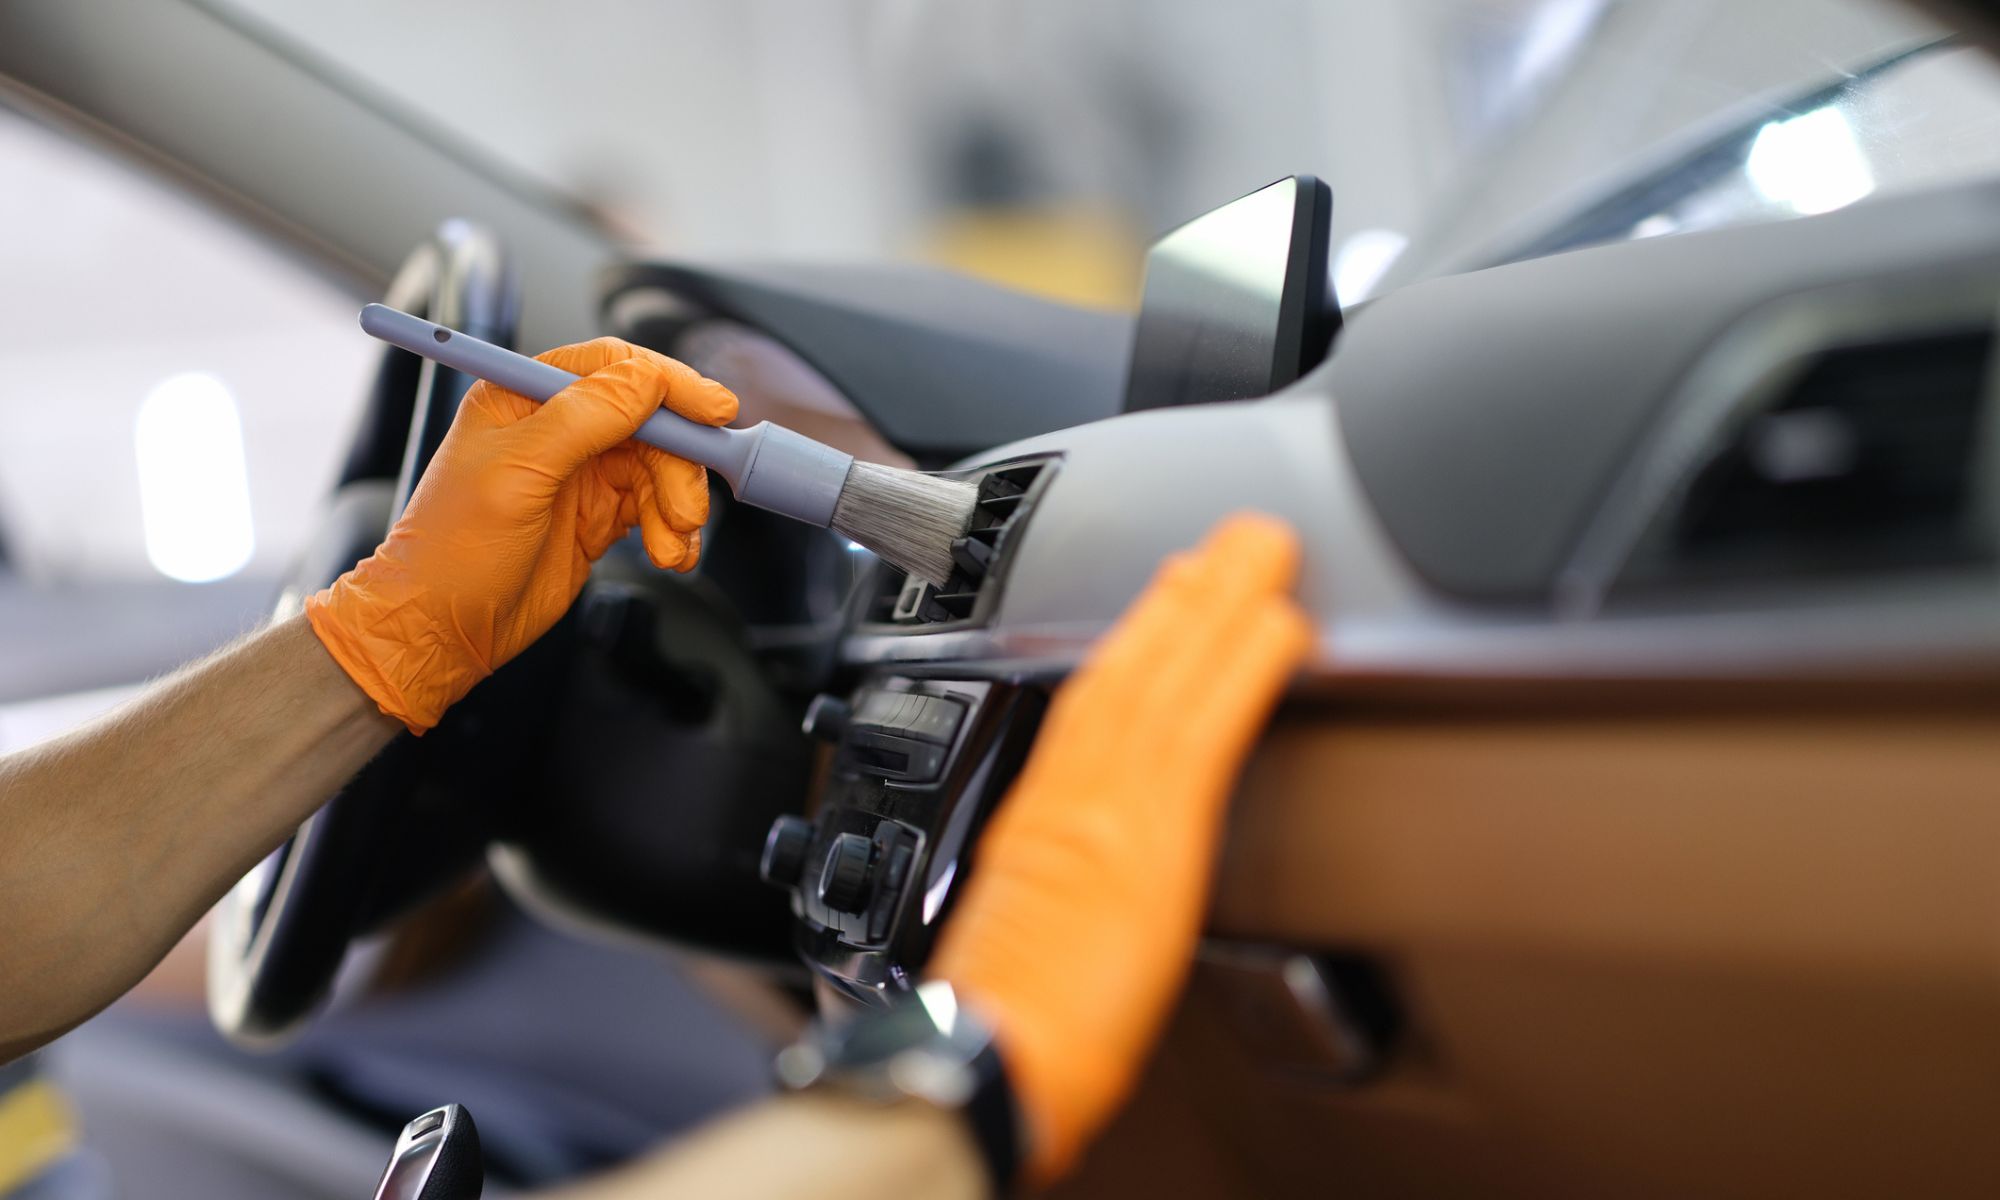
Professional Cleaning with Specialized Equipment
This method involves using specialized equipment, such as an endoscope with a cleaning nozzle, to directly clean the evaporator core. This allows for a more thorough and targeted cleaning, removing even stubborn deposits. The process typically involves:
- Accessing the Evaporator Core: A professional technician will use an endoscope to access the evaporator core, usually through the cabin air filter housing or other access points.
- Cleaning with Specialized Solution: A cleaning solution is sprayed directly onto the evaporator core using the endoscope's cleaning nozzle.
- Vacuuming Debris: The loosened debris is then vacuumed away using the endoscope's vacuum function.
- Disinfecting: The evaporator core is then disinfected to kill any remaining mold, mildew, or bacteria.
- Drying and Reassembly: The system is dried thoroughly, and all components are reassembled.
Pros: More thorough cleaning, removes even stubborn deposits, minimizes mess.
Cons: More expensive than DIY cleaning, requires specialized equipment and expertise.
Foam Cleaning Solutions
Similar to aerosol sprays, foam cleaners are designed to expand and fill the evaporator housing, ensuring comprehensive coverage. They often come with a long, flexible tube that allows you to reach the evaporator core through the drain or other access points. The foam helps to dislodge and encapsulate dirt and grime, which is then flushed out through the drain. Follow the product instructions carefully, ensuring proper ventilation during the process.
Ozone Treatment
While not a direct cleaning method, ozone generators can be used to eliminate odors and kill bacteria within the vehicle's interior, including the HVAC system. Ozone (O3) is a powerful oxidizing agent that can break down odor-causing molecules and disinfect surfaces. However, ozone can be harmful to humans and animals, so it's crucial to follow safety precautions when using an ozone generator. The vehicle must be unoccupied during the treatment, and it should be thoroughly ventilated afterward. Ozone treatment is often used in conjunction with other cleaning methods to provide a more comprehensive solution.
Step-by-Step Guide to DIY Evaporator Cleaning (Aerosol Method)
Here's a more detailed step-by-step guide to cleaning your AC evaporator using an aerosol spray:
- Gather Your Supplies: You'll need an aerosol AC evaporator cleaner, safety glasses, gloves, a rag or towel, and potentially a flexible tube (depending on the cleaner's instructions).
- Protect Yourself: Wear safety glasses and gloves to protect your eyes and skin from the cleaner.
- Locate the Evaporator Drain: Refer to your vehicle's service manual to find the evaporator drain. It's usually a small rubber hose extending from the firewall on the engine side of the vehicle.
- Prepare the Area: Place a rag or towel under the evaporator drain to catch any drips.
- Insert the Spray Nozzle: Carefully insert the spray nozzle into the evaporator drain. If the cleaner comes with a flexible tube, use it to reach further into the evaporator housing.
- Spray the Cleaner: Spray the entire contents of the can, following the manufacturer's instructions. Use short bursts to avoid over-saturating the evaporator core.
- Allow Soak Time: Let the cleaner soak in the evaporator core for the recommended time, usually 15-30 minutes.
- Draining and Drying: The cleaner will drain out through the evaporator drain, carrying away dirt and debris. You may notice a significant amount of dark, dirty liquid draining out. Allow the system to air dry completely before using the AC. This may take several hours, or even overnight.
- Replace the Cabin Air Filter: If your vehicle has a cabin air filter, replace it with a new one after cleaning. This will help prevent recontamination of the evaporator core.
- Run the AC: Once the system is dry, start the engine and turn on the AC. Let it run for several minutes to circulate air through the evaporator core and ensure that any remaining cleaner is evaporated.
Preventive Maintenance: Keeping Your Evaporator Clean
The best way to keep your AC evaporator clean is to prevent it from getting dirty in the first place. Here are some tips for preventive maintenance:
- Use Your AC Regularly: Running your AC regularly helps to keep the evaporator core dry and prevent mold and mildew growth.
- Replace Your Cabin Air Filter Regularly: A clean cabin air filter will help to keep dust, pollen, and other debris out of the HVAC system. Replace it according to your vehicle's maintenance schedule, or more frequently if you live in a dusty or pollen-rich environment.
- Turn Off AC Before Shutting Off the Car: A few minutes before arriving at your destination, turn off the AC but leave the fan running. This helps dry out the evaporator core and reduce moisture buildup.
- Address Leaks Promptly: Any leaks in the HVAC system can introduce moisture and contaminants, accelerating the growth of mold and mildew. Have any leaks repaired promptly by a qualified technician.
Choosing the Right Cleaning Products
When choosing an AC evaporator cleaner, look for products that are specifically designed for automotive use and that contain antimicrobial and antifungal agents. Read the product reviews and choose a cleaner that is known to be effective and safe for your vehicle. Some products may contain harsh chemicals that can damage the evaporator core or other components of the HVAC system, so it's important to choose a cleaner that is compatible with your vehicle's materials. Always follow the manufacturer's instructions carefully when using any cleaning product.
When to Seek Professional Help
While DIY evaporator cleaning can be effective for mild contamination, there are times when it's best to seek professional help. If you've tried DIY cleaning and the odors persist, or if you suspect a more serious problem, such as a refrigerant leak or a damaged evaporator core, it's time to consult a qualified technician. A professional technician has the tools and expertise to diagnose the problem and perform the necessary repairs.