Brake Light And Battery Light
The simultaneous illumination of the brake light and battery light on your car's dashboard can be a confusing and alarming experience. While seemingly unrelated, these lights often point to overlapping issues within your vehicle's electrical and charging systems. This article provides a practical guide for car owners and mechanics, covering the common causes, troubleshooting steps, and maintenance tips related to this concerning dashboard duo.
Understanding the Warning Lights
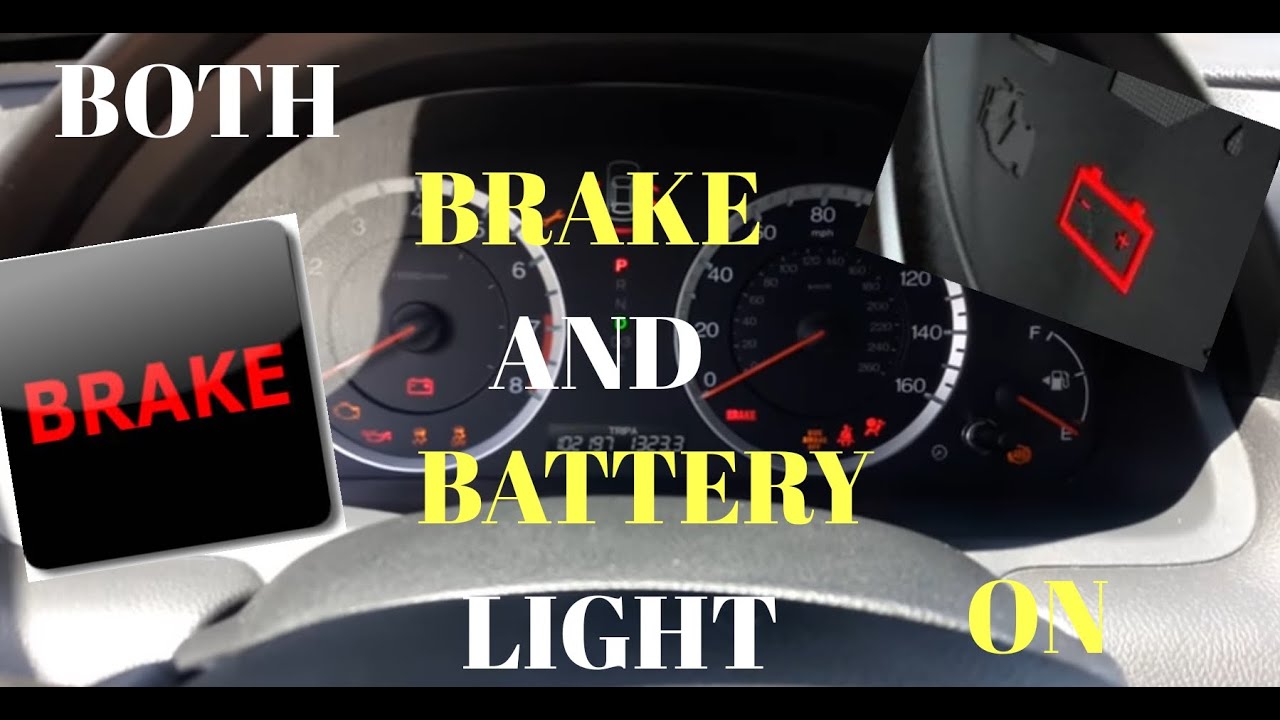
Before diving into specific problems, let's understand what these lights indicate. The brake light (often depicted as the word "BRAKE" or an exclamation point inside a circle) typically warns of low brake fluid, a problem with the parking brake, or a malfunction in the braking system, including the ABS. The battery light (usually a battery symbol) signals an issue with the charging system, often related to the alternator, battery, or associated wiring. Crucially, a failing alternator can trigger both lights.
Common Scenarios and Troubleshooting
Scenario 1: Both Lights On Constantly
Symptom: Both the brake light and battery light are illuminated constantly while driving.
Possible Causes:
- Failing Alternator: This is the most likely culprit. A failing alternator cannot adequately charge the battery, leading to voltage drops that can trigger both warning lights. The brake system often relies on adequate voltage for proper ABS function and sensor operation.
- Loose or Corroded Battery Cables: Poor connections restrict current flow, mimicking a failing alternator and potentially affecting brake system sensors.
- Faulty Voltage Regulator: The voltage regulator controls the alternator's output. If it fails, the alternator might overcharge or undercharge, triggering the battery light and potentially affecting the braking system's electronics.
- Short Circuit: A short in the wiring harness related to the charging or braking systems can cause voltage fluctuations and trigger both lights.
- Low Brake Fluid (Less Likely, But Possible): In some vehicles, a severely low brake fluid level might trigger both lights, especially if the brake system shares a sensor or warning circuit with the charging system.
Troubleshooting Steps:
- Check Battery Voltage: Use a multimeter to measure the battery voltage with the engine off. A healthy battery should read around 12.6 volts. Start the engine and measure the voltage again. It should increase to around 13.5-14.5 volts, indicating the alternator is charging. If the voltage doesn't increase, the alternator is likely faulty.
- Inspect Battery Cables: Examine the battery terminals and cable connections for corrosion or looseness. Clean corroded terminals with a wire brush and ensure the cables are securely tightened.
- Check Alternator Belt: Make sure the alternator belt is in good condition and properly tensioned. A slipping belt won't allow the alternator to spin at the correct speed.
- Scan for Diagnostic Trouble Codes (DTCs): Use an OBD-II scanner to check for any stored codes related to the charging system or braking system. This can provide valuable clues about the source of the problem.
- Check Brake Fluid Level: Ensure the brake fluid reservoir is filled to the proper level. Top off if necessary, but also inspect for leaks in the brake system.
Example (Toyota Camry): A common issue in older Toyota Camrys is alternator failure, leading to both the brake and battery lights illuminating. Replacing the alternator usually resolves the problem. Also, check the fusible link near the battery, as corrosion can cause it to fail, disrupting the charging system.
Scenario 2: Lights Flicker or Come On Intermittently
Symptom: The brake light and battery light flicker or come on intermittently, especially at idle or low speeds.
Possible Causes:
- Weak Alternator: A failing alternator might still produce some voltage but struggle to maintain a consistent charge, especially under load (e.g., headlights, air conditioning).
- Loose Wiring: A loose connection in the charging or braking system can cause intermittent voltage drops.
- Worn Alternator Brushes: The brushes inside the alternator wear down over time, leading to inconsistent contact and fluctuating voltage.
- Failing Battery: A battery nearing the end of its life might not hold a charge properly, stressing the alternator and triggering the warning lights.
Troubleshooting Steps:
- Perform a Load Test on the Battery: A load test assesses the battery's ability to deliver current under a load. Many auto parts stores offer free battery load testing.
- Check Wiring Connections: Carefully inspect all wiring connections related to the alternator, battery, and braking system for looseness, corrosion, or damage. Pay close attention to ground connections.
- Monitor Voltage Fluctuations: Use a multimeter to monitor the battery voltage while driving. Observe if the voltage drops significantly when electrical loads are increased (e.g., turning on the headlights or air conditioning).
- Inspect the Alternator's Regulator: Some alternators have an external regulator. Inspect it for damage or corrosion.
Example (Honda Civic): Honda Civics are known for having issues with alternator brushes wearing down, causing intermittent flickering of the lights. Replacing the alternator's voltage regulator (which often includes the brushes) or the entire alternator usually fixes this. Also, ensure the ELD (Electrical Load Detector) unit is functioning correctly as this unit regulates the alternator output based on electrical load.
Scenario 3: Brake Light On, Battery Light On After Braking
Symptom: The brake light and battery light illuminate briefly after braking.
Possible Causes:
- Low Vacuum in Brake Booster: A leak in the brake booster vacuum hose can cause the engine to momentarily stall or experience a voltage drop when braking, triggering the lights.
- Overworked Alternator: The act of braking, especially with ABS activation, can put a sudden load on the electrical system, momentarily stressing a weak alternator.
Troubleshooting Steps:
- Inspect Brake Booster Vacuum Hose: Check the vacuum hose connecting the brake booster to the engine intake manifold for cracks or leaks. Replace the hose if necessary.
- Test the Alternator's Output Under Load: Have a mechanic test the alternator's output while simulating braking conditions.
- Check for Vacuum Leaks: Use a vacuum gauge to check for vacuum leaks in the engine.
Example (Ford F-150): Ford F-150s, especially those with older brake boosters, can experience vacuum leaks that cause this issue. Replacing the vacuum hose or the brake booster itself may be necessary.
Real-World Issues and Additional Considerations
- Aftermarket Accessories: Aftermarket accessories, such as high-powered stereos or auxiliary lighting, can put a significant strain on the charging system, exacerbating existing problems.
- Cold Weather: Cold weather can reduce battery capacity and increase the load on the alternator, making charging system issues more apparent.
- Driving Habits: Short trips and frequent starting and stopping can prevent the battery from fully charging, contributing to charging system problems.
- ABS System Faults: While less common, a malfunctioning ABS system can sometimes interfere with the vehicle's electrical system, triggering the battery light in conjunction with the brake light.
- Electronic Parking Brake (EPB) Issues: Some vehicles with electronic parking brakes may illuminate both lights if there's a problem with the EPB system's power supply or control module.
Preventative Maintenance for a Healthy Charging and Braking System
Regular maintenance is key to preventing these issues. Here are some essential tips:
- Regular Battery Inspection and Testing: Have your battery tested annually, especially before winter.
- Clean Battery Terminals: Keep battery terminals clean and free of corrosion.
- Check Alternator Belt Tension and Condition: Inspect the alternator belt regularly for wear and proper tension.
- Monitor Brake Fluid Level: Regularly check and maintain the brake fluid level. Have the brake fluid flushed according to the manufacturer's recommendations.
- Inspect Brake Pads and Rotors: Regular brake inspections can identify potential problems early on.
- Proper Use of Electrical Accessories: Avoid overloading the electrical system with excessive aftermarket accessories.
- Address Warning Lights Promptly: Don't ignore warning lights. Address them as soon as possible to prevent further damage and potential safety hazards.
Remember: When in doubt, consult a qualified mechanic. Diagnosing electrical problems can be complex and requires specialized tools and knowledge. Ignoring these warning lights can lead to more serious problems, including a complete breakdown or even damage to other vehicle components. Safety should always be your top priority. By understanding the potential causes of the simultaneous brake light and battery light illumination and following a proactive maintenance schedule, you can keep your car running smoothly and safely for years to come. Always refer to your vehicle's specific owner's manual for recommended maintenance intervals and procedures.