Cabin Air Filter 2015 Altima
Alright, let's talk about the cabin air filter in your 2015 Nissan Altima. It's often overlooked, but it plays a crucial role in the air quality inside your car and can even impact your HVAC (Heating, Ventilation, and Air Conditioning) system's efficiency. Changing it is a relatively simple DIY task, but understanding *why* you're doing it and what to look for is key. This guide will walk you through everything you need to know.
Why Bother Changing Your Cabin Air Filter?
The cabin air filter's job is to filter the air that enters your Altima's cabin through the vents. This includes air from outside, as well as recirculated air. Without a functioning filter, you're breathing in a cocktail of pollutants including:
- Pollen
- Dust
- Road debris
- Mold spores
- Exhaust fumes
A clogged or dirty cabin air filter reduces airflow, forcing your HVAC system to work harder to maintain your desired temperature. This can lead to several problems:
- Reduced AC performance: Your AC won't cool as effectively.
- Reduced heater performance: Your heater won't warm as effectively.
- Musty or unpleasant odors: Bacteria and mold can thrive in a dirty filter.
- Increased wear and tear on your HVAC blower motor: The motor has to work harder to pull air through the clogged filter. This can shorten its lifespan.
- Potential allergic reactions or respiratory irritation: Especially important for those with sensitivities.
- Reduced fuel economy (marginally): The increased load on the engine from the struggling HVAC system can slightly impact fuel efficiency.
Location of the Cabin Air Filter in a 2015 Altima
Fortunately, the cabin air filter in the 2015 Altima is located in a fairly accessible spot: behind the glove box. This is a pretty standard location for many vehicles, making the replacement process relatively straightforward.
Tools and Materials You'll Need
Before you get started, gather the necessary tools and materials:
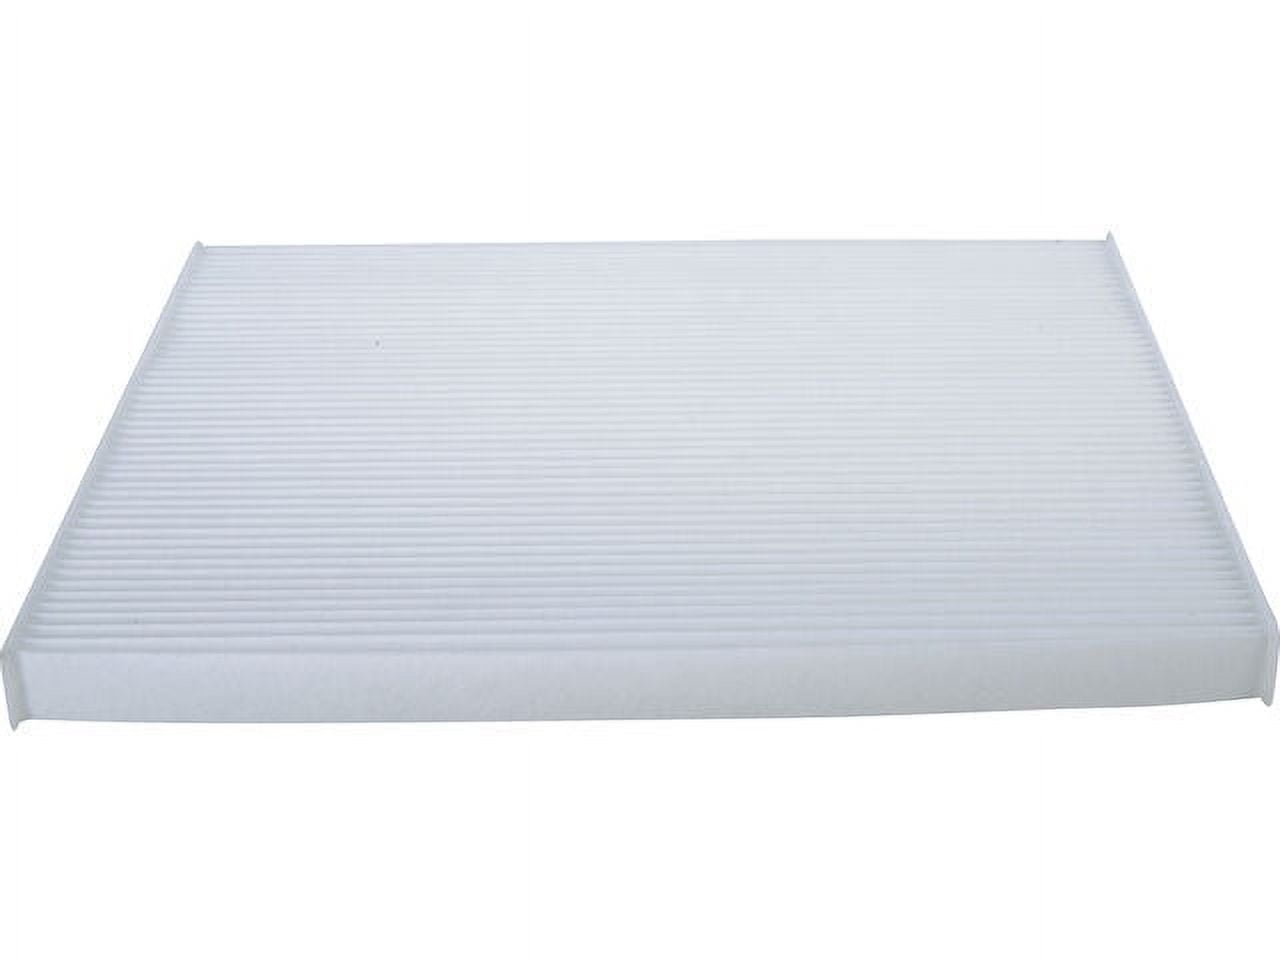
- New Cabin Air Filter: Make sure you get the correct filter for a 2015 Nissan Altima. You can find this information in your owner's manual or by entering your vehicle's details on an auto parts website. Consider using a high-quality filter with activated carbon for better odor control.
- Phillips head screwdriver: You might need this to loosen a couple of screws, although many Altimas use clips instead.
- Flathead screwdriver or plastic trim removal tool (optional but recommended): This can help you gently pry open the glove box dampers without damaging the plastic.
- Shop vacuum (optional): To clean out any debris that falls out when you remove the old filter.
- Gloves (optional): To keep your hands clean.
Step-by-Step Replacement Procedure
Now, let's get down to the nitty-gritty. Follow these steps carefully to replace your cabin air filter:
- Prepare the Vehicle: Park your Altima on a level surface and turn off the engine.
- Open the Glove Box: Open the glove box completely.
- Empty the Glove Box: Remove everything from the glove box to make it lighter and easier to maneuver.
- Locate the Glove Box Dampers (Pistons): On either side of the glove box, you'll see small dampers (sometimes referred to as pistons) that slow down the opening of the glove box. These need to be detached.
- Detach the Glove Box Dampers: This is often the trickiest part. There are two main types of attachments:
- Clip-on Dampers: Some dampers have a plastic clip that attaches to the glove box. You can usually detach these by gently squeezing the clip and pulling the damper off. Using a small flathead screwdriver or trim removal tool can help with leverage.
- Hook-on Dampers: Other dampers have a hook that loops over a pin on the glove box. In this case, you'll need to gently push the glove box inward towards the center of the car, creating slack in the damper cable, and then unhook the damper. Be careful not to force anything.
- Release the Glove Box Stops: Once the dampers are detached, you need to release the glove box stops. These are typically small plastic tabs located on either side of the glove box opening. Gently push inward on these tabs to release the glove box. It should now swing down further than normal, exposing the cabin air filter housing.
- Locate the Cabin Air Filter Housing: Behind the glove box, you'll see a rectangular plastic cover that houses the cabin air filter.
- Remove the Cabin Air Filter Housing Cover: The cover is usually held in place by clips or screws. If it has clips, gently pry them open with a flathead screwdriver or your fingers. If it has screws, remove them with a Phillips head screwdriver.
- Remove the Old Cabin Air Filter: Carefully slide the old cabin air filter out of the housing. Pay attention to the direction of the airflow arrow printed on the filter. This indicates which way the air flows through the filter and you'll need to install the new filter in the same orientation.
- Inspect the Housing: Before installing the new filter, take a moment to inspect the cabin air filter housing. Use a shop vacuum to clean out any debris, leaves, or dirt that may have accumulated inside.
- Install the New Cabin Air Filter: Slide the new cabin air filter into the housing, making sure the airflow arrow is pointing in the correct direction (the same direction as the arrow on the old filter).
- Reinstall the Cabin Air Filter Housing Cover: Replace the plastic cover and secure it with the clips or screws you removed earlier.
- Reattach the Glove Box Stops: Gently push the glove box back into its normal position, aligning the stops with their corresponding slots.
- Reattach the Glove Box Dampers: Reconnect the glove box dampers. If they're clip-on dampers, simply push them back onto the mounting points. If they're hook-on dampers, you'll need to push the glove box inward again to create slack and then hook the dampers back onto their pins.
- Test the Glove Box: Open and close the glove box a few times to make sure it's operating smoothly and the dampers are functioning correctly.
- Replace the Contents of the Glove Box: Put all your belongings back in the glove box.
Troubleshooting
Here are a few common issues you might encounter and how to address them:
- Glove box won't release: Double-check that you've correctly detached the dampers and released the stops. Sometimes, the stops can be a bit stiff and require a firm push.
- Damper broke: If you accidentally break a damper, you'll need to replace it. You can find replacement dampers at most auto parts stores. While you can operate without them, the glovebox will slam open, which isn't ideal.
- Can't remember the airflow direction: If you forgot to note the airflow direction on the old filter, consult your owner's manual or try to deduce it based on the design of the housing. Generally, the airflow is from the passenger compartment side towards the engine bay side.
- New filter doesn't fit: Double-check that you have the correct filter for your 2015 Nissan Altima. There can be slight variations depending on the specific model and trim.
Maintenance and Frequency
Nissan recommends replacing the cabin air filter every 15,000 to 30,000 miles, or every 12 to 24 months, whichever comes first. However, if you drive in dusty or polluted environments, you may need to replace it more frequently. Check the filter periodically – a visual inspection will tell you a lot. A grey, laden filter is a good indicator it is time to change it.
Consider upgrading to a higher-quality filter. Some filters are designed with multiple layers and activated carbon to provide better filtration and odor control. These filters are generally more expensive, but they can be worth the investment if you're concerned about air quality.
By following these steps, you can easily replace your cabin air filter and enjoy cleaner, fresher air inside your 2015 Nissan Altima. It's a simple task that can make a big difference in your driving experience and your overall health.