Can A Dirty Air Filter Cause Maf Code
Hey there! Having some car trouble and landed here? Chances are you're dealing with a Mass Air Flow (MAF) sensor code and wondering if that seemingly insignificant air filter could be the culprit. The short answer is yes, a dirty air filter can absolutely trigger a MAF sensor code. Let's dive into why and, more importantly, what you can do about it.
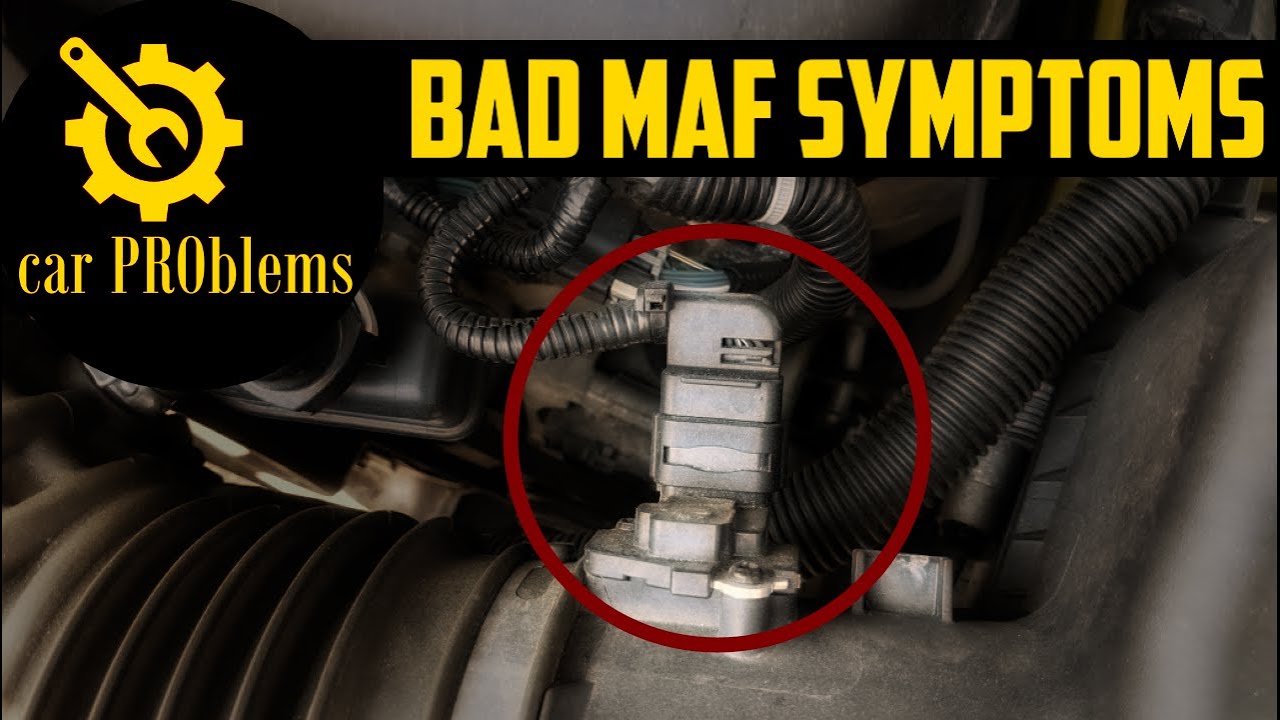
Understanding the MAF Sensor and Air Filter's Role
Before we get into the nitty-gritty, let's quickly review what these components do. The Mass Air Flow (MAF) sensor measures the amount of air entering your engine. This information is crucial for the engine control unit (ECU), sometimes also referred to as the Powertrain Control Module (PCM), to calculate the correct amount of fuel to inject. A precise air/fuel mixture is essential for efficient combustion, optimal performance, and minimized emissions. In short, the MAF sensor is a critical piece of the puzzle.
Now, the air filter. Its job is simple: to prevent dirt, dust, pollen, and other debris from entering your engine. Think of it as the gatekeeper of clean air. A clean air filter allows for unrestricted airflow, ensuring the MAF sensor gets an accurate reading. A dirty air filter, on the other hand, restricts this airflow, creating a domino effect.
How a Dirty Air Filter Causes MAF Sensor Codes
So, how exactly does a dirty air filter lead to a MAF sensor code? Here's the breakdown:
- Restricted Airflow: A clogged air filter reduces the amount of air entering the engine.
- Vacuum Increase: This restricted airflow creates a higher vacuum in the intake system after the air filter but before the MAF sensor. The engine is essentially working harder to pull air in.
- MAF Sensor Misreading: The MAF sensor might read the reduced airflow accurately, but the ECU, expecting a certain airflow for a given engine load, interprets this low reading as a problem. In other cases, the increased vacuum can also pull contaminants past a poorly sealed or very clogged filter, damaging the sensitive components of the MAF sensor itself.
- Lean Condition (Potentially): While not always the case directly, the reduced airflow *can* lead to a slightly leaner air/fuel mixture. The ECU might try to compensate by injecting more fuel, but it may not be enough, or the compensation itself might trigger other diagnostic trouble codes (DTCs).
- Check Engine Light: Finally, the ECU, sensing an issue with the airflow or air/fuel mixture, illuminates the dreaded Check Engine Light and stores a relevant MAF sensor code, such as P0100 (MAF Circuit Malfunction), P0101 (MAF Performance/Range), or P0102 (MAF Circuit Low Input).
Essentially, the dirty air filter throws off the delicate balance of the intake system, leading to inaccurate readings and ultimately, a MAF sensor code.
Diagnosing the Issue
Before you start throwing parts at your car, it's important to confirm that a dirty air filter is indeed the culprit. Here’s a simple diagnostic process:
- Check the Check Engine Light: Use an OBD-II scanner to read the diagnostic trouble codes (DTCs). If you have a MAF sensor code (P0100, P0101, P0102, etc.), proceed to the next step. Auto parts stores often offer free code reading services.
- Inspect the Air Filter: This is the most crucial step. Open your air filter housing and visually inspect the air filter. Is it visibly dirty, clogged with debris, or even falling apart? If so, it's likely the source of your problem. A new filter is generally white, off-white or light orange in color. A heavily soiled filter will be black, grey, or dark brown.
- Consider Other Symptoms: Are you experiencing any other symptoms, such as reduced engine performance, poor fuel economy, or rough idling? These symptoms can further support the diagnosis of a dirty air filter.
- MAF Sensor Inspection (Carefully): If the air filter is *extremely* dirty, carefully inspect the MAF sensor itself. Look for any visible dirt or debris on the sensor wires or film. Do not touch the sensor wires as they are very fragile and can easily break. If the MAF looks heavily contaminated, it might require cleaning or replacement (more on that later).
The Solution: Replacing the Air Filter
If your air filter is indeed dirty, the solution is straightforward: replace it! This is one of the easiest and most inexpensive maintenance tasks you can perform on your car.
Tools Needed:
- New air filter (Make sure it's the correct one for your vehicle - check your owner's manual or an auto parts store website)
- Screwdriver (usually Phillips head or flathead, depending on your car's air filter housing)
- Gloves (optional, but recommended to keep your hands clean)
Steps:
- Locate the Air Filter Housing: This is usually a black plastic box located near the engine, often connected to the intake manifold with a large hose.
- Open the Air Filter Housing: Most air filter housings are secured with clips or screws. Use the appropriate screwdriver or your fingers to release them.
- Remove the Old Air Filter: Carefully remove the old air filter, noting its orientation. This will help you install the new filter correctly.
- Clean the Air Filter Housing: Before installing the new filter, wipe out the inside of the air filter housing with a clean cloth to remove any loose dirt or debris.
- Install the New Air Filter: Insert the new air filter, making sure it's seated properly and in the correct orientation.
- Close the Air Filter Housing: Secure the air filter housing with the clips or screws. Make sure everything is tight and secure.
Pro Tip: Check your owner's manual for the recommended air filter replacement interval. Generally, replacing your air filter every 12,000 to 15,000 miles is a good practice, or more frequently if you drive in dusty or polluted conditions. Regular air filter replacement is cheap insurance against more serious engine problems.
What About the MAF Sensor? Cleaning or Replacement?
After replacing the air filter, you might be wondering if you need to do anything with the MAF sensor itself. Here's the deal:
- If the Air Filter Was the Only Problem: Replacing the air filter might be enough to clear the MAF sensor code. The ECU may automatically reset itself after a few drive cycles. If not, you can try clearing the code with an OBD-II scanner.
- If the MAF Sensor is Dirty: If you suspect the MAF sensor is dirty (as mentioned earlier), you can try cleaning it with a specialized MAF sensor cleaner. Do not use carb cleaner, brake cleaner, or any other type of cleaner, as these can damage the delicate sensor. Follow the instructions on the MAF sensor cleaner carefully. Let the sensor air dry completely before reinstalling it.
- If the MAF Sensor is Damaged or Cleaning Doesn't Work: If the MAF sensor is visibly damaged or if cleaning doesn't resolve the code, you'll need to replace it. MAF sensor replacement is a bit more involved than air filter replacement, but still doable for the average DIYer.
MAF Sensor Replacement (If Necessary)
Tools Needed:
- New MAF sensor (Make sure it's the correct one for your vehicle)
- Screwdriver (usually Phillips head)
- Wrench or socket set (for removing the MAF sensor from the intake tube)
- MAF sensor cleaner (to clean the intake tube where the MAF sensor sits)
Approximate Repair Costs:
- Air Filter Replacement: $10 - $30 (DIY)
- MAF Sensor Cleaning: $10 - $15 (for the cleaner)
- MAF Sensor Replacement: $50 - $200 (for the sensor itself) + Labor (if you're not doing it yourself). Expect to pay between $150 and $400 if you have a shop do the replacement.
Preventative Maintenance is Key
The best way to avoid MAF sensor codes caused by dirty air filters is to stick to a regular maintenance schedule. Replace your air filter as recommended in your owner's manual, or even more frequently if you drive in dusty or polluted environments. A clean air filter not only prevents MAF sensor problems but also improves fuel economy and extends the life of your engine.
So, next time your check engine light comes on with a MAF sensor code, don't immediately assume the worst. Check that air filter first. It might just save you a lot of time and money!
Disclaimer: This information is for general guidance only. Always consult your vehicle's owner's manual and a qualified mechanic for specific repair instructions.