Crankshaft Position Sensor Removal Tool
Alright, let's talk about the Crankshaft Position (CKP) Sensor removal tool. You're probably here because you're wrestling with a stubborn sensor that refuses to budge. Or, perhaps you're just planning ahead and want to avoid potential headaches when replacing yours. Either way, understanding the tool and its application is key to a smooth and successful repair.
Why a Dedicated Tool?
Before we dive into the tool itself, let's quickly recap why a dedicated removal tool is often necessary. The CKP sensor is a critical component in your engine management system. It transmits information about the crankshaft's position and rotational speed (RPM) to the Engine Control Unit (ECU), sometimes also referred to as the Powertrain Control Module (PCM). This data is used for ignition timing, fuel injection, and other crucial engine functions. Because of its location – often buried deep within the engine block, close to the harmonic balancer (a.k.a. crankshaft pulley) – and exposure to heat cycles, the sensor can become seized or fused to the engine block over time. Trying to remove it with brute force can easily damage the sensor housing, the surrounding engine components, or even break the sensor itself inside the bore.
Furthermore, many CKP sensors are located in tight spaces, making it difficult to get a good grip with standard tools like pliers or wrenches. The connector and wiring are also vulnerable to damage if not handled carefully. That's where the specialized CKP removal tool comes in. These tools are designed to provide a secure grip, apply controlled force, and minimize the risk of damage during removal.
Types of CKP Sensor Removal Tools
There isn't a single "one-size-fits-all" CKP sensor removal tool. The best tool for the job depends on the specific sensor design, its location, and the available space. Here are a few common types:
Slide Hammer Puller
The slide hammer puller is a versatile option that can be used for a variety of seized components, including CKP sensors. It typically consists of a threaded adapter that attaches to the sensor housing (if accessible), a slide hammer body, and a handle. The user repeatedly slides the hammer along the body, generating impact force to gradually pull the sensor out.
Pros:
- Versatile and can be used for other seized components.
- Provides controlled impact force.
Cons:
- Requires sufficient clearance for the slide hammer to operate.
- May not be suitable for sensors with delicate housings.
Tip: Always use penetrating oil before attempting to use a slide hammer. Let it soak for several minutes to help loosen the sensor.
Jaw-Type Puller
Jaw-type pullers, sometimes referred to as bearing pullers, feature multiple arms (jaws) that grip the sensor housing. A threaded bolt or screw is then used to apply pressure and extract the sensor. This type of puller is best suited for sensors with a robust housing and sufficient gripping surface. Some jaw pullers are specifically designed with thin jaws to fit into the narrow spaces around the sensor.
Pros:
- Provides a strong and secure grip.
- Can be used in tight spaces, depending on the jaw design.
Cons:
- Requires a suitable gripping surface on the sensor housing.
- Can damage delicate sensor housings if too much force is applied.
Specialized CKP Sensor Removal Sockets
Some CKP sensors are designed with a specific hex or Torx-style fitting that allows for direct removal with a socket. However, these sockets are often specialized, with a shallow depth or a unique profile to fit the sensor's limited access. Using a standard socket might damage the sensor or the surrounding components.
Pros:
- Provides a precise and secure fit.
- Minimizes the risk of damaging the sensor.
Cons:
- Only works with sensors designed for this type of removal.
- May require a specific socket size or profile.
Pliers and Leverage Tools (Use with Extreme Caution!)
While not dedicated CKP sensor removal tools, pliers and leverage tools like pry bars can be used cautiously in certain situations. This should be considered a last resort, as it significantly increases the risk of damage.
Pros:
- Can be used when other tools are not available.
Cons:
- High risk of damaging the sensor, engine block, or surrounding components.
- Difficult to apply controlled force.
If you must use pliers or a pry bar: Wrap the sensor with a cloth to protect it, and apply gentle, even pressure. Use penetrating oil liberally, and be prepared to replace the sensor if it breaks.
Using the CKP Sensor Removal Tool: A Step-by-Step Guide
Regardless of the type of tool you're using, here's a general guide to removing a CKP sensor:
- Safety First: Disconnect the negative battery cable to prevent accidental electrical shorts.
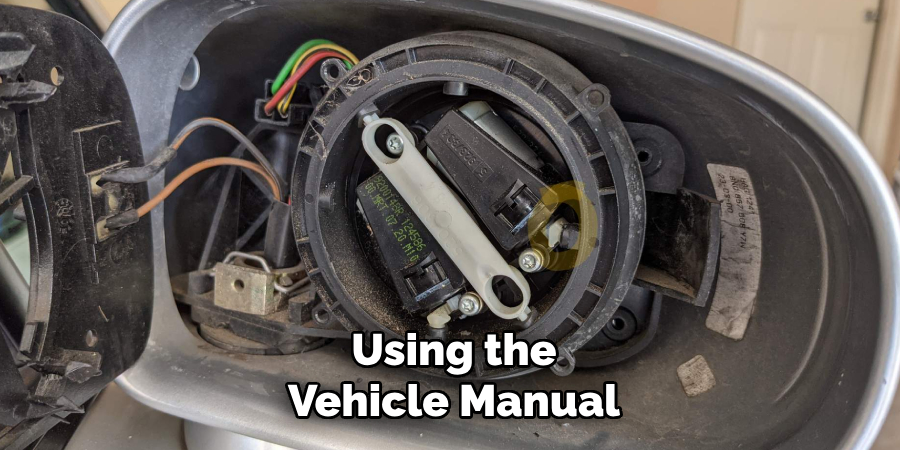
- Locate the Sensor: Consult your vehicle's repair manual or an online resource to pinpoint the exact location of the CKP sensor.
- Disconnect the Electrical Connector: Carefully disconnect the electrical connector from the sensor. Take note of the connector's orientation to ensure proper reconnection later. Check for any locking mechanisms or clips that need to be released.
- Apply Penetrating Oil: Generously apply penetrating oil around the sensor housing where it meets the engine block. Let it soak for at least 15-30 minutes, or even longer for heavily seized sensors. Reapply the oil periodically.
- Attach the Removal Tool: Depending on the tool, attach it to the sensor housing according to the manufacturer's instructions. Ensure that the tool is securely gripping the sensor and aligned properly.
- Apply Controlled Force: Gradually apply force using the removal tool. Avoid excessive force, as this can damage the sensor or the engine block. If using a slide hammer, use short, controlled strokes. If using a jaw-type puller, slowly tighten the bolt or screw.
- Work the Sensor Loose: As you apply force, gently rock the sensor back and forth to help break the bond between the sensor and the engine block. Continue applying penetrating oil as needed.
- Remove the Sensor: Once the sensor is loose, carefully pull it straight out of the bore. Avoid twisting or bending the sensor, as this can damage the internal components.
- Inspect the Bore: After removing the sensor, inspect the bore for any debris or corrosion. Clean the bore thoroughly with a wire brush or solvent.
Important Considerations
- Penetrating Oil is Your Friend: Don't underestimate the power of penetrating oil. It's often the key to a successful removal.
- Patience is Key: Don't rush the process. Applying excessive force can lead to damage. Take your time and work the sensor loose gradually.
- Sensor Condition: Be prepared to replace the sensor. If it's heavily corroded or damaged during removal, it's likely not reusable.
- OEM vs. Aftermarket: When replacing the sensor, consider using an OEM (Original Equipment Manufacturer) part. Aftermarket sensors can vary in quality and performance.
- Proper Installation: When installing the new sensor, apply a small amount of anti-seize compound to the sensor housing to prevent it from seizing in the future. Torque the sensor to the manufacturer's specifications.
- Check the Wiring: Inspect the wiring harness and connector for any damage or corrosion. Repair or replace as needed.
- Clearance Issues: Some vehicles have extremely limited clearance around the CKP sensor. You may need to remove or reposition other components (e.g., starter, exhaust manifold) to access the sensor.
Diagnosing a Faulty CKP Sensor
Finally, remember that a suspected CKP sensor problem could actually stem from other issues. Common symptoms of a failing CKP sensor include:
- Engine stalling or misfiring
- Difficulty starting the engine
- Check engine light (CEL) illumination
- Loss of power or acceleration
- Erratic RPM readings
Before replacing the CKP sensor, it's crucial to perform a thorough diagnostic check to rule out other potential causes. This may involve checking the wiring, the sensor's signal output, and other related components. Use a scan tool to retrieve any Diagnostic Trouble Codes (DTCs) stored in the ECU. Codes related to the CKP sensor will usually contain terms like "crankshaft position sensor," "RPM signal," or "timing reference."
In conclusion, removing a CKP sensor can be a challenging task, but with the right tool, patience, and a methodical approach, you can successfully complete the job yourself. Remember to prioritize safety, use penetrating oil liberally, and avoid excessive force. Good luck!