Cv Boot And Axle Replacement
Your car's axles and CV boots are critical components of its drivetrain, responsible for transferring power from the engine to the wheels. Understanding their function, common issues, and the repair process can save you time, money, and potential headaches. This article provides a comprehensive overview of CV boot and axle replacement, empowering you to make informed decisions about your vehicle's maintenance.
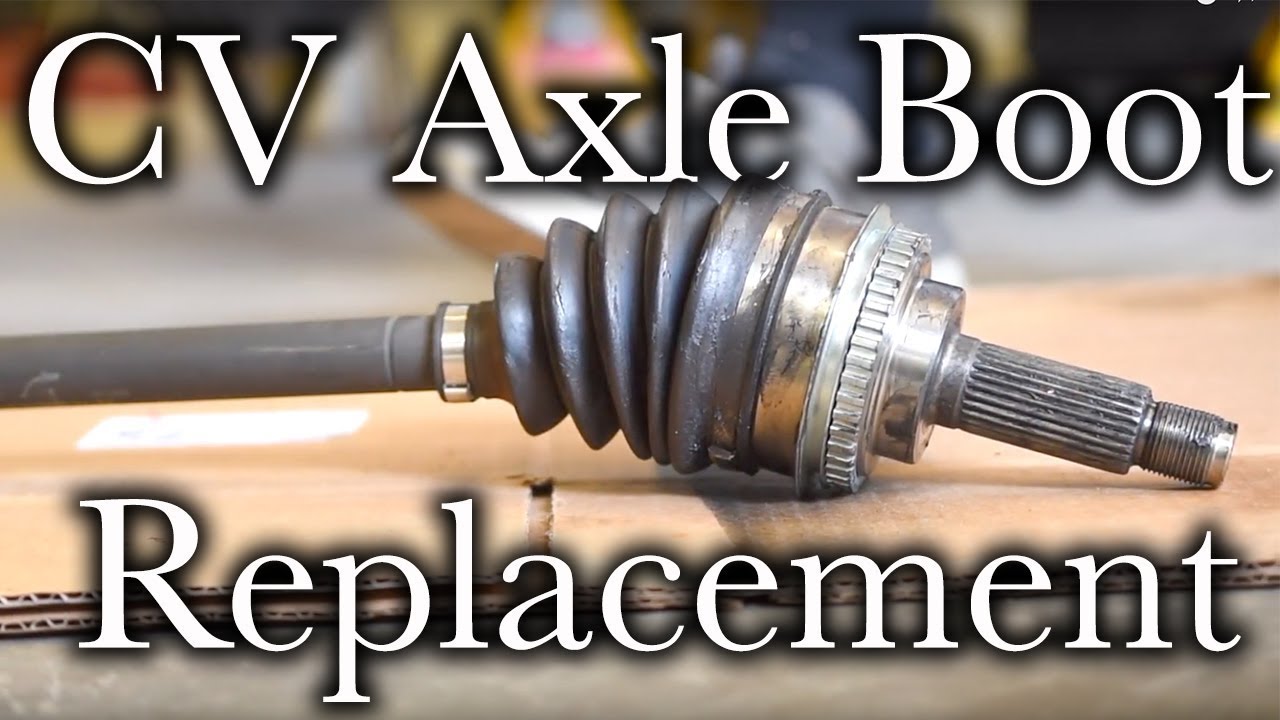
What are CV Boots and Axles?
Let's break down the purpose of each component:
- Axle: The axle is a shaft that transmits torque (rotational force) from the differential to the wheels, causing them to turn. Most cars have two axles, one for each front wheel (in front-wheel-drive vehicles) or one for each rear wheel (in rear-wheel-drive vehicles). All-wheel-drive vehicles have both front and rear axles.
- CV Boot: CV stands for Constant Velocity. CV joints are located at each end of the axle, allowing the axle to transfer power smoothly even when the suspension is moving up and down or when the wheels are turning. The CV boot is a flexible, rubber or neoprene cover that seals the CV joint, protecting it from dirt, debris, and moisture. It also holds the grease that lubricates the joint.
Think of the CV boot as a protective shield for a delicate and crucial part of your car. Without it, the CV joint is vulnerable to damage, leading to eventual failure.
Why CV Boots Fail
CV boots are made of rubber or neoprene, which are susceptible to wear and tear over time. Common causes of CV boot failure include:
- Age: Rubber degrades over time, becoming brittle and prone to cracking.
- Extreme Temperatures: Exposure to extreme heat or cold can accelerate the deterioration of the rubber.
- Road Debris: Rocks, salt, and other road debris can puncture or tear the boot.
- Ozone and UV Exposure: Sunlight and ozone can damage the rubber.
- Contamination: Grease contamination can degrade the rubber.
When a CV boot cracks or tears, the grease inside leaks out, and dirt and debris enter the joint. This leads to friction, wear, and eventual failure of the CV joint.
Signs of a Failing CV Boot or Axle
Recognizing the symptoms of a failing CV boot or axle early on can prevent more serious and costly repairs. Here are some common warning signs:
- Grease on the Inside of the Wheel or Tire: This is a telltale sign of a torn CV boot. You'll typically see black, greasy residue splattered around the area.
- Clicking or Popping Noise During Turns: This noise indicates that the CV joint is worn out and needs to be replaced. The noise usually gets louder as the wear worsens and can be more noticeable during sharp turns at lower speeds.
- Vibration While Driving: A damaged axle or CV joint can cause vibrations, especially at higher speeds. This vibration may be felt in the steering wheel or the seat.
- Bouncing or Shaking: This could indicate more serious axle damage and it is best to have a professional inspect it.
If you notice any of these symptoms, it's crucial to have your vehicle inspected by a qualified mechanic as soon as possible.
CV Boot Replacement vs. Axle Replacement
When a CV boot fails, you have two options: replace just the boot or replace the entire axle assembly. The best option depends on the extent of the damage and the condition of the CV joint.
- CV Boot Replacement: If the CV joint is still in good condition (no clicking or popping noises, no excessive play), replacing just the boot is a viable option. This is generally less expensive than replacing the entire axle. However, it's a more labor-intensive job, as it requires disassembling the CV joint, cleaning it, and repacking it with grease.
- Axle Replacement: If the CV joint is damaged or worn out, replacing the entire axle assembly is the recommended solution. This is often a quicker and easier repair, as it involves simply removing the old axle and installing a new one. It also ensures that you're getting a new CV joint, which can extend the life of the repair.
A mechanic can properly diagnose the condition of the CV joint and recommend the best course of action. Factors they will consider include:
- The presence of clicking or popping noises.
- The amount of play (looseness) in the joint.
- The overall condition of the joint.
Generally, if you've been driving with a torn CV boot for an extended period, it's likely that the CV joint is already damaged, and axle replacement is the more prudent choice.
The CV Boot and Axle Replacement Process
While the exact procedure may vary depending on the vehicle's make and model, here's a general overview of the CV boot and axle replacement process:
- Safety First: The mechanic will start by ensuring the vehicle is safely secured on a lift and wearing appropriate safety gear.
- Remove the Wheel: The wheel on the affected side will be removed to access the axle and CV joint.
- Disconnect Suspension Components: Depending on the vehicle's design, the mechanic may need to disconnect certain suspension components, such as the tie rod end or the ball joint, to create enough clearance to remove the axle.
- Drain Transmission Fluid (If Necessary): On some vehicles, removing the axle may cause transmission fluid to leak out. In these cases, the mechanic will drain the fluid beforehand.
- Remove the Axle: The axle is typically held in place by a nut on the hub side and a connection to the transmission or differential on the other end. The mechanic will carefully disconnect these connections and remove the axle.
- CV Boot Replacement (If Applicable): If only the CV boot is being replaced, the mechanic will disassemble the CV joint, clean it thoroughly, repack it with fresh grease, and install a new boot.
- Install the New Axle: The new axle is carefully installed, ensuring that all connections are properly secured.
- Reassemble Suspension Components: Any suspension components that were disconnected are reconnected.
- Refill Transmission Fluid (If Necessary): If transmission fluid was drained, it is refilled to the proper level.
- Install the Wheel: The wheel is reinstalled and tightened to the proper torque specification.
- Test Drive: The mechanic will perform a test drive to ensure that the repair was successful and that there are no unusual noises or vibrations.
Cost of CV Boot and Axle Replacement
The cost of CV boot and axle replacement can vary depending on several factors, including:
- Vehicle Make and Model: Some vehicles have more complex axle designs, which can increase labor costs.
- Type of Repair: Replacing just the CV boot is generally less expensive than replacing the entire axle.
- Parts Quality: Aftermarket parts may be less expensive than OEM (Original Equipment Manufacturer) parts, but they may not be as durable or reliable.
- Labor Rates: Labor rates vary from shop to shop.
As a general estimate, replacing a CV boot can range from $150 to $300, while replacing an entire axle assembly can range from $300 to $800. It's always a good idea to get quotes from multiple shops before making a decision.
Can I Replace a CV Boot or Axle Myself?
Replacing a CV boot or axle is a moderately difficult repair that requires some mechanical knowledge, specialized tools, and a good understanding of your vehicle's drivetrain. If you're comfortable working on cars and have the necessary tools and experience, you may be able to do it yourself. However, if you're not experienced, it's best to leave this repair to a professional mechanic.
Potential pitfalls of DIY include:
- Improper installation, leading to premature failure.
- Damage to other components.
- Safety hazards.
Safety is paramount when working on your car. Always use proper safety equipment, such as jack stands, safety glasses, and gloves. If you're not comfortable with any aspect of the repair, seek professional assistance.
Preventative Maintenance Tips
While CV boots and axles will eventually wear out, there are some things you can do to extend their lifespan:
- Regular Inspections: Have your CV boots inspected regularly for cracks or tears.
- Avoid Rough Roads: Driving on rough roads can accelerate wear and tear on your CV boots and axles.
- Proper Lubrication: Ensure that your CV joints are properly lubricated.
- Address Issues Promptly: If you notice any signs of a failing CV boot or axle, have it addressed promptly to prevent further damage.
Conclusion
Understanding the function of CV boots and axles, recognizing the signs of failure, and knowing your repair options can help you keep your vehicle running smoothly and avoid costly repairs. Whether you choose to replace the CV boot yourself or entrust the job to a professional, remember that proper maintenance and timely repairs are essential for the longevity of your car's drivetrain. Don't ignore those clicking sounds or grease splatters – addressing them early can save you money and prevent further damage. Regular check-ups with a trusted mechanic can help you identify and address potential issues before they become major problems.