Fuel Filter For Nissan Altima
Alright, let's talk about the fuel filter on your Nissan Altima. It's a seemingly small part, but it plays a critical role in the overall health and performance of your engine. Understanding its function, replacement procedure, and potential issues can save you a lot of headaches down the road.
What Does the Fuel Filter Do?
Simply put, the fuel filter cleans the fuel before it reaches your engine. Gasoline, even from reputable stations, can contain contaminants like rust, dirt, debris from the fuel tanks, and even water. These contaminants, if allowed to pass through the fuel system, can cause serious damage.
- Fuel Injector Clogging: This is the most common issue. Clogged injectors disrupt the spray pattern, leading to poor fuel atomization, reduced fuel efficiency, misfires, and overall poor engine performance.
- Fuel Pump Damage: Debris can wear down the internal components of the fuel pump, reducing its lifespan and eventually leading to failure. A failing fuel pump can cause stalling, hard starting, and a complete lack of fuel delivery.
- Engine Damage: In severe cases, larger particles can even damage the engine's internal components, although this is less common with modern filtration systems.
The fuel filter is designed to trap these particles, ensuring that only clean fuel reaches the sensitive components of your fuel system. Think of it like the oil filter for your engine, but instead of filtering oil, it's filtering fuel.
Fuel Filter Location and Types
The location of the fuel filter on a Nissan Altima can vary slightly depending on the model year. Generally, you'll find it in one of two places:
- In-line, Under the Car: This is a common location for older Altimas. The filter will be located along the fuel line, typically near the fuel tank. It's usually a cylindrical canister with fuel lines connected to both ends.
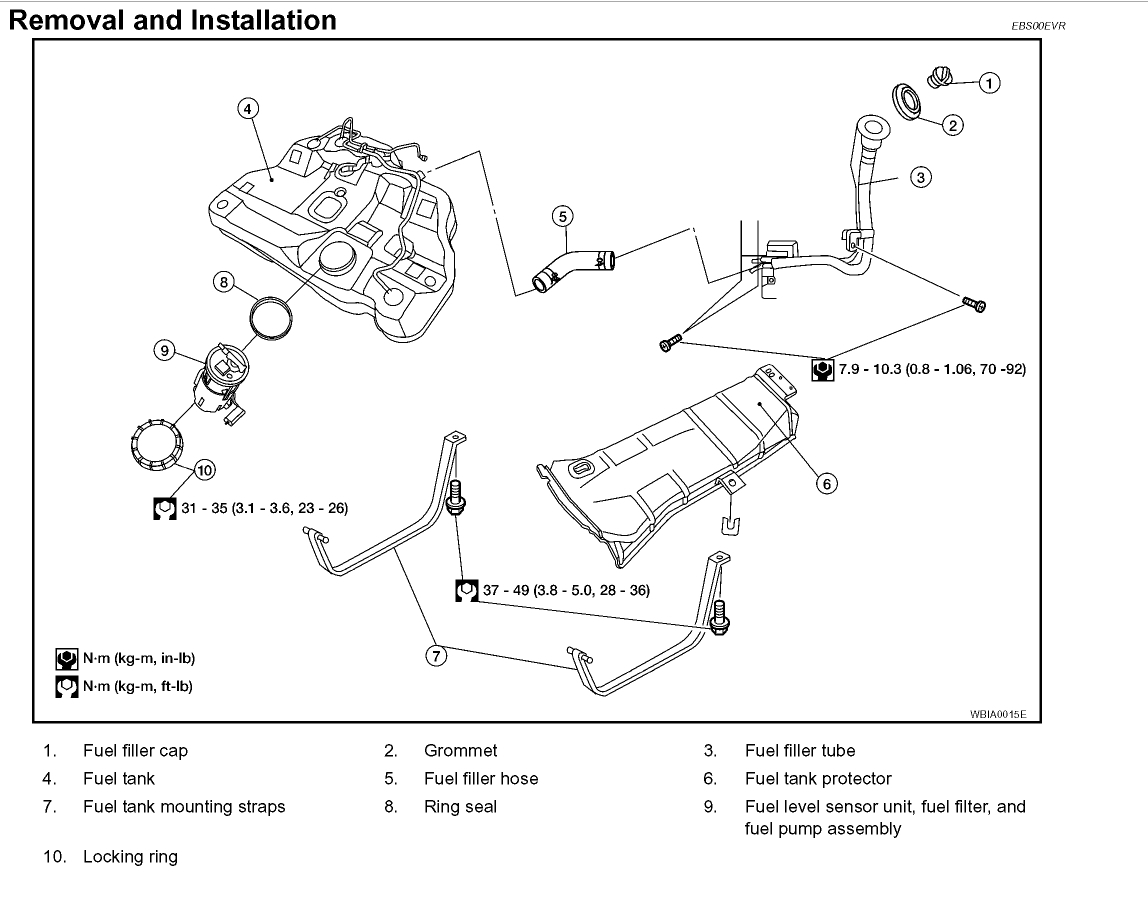
- In the Fuel Tank, as part of the Fuel Pump Assembly: Many newer Altimas have the fuel filter integrated into the fuel pump module inside the fuel tank. This makes replacement a bit more involved.
There are two main types of fuel filters you'll encounter:
- Spin-On Filters: These are typically found in the in-line, under-car location. They're easy to identify; they look like a small oil filter and are simply spun onto a fitting.
- Cartridge Filters: These are usually found as part of the fuel pump assembly. They're a replaceable cartridge that fits inside the fuel pump module.
When to Replace Your Fuel Filter
Nissan typically recommends replacing the fuel filter every 30,000 to 50,000 miles. However, this is just a guideline. Several factors can influence the lifespan of your fuel filter, including the quality of the fuel you use, the age of your fuel tank, and the driving conditions you experience.
Here are some signs that your fuel filter might need replacing sooner than the recommended interval:
- Reduced Fuel Efficiency: A clogged filter restricts fuel flow, forcing the engine to work harder and burn more fuel.
- Rough Idling: A lack of sufficient fuel can cause the engine to idle roughly or even stall.
- Difficulty Starting: Especially when the engine is cold, a clogged filter can make it difficult to start.
- Hesitation During Acceleration: When you step on the gas, the engine may hesitate or stumble due to insufficient fuel delivery.
- Engine Misfires: A clogged filter can disrupt the fuel-air mixture, leading to misfires. You might notice a "check engine" light illuminated on your dashboard.
If you experience any of these symptoms, it's a good idea to check your fuel filter. It's also wise to replace the fuel filter if you've recently purchased a used Altima and are unsure of its maintenance history.
Replacing the Fuel Filter (In-Line Type)
Replacing an in-line fuel filter is a relatively straightforward DIY project. However, it's crucial to take safety precautions when working with fuel. Always disconnect the negative battery cable before starting any fuel system work. This will help prevent accidental sparks that could ignite fuel vapors.
- Gather Your Tools and Supplies: You'll need the following:
- New fuel filter (make sure it's the correct one for your Altima's year and engine)
- Wrenches (typically metric)
- Fuel line disconnect tool (specific to your vehicle; these are inexpensive plastic tools)
- Drain pan or bucket
- Safety glasses
- Gloves
- Rags or paper towels
- Locate the Fuel Filter: As mentioned earlier, it's usually located under the car, along the fuel line near the fuel tank.
- Relieve Fuel Pressure: This is an essential step. There are a couple of ways to do this:
The safest method is to remove the fuel pump relay (check your owner's manual for its location) and start the engine. Let the engine run until it stalls. This will relieve most of the pressure in the system. Then, try to start the car again to ensure it won't start. Disconnect the negative terminal on the battery.
- Position the Drain Pan: Place the drain pan under the fuel filter to catch any spilled fuel.
- Disconnect the Fuel Lines: Use the fuel line disconnect tool to disconnect the fuel lines from the filter. These tools are designed to release the retaining clips that hold the fuel lines in place. Be prepared for some fuel to spill out. Have your rags ready to soak it up.
- Remove the Old Fuel Filter: Depending on the mounting setup, you may need to loosen a clamp or bracket to remove the old filter.
- Install the New Fuel Filter: Make sure the new filter is oriented correctly. There's usually an arrow on the filter indicating the direction of fuel flow. Connect the fuel lines, ensuring they click securely into place.
- Secure the Filter: Tighten any clamps or brackets that hold the filter in place.
- Reconnect the Battery: Reconnect the negative battery cable.
- Check for Leaks: Turn the ignition key to the "on" position (without starting the engine) to prime the fuel system. Carefully inspect the fuel lines and filter for any leaks. If you see any leaks, tighten the connections.
- Start the Engine: Start the engine and let it idle for a few minutes. Again, check for any leaks.
Replacing the Fuel Filter (In-Tank Type)
Replacing an in-tank fuel filter is more complex and requires more specialized tools and knowledge. If you're not comfortable working inside the fuel tank, it's best to have this done by a professional mechanic.
This is a general overview. Always consult your vehicle's service manual for specific instructions.
- Safety First!: Disconnect the negative battery cable. Work in a well-ventilated area. Have a fire extinguisher nearby.
- Gain Access to the Fuel Tank: The fuel pump access panel is usually located under the rear seat or in the trunk. You may need to remove some trim pieces to access it.
- Disconnect Electrical Connectors and Fuel Lines: Disconnect the electrical connector(s) and fuel lines from the fuel pump module. Again, be prepared for some fuel to spill out.
- Remove the Fuel Pump Module: Carefully remove the fuel pump module from the fuel tank. This may require a special tool to unscrew a retaining ring.
- Disassemble the Fuel Pump Module: Disassemble the fuel pump module to access the fuel filter cartridge. The exact procedure will vary depending on the design of the module.
- Replace the Fuel Filter Cartridge: Remove the old fuel filter cartridge and install the new one. Make sure it's properly seated.
- Reassemble the Fuel Pump Module: Reassemble the fuel pump module, making sure all components are properly aligned and secured.
- Reinstall the Fuel Pump Module: Carefully reinstall the fuel pump module into the fuel tank. Tighten the retaining ring to the correct torque specification.
- Reconnect Electrical Connectors and Fuel Lines: Reconnect the electrical connector(s) and fuel lines to the fuel pump module.
- Reinstall Access Panel and Trim: Reinstall the fuel pump access panel and any trim pieces that were removed.
- Reconnect the Battery: Reconnect the negative battery cable.
- Check for Leaks: Turn the ignition key to the "on" position (without starting the engine) to prime the fuel system. Carefully inspect the fuel lines and the fuel pump access area for any leaks.
- Start the Engine: Start the engine and let it idle for a few minutes. Again, check for any leaks.
Important Considerations
- Use Quality Parts: Always use a high-quality fuel filter from a reputable brand. Cheap filters may not provide adequate filtration and can even cause damage to your fuel system.
- Proper Disposal: Dispose of the old fuel filter and any contaminated rags or paper towels properly. Fuel is a hazardous material.
- Check Fuel Pressure: After replacing the fuel filter, it's a good idea to check the fuel pressure to ensure that the fuel system is operating correctly. A fuel pressure gauge can be rented from many auto parts stores.
- Address Other Fuel System Issues: If your fuel filter was extremely dirty or clogged, it's a sign that there may be other issues in your fuel system, such as a dirty fuel tank or failing fuel pump. Consider having these issues addressed to prevent future problems.
Replacing your Nissan Altima's fuel filter is a crucial maintenance task that can significantly improve engine performance and extend the life of your fuel system. Whether you choose to tackle the job yourself or have it done by a professional, understanding the function of the fuel filter and the importance of regular replacement will help keep your Altima running smoothly for years to come.
Final Thoughts
Remember, working on your car can be rewarding but also potentially dangerous. If you're ever unsure about a procedure, it's always best to consult a qualified mechanic. Safety should always be your top priority.