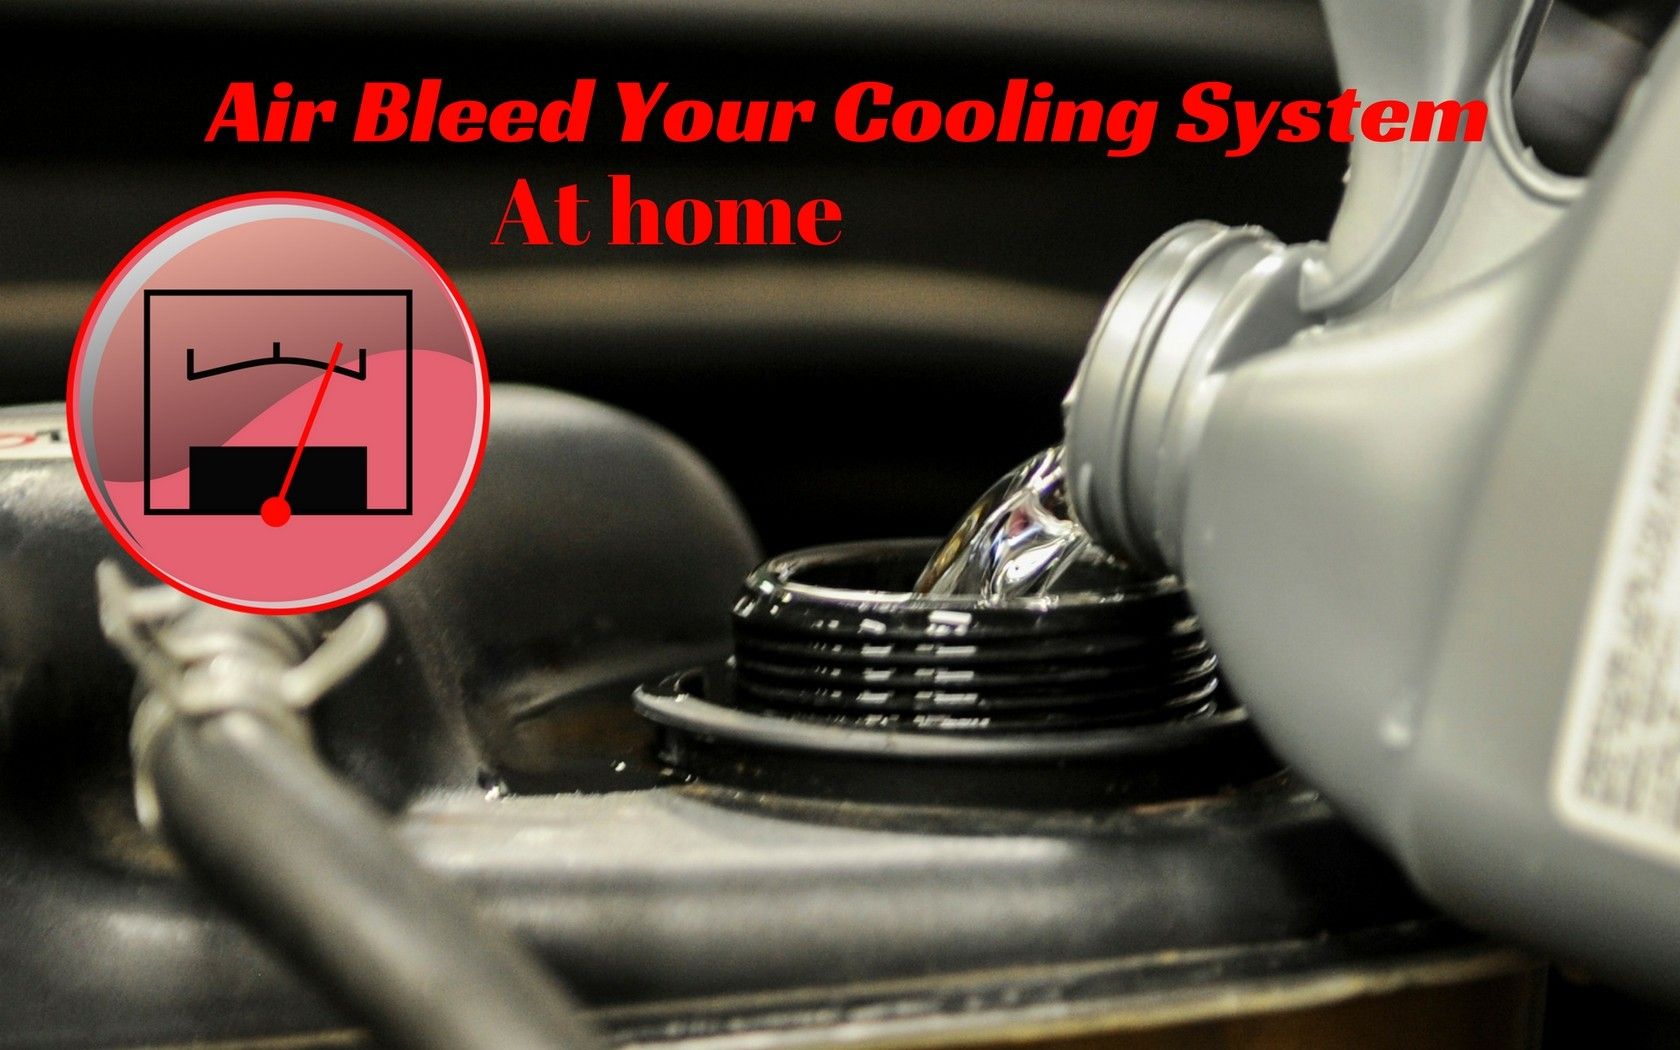
Get Air Out Of Coolant System
Ensuring your car's cooling system functions correctly is paramount for engine longevity. Overheating can cause severe damage, and one common culprit is trapped air within the coolant lines. Properly bleeding the system to remove this air is crucial for efficient heat dissipation. This article details various methods for effectively purging air from your car's cooling system, catering to both DIY enthusiasts and seasoned professionals.
Understanding the Cooling System and Air Entrapment
The cooling system is a closed-loop network responsible for maintaining optimal engine temperature. It circulates coolant—typically a mixture of antifreeze and water—through the engine block and cylinder head, absorbing heat. This heated coolant then flows to the radiator, where the heat is dissipated into the atmosphere. Air can enter the system during several situations:
- Coolant Replacements: Draining and refilling the system often introduces air pockets.
- Component Replacement: Replacing parts like the water pump, thermostat, or radiator hoses can leave air gaps.
- Head Gasket Leaks: Combustion gases can leak into the coolant, creating air pockets and pressurizing the system. This requires immediate attention.
- Hose Issues: Loose or cracked hoses can draw in air, especially during engine cool-down when a vacuum is created.
Trapped air disrupts coolant flow, leading to localized hot spots and reduced cooling efficiency. This can manifest as:
- Overheating: The most obvious sign.
- Erratic Temperature Gauge Readings: The gauge may fluctuate wildly.
- Coolant Leaks: Excessive pressure from trapped air can stress system components.
- Poor Heater Performance: Air pockets can prevent coolant from reaching the heater core.
- Gurgling Noises: Audible air movement within the system.
Tools and Preparations
Before starting the bleeding process, gather the necessary tools and materials:
- Safety Glasses and Gloves: Protect yourself from hot coolant.
- Coolant: Use the correct type specified in your vehicle's owner's manual.
- Funnel: A spill-proof funnel designed for coolant systems is highly recommended.
- Wrenches and Screwdrivers: For accessing bleed valves and reservoir caps.
- Rags or Shop Towels: For cleaning up spills.
- Jack and Jack Stands (Optional): May be needed to access bleed points on some vehicles.
Important Safety Note: Never open the cooling system while the engine is hot. Allow the engine to cool down completely before attempting any work. Hot coolant is under pressure and can cause severe burns.
Bleeding Procedures
Several methods can be employed to bleed air from the cooling system. The most appropriate method depends on the vehicle's design and the severity of the airlock.
Method 1: Using the Bleed Valve(s)
Many modern vehicles are equipped with dedicated bleed valves, usually located on the thermostat housing, radiator, or coolant hoses. These valves provide a convenient point to release trapped air.
- Locate the Bleed Valve(s): Consult your vehicle's service manual to identify the location of the bleed valve(s).
- Prepare the Area: Place a rag or container under the bleed valve to catch any coolant that escapes.
- Open the Valve: Carefully loosen the bleed valve screw or nut. You should hear air hissing out.
- Monitor Coolant Flow: Once coolant starts flowing steadily without air bubbles, tighten the bleed valve.
- Check Coolant Level: Top off the coolant reservoir to the "FULL" mark.
- Repeat: Repeat the process on all bleed valves in the system.
Pro Tip: Sometimes, gently squeezing the upper radiator hose while the bleed valve is open can help dislodge stubborn air pockets.
Method 2: Using the Radiator Cap (with Caution)
This method requires extreme caution due to the risk of hot coolant spraying out. It's generally recommended only for vehicles without bleed valves.
- Ensure the Engine is Cool: This is absolutely critical.
- Partially Remove the Radiator Cap: Loosen the radiator cap to the first stop, but do not remove it completely. This will allow air to escape while minimizing the risk of a coolant geyser.
- Start the Engine: Let the engine idle.
- Monitor Coolant Level: As the engine warms up, the coolant level may drop as air escapes. Add coolant as needed to maintain a level near the top of the radiator neck.
- Look for Bubbles: Observe the coolant for any bubbles rising to the surface. Continue idling until the bubbles cease.
- Tighten the Radiator Cap: Carefully tighten the radiator cap.
- Check Coolant Level in Reservoir: Add coolant to the reservoir to the "FULL" mark.
Warning: If coolant starts to gush out excessively, immediately shut off the engine and allow it to cool further. Do not attempt this method if you are uncomfortable with the potential risks.
Method 3: Using a Spill-Proof Funnel
A spill-proof funnel, also known as a coolant bleeding funnel, provides a safer and more controlled method of bleeding the system. These funnels create a sealed connection with the radiator neck, allowing air to escape while preventing coolant spills.
- Attach the Funnel: Securely attach the spill-proof funnel to the radiator neck. Choose the correct adapter for your vehicle's radiator.
- Fill the Funnel: Fill the funnel with coolant to a level above the radiator neck.
- Start the Engine: Let the engine idle.
- Monitor for Bubbles: Observe the coolant in the funnel for bubbles. Gently squeeze the upper and lower radiator hoses to help dislodge trapped air.
- Top Off as Needed: As air escapes, the coolant level in the funnel will drop. Add coolant to maintain a level above the radiator neck.
- Run the Heater: Turn the heater on to its highest setting. This will allow coolant to circulate through the heater core and release any trapped air in that area.
- Continue Until No Bubbles: Continue the process until no more bubbles appear in the funnel.
- Shut Off the Engine: Allow the engine to cool slightly before removing the funnel.
- Remove the Funnel: Carefully remove the funnel, using the provided stopper to prevent spills.
- Check Coolant Level in Reservoir: Adjust the coolant level in the reservoir to the "FULL" mark.
Tip: A spill-proof funnel allows for a more thorough bleed as it maintains a positive pressure in the system, aiding in the release of trapped air.
Method 4: Self-Bleeding Systems
Some modern vehicles are equipped with self-bleeding cooling systems. These systems typically have a specially designed coolant reservoir with an integrated vent. The vent allows air to escape naturally as the engine cycles through heating and cooling cycles.
- Check Coolant Level: Ensure the coolant reservoir is filled to the "FULL" mark.
- Drive the Vehicle: Drive the vehicle under normal operating conditions.
- Monitor Temperature Gauge: Keep an eye on the temperature gauge to ensure the engine is not overheating.
- Check Coolant Level Regularly: Check the coolant level in the reservoir after each drive and top off as needed.
- Repeat as Needed: Repeat the process for several days or until the coolant level stabilizes.
Note: Even with self-bleeding systems, it's still possible for air to become trapped. If you experience overheating or other symptoms of air in the cooling system, you may need to use one of the other bleeding methods.
Troubleshooting and Final Checks
After bleeding the cooling system, it's essential to perform a few checks to ensure the process was successful.
- Monitor the Temperature Gauge: Keep a close watch on the temperature gauge during the first few drives. Ensure the engine is maintaining a normal operating temperature.
- Check for Leaks: Inspect all hoses, connections, and the radiator for any coolant leaks.
- Check Heater Performance: Verify that the heater is blowing hot air when set to the highest setting.
- Listen for Gurgling Noises: Listen for any gurgling noises from the cooling system, which may indicate remaining air pockets.
If you continue to experience overheating or other issues after bleeding the system, there may be a more serious problem, such as a faulty thermostat, a failing water pump, or a head gasket leak. In these cases, it's best to consult a qualified mechanic.
Example: Imagine you've just replaced the water pump on your 2015 Honda Civic. After refilling the coolant, you notice the temperature gauge is reading higher than normal, and the heater is blowing cold air. By using the bleed valve located on the thermostat housing and the spill-proof funnel method, you can effectively remove the trapped air and restore the cooling system to its optimal performance.
Conclusion
Bleeding air from the cooling system is a critical maintenance task that can prevent serious engine damage. By understanding the different methods and following the steps outlined in this article, both automotive enthusiasts and professionals can effectively address airlocks and maintain the health of their vehicles' cooling systems. Remember to prioritize safety, use the correct tools and materials, and consult a qualified mechanic if you encounter any persistent issues. Proper maintenance and attention to detail are key to keeping your engine running cool and reliably for years to come.