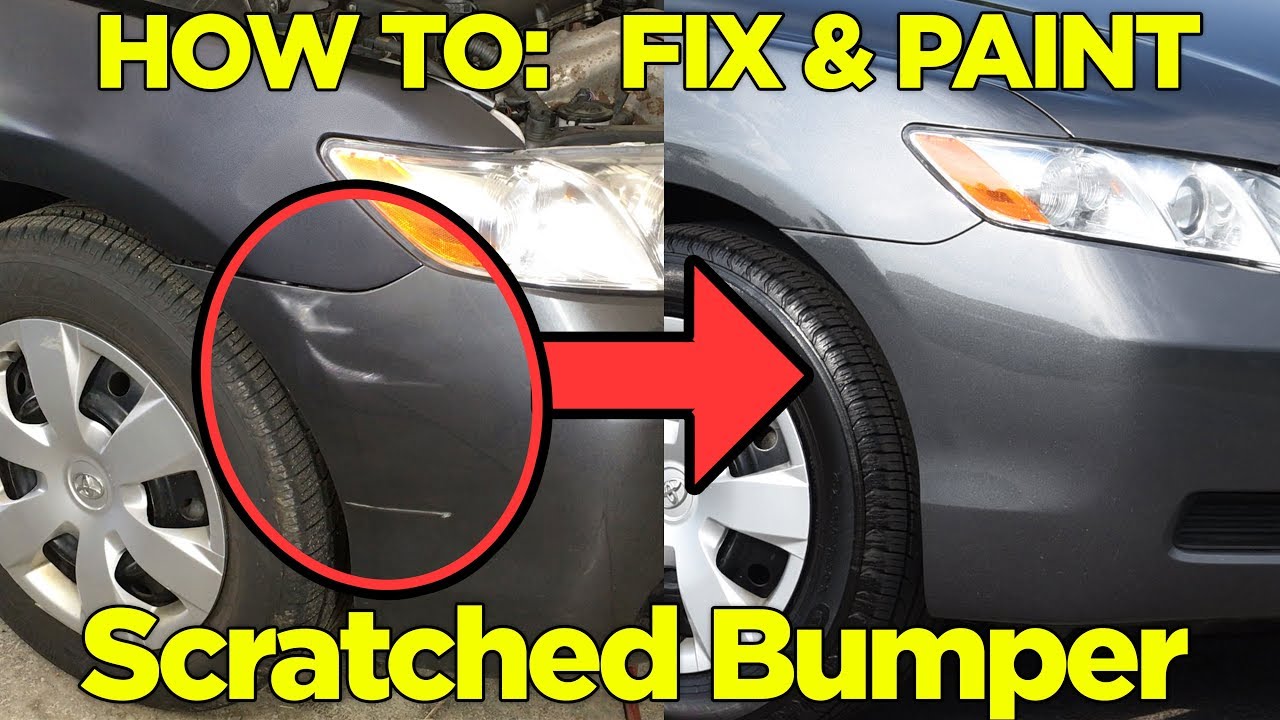
Getting Scuffs Out Of Plastic Bumper
The inevitable parking lot scrape. The stray shopping cart. The brush with an unseen bollard. Modern car bumpers, primarily crafted from various plastics, are designed to absorb impacts and protect the vehicle's structural integrity. But this protection often comes at the cost of unsightly scuffs and scratches. While a deep gouge might necessitate professional repair, many minor scuffs can be addressed with some patience and the right tools.
Understanding the Enemy: Types of Scuffs and Scratches
Before diving into repair techniques, it's crucial to understand the nature of the damage. Scuffs aren't always what they seem. They can range from superficial surface marks to deeper scratches that penetrate the plastic. Here's a breakdown:
- Surface Scuffs: These are usually caused by light abrasion and only affect the top layer of the plastic. They often appear as hazy or discolored areas. These are typically the easiest to fix.
- Paint Transfer Scuffs: These occur when the bumper rubs against another painted surface, leaving behind a deposit of foreign paint. The bumper itself may be undamaged.
- Clear Coat Scratches: These scratches penetrate the clear coat layer of the bumper's paint finish, but don't reach the base coat or plastic itself.
- Base Coat Scratches: More severe than clear coat scratches, these reach the base coat layer of paint. They will require more extensive repair.
- Plastic Scratches/Gouges: These are the most serious, damaging the plastic itself. Repairing these often requires filling and refinishing.
Tools of the Trade: Gathering Your Arsenal
Success in scuff removal hinges on having the right tools and materials. Here's a comprehensive list:
- Microfiber Towels: Essential for cleaning and polishing. Opt for high-quality, lint-free towels to avoid introducing new scratches.
- Detailing Clay: Used to remove embedded contaminants and smooth the surface before polishing. Consider a fine-grade clay bar.
- Detailing Spray/Clay Lube: Necessary to lubricate the clay bar and prevent it from scratching the paint.
- Plastic Polish: Specifically formulated to remove light scratches and oxidation from plastic surfaces. Look for polishes designed for automotive plastics. Meguiar's PlastX and Mothers Plastic Polish are popular choices.
- Rubbing Compound: A more aggressive abrasive compound used for removing deeper scratches. Use with caution, as it can remove paint if applied incorrectly.
- Polishing Pads: Foam pads are used to apply polish and compound. Different grades of pads (cutting, polishing, finishing) are available.
- Buffing Machine (Optional): A dual-action (DA) polisher or rotary buffer can significantly speed up the polishing process and improve results. However, these tools require practice and can damage the paint if used improperly.
- Heat Gun (Optional): Can be used to gently heat plastic and help minor scratches blend in, especially on textured bumpers.
- Sandpaper (Optional): For deeper scratches, you may need to carefully sand the area before polishing. Use very fine-grit sandpaper (2000-grit or higher) and wet-sand to minimize scratching.
- Wax or Sealant: To protect the repaired area and enhance the shine.
- Isopropyl Alcohol (IPA): For cleaning the surface before and after polishing to remove residue.
- Clean Water and Soap: For initial cleaning of the bumper. A dedicated car wash soap is ideal.
- Gloves: To protect your hands from chemicals and keep the work area clean.
The Step-by-Step Scuff Removal Process
The following steps outline a general process for removing scuffs from a plastic bumper. Always test any product in an inconspicuous area first to ensure it doesn't damage the finish.
- Cleaning: Thoroughly wash the bumper with soap and water to remove dirt, grime, and loose debris. Rinse well and dry with a clean microfiber towel.
- Clay Bar Treatment (Optional): If the bumper feels rough or has embedded contaminants, use a detailing clay bar to smooth the surface. Spray the area with detailing spray or clay lube and gently rub the clay bar over the surface. Fold and knead the clay bar as it becomes dirty.
- Paint Transfer Removal: If the scuff is due to paint transfer, try using a dedicated paint transfer remover or a mild solvent like mineral spirits. Apply the product to a microfiber towel and gently rub the affected area. Be careful not to damage the underlying paint.
- Polishing: Apply a small amount of plastic polish to a polishing pad. If using a buffing machine, set the speed to low or medium and work the polish into the affected area using overlapping passes. If polishing by hand, apply firm pressure and rub the polish in a circular motion.
- Rubbing Compound (If Needed): For deeper scratches, you may need to use a rubbing compound before polishing. Apply a small amount of rubbing compound to a cutting pad and work it into the scratch using a buffing machine or by hand. Be careful not to apply too much pressure or remove too much paint.
- Polishing Again: After using rubbing compound, follow up with plastic polish to remove any haze or swirl marks left by the compound.
- Cleaning with IPA: Wipe down the polished area with isopropyl alcohol (IPA) to remove any remaining polish residue. This will allow you to inspect your work and ensure that all the scuffs and scratches have been removed.
- Waxing or Sealing: Apply a coat of wax or sealant to protect the repaired area and enhance the shine. This will also help to prevent future scuffs and scratches.
- Heat Gun Technique (For Textured Bumpers, Proceed with Caution): For minor scuffs on textured bumpers, a heat gun can sometimes help to blend the damage. Use a low setting and keep the heat gun moving to avoid melting the plastic. Gently heat the scuffed area and observe how the texture changes. This technique requires experience and is best performed by a professional.
Addressing Deeper Scratches and Gouges
When the damage extends beyond a superficial scuff and involves deeper scratches or gouges in the plastic, the repair process becomes more involved. This often requires filling the damaged area with a plastic filler before sanding and painting.
- Cleaning and Preparation: Thoroughly clean the damaged area and sand it with coarse-grit sandpaper (e.g., 180-grit) to create a rough surface for the filler to adhere to.
- Applying Plastic Filler: Mix the plastic filler according to the manufacturer's instructions and apply it to the damaged area using a putty knife. Overfill the area slightly to allow for sanding.
- Sanding: Once the filler has dried completely, sand it down to the level of the surrounding surface. Start with coarse-grit sandpaper (e.g., 180-grit) and gradually work your way up to finer grits (e.g., 320-grit, 400-grit, 600-grit) to create a smooth surface.
- Priming: Apply a coat of plastic primer to the repaired area to create a uniform surface for painting.
- Painting: Apply several thin coats of automotive paint to match the original color of the bumper. Allow each coat to dry completely before applying the next.
- Clear Coating: Apply a coat of clear coat to protect the paint and enhance the shine.
- Polishing (After Clear Coat Cure): Once the clear coat has fully cured (as per paint manufacturer specifications), you can polish the repaired area to remove any imperfections and blend it seamlessly with the surrounding paint.
Preventive Measures: Minimizing Future Scuffs
While accidents happen, there are steps you can take to minimize the risk of future bumper scuffs:
- Careful Parking: Park in well-lit areas and avoid tight spaces. Be mindful of parking curbs and other obstacles.
- Bumper Protectors: Consider installing bumper protectors or guards to absorb impacts.
- Regular Washing and Waxing: Keeping your car clean and waxed can help to protect the paint from minor scratches and scuffs.
- Professional Detailing: Regular professional detailing can help to maintain the condition of your car's paint and prevent minor damage from becoming more serious.
Knowing When to Call in the Pros
While many minor scuffs can be addressed with DIY methods, there are situations where professional repair is the best option. These include:
- Deep Scratches or Gouges: Damage that penetrates the plastic or affects the structural integrity of the bumper.
- Large Areas of Damage: Extensive scuffs or scratches that are difficult to repair yourself.
- Complex Paint Finishes: Bumpers with multiple colors or intricate designs.
- Lack of Experience: If you are not comfortable working on your car, it is best to leave the repair to a professional.
Ultimately, addressing bumper scuffs is a balancing act between cost, effort, and desired results. By understanding the types of damage, using the right tools, and following a careful process, you can often restore your bumper to its former glory. However, don't hesitate to seek professional help when the damage is beyond your capabilities. Remember that a well-maintained car is not just aesthetically pleasing but also retains its value over time. Keeping your bumper free of scuffs and scratches contributes to the overall appearance and perceived value of your vehicle. Consider this routine maintenance, just like changing your oil or rotating your tires. Regular attention to these details separates a car enthusiast from a mere car owner.