How To Blackout Car Emblems
So, you're looking to blackout your car emblems? Excellent choice! It's a relatively inexpensive mod that can drastically improve your vehicle's aesthetic, giving it a sleek and aggressive look. This guide will walk you through the process step-by-step, covering everything from prep work to the final touches. We'll discuss various methods and materials, allowing you to choose the best approach for your skill level and budget. While this isn't brain surgery, precision and patience are key to achieving a professional-looking result. Let's get started!
Understanding the Options: Plasti Dip vs. Vinyl vs. Paint
Before diving in, let's explore the three primary methods for blacking out emblems: Plasti Dip, vinyl wrapping, and painting. Each has its pros and cons, so understanding them will help you make the right choice.
Plasti Dip: The Beginner-Friendly Option
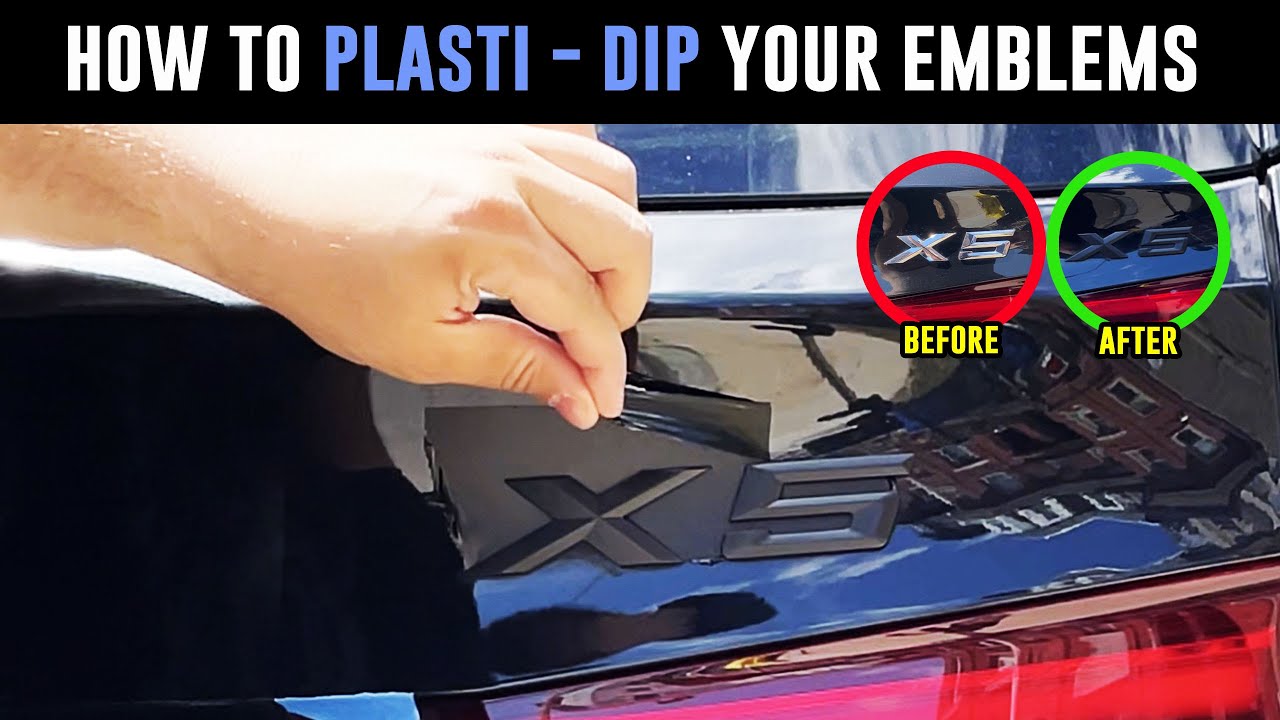
Plasti Dip is a synthetic rubber coating that's applied by spraying multiple layers. Its biggest advantage is its reversibility. If you mess up, or simply want to go back to the original chrome, you can peel it off. This makes it ideal for beginners. Other advantages include:
- Ease of Application: Requires minimal skill and tools.
- Reversibility: Can be peeled off without damaging the original finish.
- Cost-Effective: Plasti Dip is generally the cheapest option.
However, Plasti Dip also has drawbacks:
- Durability: Less durable than vinyl or paint, especially in harsh weather conditions or with frequent washing.
- Finish: Typically results in a matte or satin finish (unless a glossifier is applied).
- Texture: Can have a slightly rubbery texture that some find undesirable.
Vinyl Wrapping: A Good Balance
Vinyl wrapping involves applying a thin, adhesive-backed vinyl film to the emblems. This method offers a good balance of durability and ease of application, especially if you have some experience with vinyl. The advantages include:
- Durability: More durable than Plasti Dip, offering better resistance to scratches and weather.
- Finish Options: Available in various finishes (matte, gloss, satin, carbon fiber, etc.).
- Clean Look: Can provide a very smooth and professional-looking finish.
The downsides of vinyl wrapping are:
- Learning Curve: Requires some skill and practice, especially for intricate emblems.
- Application Time: Can be more time-consuming than Plasti Dip.
- Material Cost: Vinyl typically costs more than Plasti Dip.
Painting: The Most Durable (and Demanding) Option
Painting is the most permanent and durable option, but also the most challenging. It involves sanding, priming, painting, and clear coating the emblems. If done correctly, it provides the best finish and longevity. The benefits are:
- Durability: The most durable option, offering excellent resistance to scratches, weather, and chemicals.
- Customization: Allows for the greatest degree of customization in terms of color and finish.
- Professional Look: Can achieve a factory-like finish.
However, painting comes with significant challenges:
- Skill Required: Requires significant skill and experience to achieve a professional-looking result.
- Time Consuming: The most time-consuming method, involving multiple steps and drying times.
- Potential for Damage: If not done correctly, can damage the emblems or the surrounding paint.
- Irreversible: Difficult to undo, short of sanding and re-chroming (if possible).
Tools and Materials: A Comprehensive List
Regardless of the method you choose, you'll need some basic tools and materials. Here's a comprehensive list:
- Cleaning Supplies: Automotive soap, degreaser, microfiber towels.
- Masking Tape: High-quality painter's tape (e.g., 3M ScotchBlue).
- Masking Paper or Plastic Sheeting: To protect the surrounding paint.
- Razor Blade or Scalpel: For trimming excess material (vinyl or Plasti Dip).
- Heat Gun or Hair Dryer: For conforming vinyl to the emblem's shape (vinyl method only).
- Surface Prep Materials (for painting): Sandpaper (various grits: 400, 600, 800), primer, adhesion promoter.
- Paint and Clear Coat (for painting): Automotive-grade paint and clear coat in the desired color and finish.
- Plasti Dip (for Plasti Dip): Black Plasti Dip spray cans.
- Vinyl Wrap (for vinyl wrapping): Black vinyl wrap in the desired finish.
- Applicator Tool/Squeegee (for vinyl wrapping): To smooth out the vinyl and remove air bubbles.
- Gloves: To protect your hands.
- Isopropyl Alcohol: For cleaning surfaces before application.
Step-by-Step Guide: Blacking Out Emblems with Plasti Dip
Since Plasti Dip is the most beginner-friendly option, we'll focus on that for this step-by-step guide. The principles of preparation are similar for all methods.
1. Preparation is Key
Thorough preparation is crucial for a successful outcome. Start by washing the area around the emblems with automotive soap and water. Then, use a degreaser to remove any wax, grease, or silicone. Wipe the area dry with a microfiber towel. Finally, use isopropyl alcohol to clean the emblem surfaces just before masking.
2. Masking Off the Area
This is perhaps the most important step for Plasti Dip. Carefully mask off the area around the emblems with painter's tape, leaving a border of about 1-2 inches. The wider the border, the easier it is to peel the Plasti Dip cleanly. Use masking paper or plastic sheeting to cover a larger area and prevent overspray.
3. Applying the Plasti Dip
Shake the Plasti Dip can vigorously for at least one minute. Apply the first coat lightly, holding the can about 6-8 inches away from the emblem. This coat should be very thin – almost translucent. Let it dry for about 15-20 minutes. Subsequent coats should also be light and even, allowing each coat to dry before applying the next. Apply at least 4-5 coats for optimal coverage and durability. The more coats, the thicker the membrane, and the easier it will be to peel off the excess later. Avoid applying too much Plasti Dip in one coat, as this can cause runs and drips.
4. Peeling the Excess
After the final coat has dried for about 15-20 minutes (but no longer than an hour), carefully peel away the masking tape. The key is to peel while the Plasti Dip is still slightly wet but not too runny. Use a sharp razor blade or scalpel to score the edge of the Plasti Dip along the emblem's perimeter before peeling. This will help create a clean line and prevent the Plasti Dip from tearing. Peel slowly and steadily, working your way around the emblem. If you encounter any resistance, use the razor blade to score the edge again. If you wait too long, the dip will cure more and you will need to peel more carefully, using a plastic trim tool.
5. Clean Up and Final Touches
Once you've removed the excess Plasti Dip, inspect the emblems for any imperfections. If you find any small tears or imperfections, you can carefully touch them up with a small brush and some Plasti Dip. Let the Plasti Dip cure completely for at least 4 hours before washing your car. You can use a detail spray and a microfiber towel to clean up any residue around the emblems.
Tips and Tricks for Success
- Work in a well-ventilated area: Plasti Dip and paint fumes can be harmful.
- Test your materials on a small, inconspicuous area: This will help you ensure that the materials are compatible with your vehicle's finish.
- Apply multiple thin coats: This will result in a smoother and more durable finish.
- Be patient: Rushing the process will only lead to mistakes.
- If you're not confident in your skills, practice on a scrap piece of metal or plastic first.
- Use a heat gun sparingly with vinyl: Excessive heat can damage the vinyl or the emblem.
Troubleshooting
Even with careful planning, things can sometimes go wrong. Here are some common issues and how to address them:
- Plasti Dip runs or drips: This is usually caused by applying too much Plasti Dip in one coat. Let the Plasti Dip dry completely, then use sandpaper to smooth out the runs or drips. Reapply Plasti Dip in thin coats.
- Vinyl bubbles or wrinkles: This is often caused by improper application or insufficient heat. Use a heat gun to warm the vinyl and then use an applicator tool to smooth out the bubbles or wrinkles. If the wrinkles are severe, you may need to remove the vinyl and start over.
- Paint peeling or chipping: This is usually caused by improper surface preparation. Ensure that you sand, prime, and clean the surface thoroughly before painting. Use high-quality automotive paint and clear coat.
Blacking out your car emblems is a rewarding project that can dramatically improve your vehicle's appearance. By following these steps and tips, you can achieve a professional-looking result that you'll be proud of. Remember to take your time, be patient, and don't be afraid to experiment. Good luck, and enjoy your newly blacked-out emblems!