How To Bleed A Cooling System
The dreaded air pocket. Every car enthusiast shudders at the thought. Trapped air in your cooling system isn't just annoying; it's a potential engine killer. Overheating, inconsistent temperature readings, and even blown head gaskets are all potential consequences. So, mastering the art of bleeding your cooling system is a fundamental skill for any DIY mechanic. But, like most things automotive, there's no one-size-fits-all approach. Let's dive in and explore the nuances, comparing techniques and highlighting the quirks of different engines and vehicle types.
Understanding the Beast: Why Bleeding Matters
Before we get our hands dirty, let's recap why bleeding is crucial. Your cooling system is a closed loop, circulating coolant to dissipate heat from the engine. Air, however, is a poor conductor of heat. When air pockets form, they disrupt the flow, create localized hotspots, and reduce the system's overall efficiency. Think of it like a kink in a hose – it restricts flow and builds pressure. A compromised cooling system can lead to catastrophic engine damage, costing you thousands in repairs. Proactive bleeding keeps everything running smoothly and extends the life of your precious powerplant.
The Universal Steps: A Foundation for Success
While the specifics vary, some core steps are universally applicable:
- Safety First: Always work on a cool engine! Hot coolant is extremely dangerous and can cause severe burns. Wear gloves and eye protection.
- Locate the Bleed Valve(s): This is where the variation begins! More on this later.
- Prepare the Coolant: Ensure you have the correct type and mix ratio for your vehicle. Top off the reservoir with the appropriate coolant mixture.
- The Bleeding Process: Open the bleed valve(s) and allow air to escape until a steady stream of coolant flows out.
- Monitor and Adjust: Keep an eye on the coolant level in the reservoir as air is purged.
- Final Check: Once bled, check for leaks and monitor the temperature gauge during a test drive.
Model-Specific Mania: Where the Differences Lie
Now for the fun part: exploring the diverse world of bleed valve locations and system designs.
The Classic Inline-Four: Honda Civic (EG/EK Example)
These engines are generally straightforward. The bleed valve is often located on the thermostat housing or near the top radiator hose. The radiator cap is usually the highest point in the system, facilitating natural air migration.
Bleeding Procedure:
- Locate the bleed valve on the thermostat housing.
- With the engine cold, remove the radiator cap.
- Open the bleed valve.
- Fill the radiator with coolant until a steady stream flows from the bleed valve, free of air bubbles.
- Close the bleed valve.
- Start the engine and let it idle with the radiator cap still off.
- Monitor the coolant level and add more as needed.
- Once the engine reaches operating temperature and the coolant level stabilizes, replace the radiator cap.
The Mighty V8: Ford Mustang (Fox Body Example)
V8s can present different challenges. The bleed valve might be on the intake manifold, near the thermostat housing, or even on the radiator itself. The complexity of the cooling system increases with displacement and the number of cylinders.
Bleeding Procedure: (Note: This is a generalized procedure, consult your Mustang's service manual for exact instructions.)
- Locate the bleed valve (typically on the intake manifold).
- With the engine cold, remove the radiator cap.
- Open the bleed valve.
- Slowly add coolant to the radiator until a steady stream flows from the bleed valve, free of air bubbles.
- Close the bleed valve.
- Start the engine and let it idle with the radiator cap still off.
- Monitor the coolant level and add more as needed.
- If equipped, turn on the heater to full hot to circulate coolant through the heater core.
- Once the engine reaches operating temperature and the coolant level stabilizes, replace the radiator cap.
The Turbocharged Beast: Subaru WRX/STI
Turbocharged engines often have more intricate cooling systems due to the added heat generated by the turbocharger. Multiple bleed valves may be present, especially in systems with coolant lines running to the turbo. These can be trickier to bleed completely.
Bleeding Procedure: (Consult your WRX/STI service manual for the precise location of bleed valves.)
- Locate all bleed valves in the system (often on the radiator and near the turbocharger).
- With the engine cold, remove the radiator cap.
- Open all bleed valves.
- Slowly add coolant to the radiator until a steady stream flows from each bleed valve, free of air bubbles.
- Close all bleed valves.
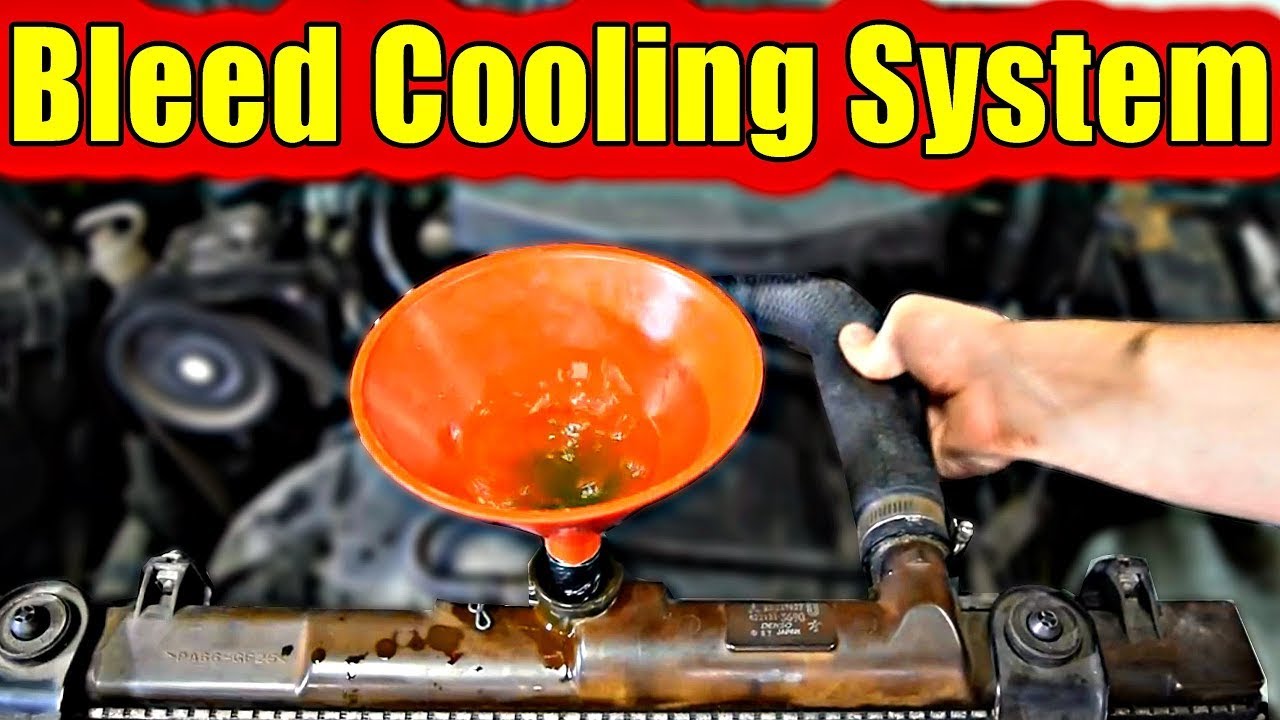
- Install a spill-free funnel in the radiator neck.
- Start the engine and let it idle with the spill-free funnel attached.
- Monitor the coolant level in the funnel and add more as needed.
- Turn on the heater to full hot.
- Gently squeeze the upper and lower radiator hoses to help dislodge trapped air.
- Continue idling until no more air bubbles are seen in the funnel and the coolant level stabilizes.
- Remove the spill-free funnel and replace the radiator cap.
Spec Table: Bleeding Valve Location Examples
| Vehicle | Engine | Bleed Valve Location(s) |
|---|---|---|
| Honda Civic (EG/EK) | Inline-Four | Thermostat Housing |
| Ford Mustang (Fox Body) | V8 | Intake Manifold (typically) |
| Subaru WRX/STI | Turbocharged Boxer | Radiator, Near Turbocharger(s) |
| BMW E46 | Inline-Six | Expansion Tank, Upper Radiator Hose |
Tools of the Trade: Bleeding Beyond the Basics
While a screwdriver and some coolant are the bare essentials, a few specialized tools can make the job significantly easier:
- Spill-Free Funnel: Creates a sealed system while bleeding, preventing spills and allowing for easier observation of air bubbles.
- Vacuum Bleeder: Uses vacuum pressure to pull air out of the system, making the process quicker and more efficient. Especially useful on vehicles with complex cooling systems.
- Pressure Tester: Allows you to pressurize the cooling system to check for leaks after bleeding.
Real-World Driving Impressions: The Proof is in the Pudding
After successfully bleeding your cooling system, you should notice several improvements in your vehicle's performance:
- Stable Temperature Gauge: No more fluctuating readings or creeping towards the red zone, especially during spirited driving or in hot weather.
- Improved Heater Performance: A properly bled system ensures proper coolant flow to the heater core, resulting in more efficient and consistent cabin heating.
- Reduced Engine Stress: Maintaining optimal engine temperature reduces stress on internal components, extending engine life.
Troubleshooting: When Bleeding Goes Wrong
Sometimes, even with the best intentions, bleeding can be problematic. Here are a few common issues and their potential solutions:
- Persistent Air Bubbles: This could indicate a leak in the system, allowing air to be drawn in. Check all hoses, connections, and the radiator for leaks. A cracked head gasket can also cause this.
- Overheating After Bleeding: Double-check that you've completely bled the system. Also, verify that your thermostat is functioning correctly.
- Bleed Valve Stripped: Use a screw extractor to remove the damaged valve and replace it. Be careful not to damage the threads in the housing.
Pros and Cons: Different Bleeding Techniques
Let's consider the traditional method vs. using a vacuum bleeder:
Traditional Bleeding (Manual Method)
- Pros:
- Low cost (requires minimal tools)
- Relatively simple for basic systems
- Cons:
- Time-consuming
- May not completely remove all air pockets, especially in complex systems
- Can be messy
Vacuum Bleeding
- Pros:
- More efficient and faster
- Removes more air compared to traditional methods
- Reduces the risk of spills
- Cons:
- Requires specialized equipment (vacuum bleeder)
- Can be more complex to set up and use
The Final Verdict: Keep Your Cool!
Bleeding your cooling system is a vital maintenance task that can save you from costly repairs. By understanding the specific requirements of your vehicle and employing the correct techniques, you can keep your engine running cool and efficient. Whether you prefer the tried-and-true manual method or the efficiency of a vacuum bleeder, mastering this skill will empower you to take better care of your prized possession.
Now, for the controversial question: Which coolant is superior: traditional green coolant or the newer OAT (Organic Acid Technology) coolants? Let the debate begin!