How To Bleed Brakes By Myself
Brake bleeding is a crucial maintenance task for any vehicle. Over time, air can enter your brake lines, leading to a spongy brake pedal and reduced stopping power. While a professional mechanic can certainly handle this, learning how to bleed brakes by yourself can save you money and provide a greater understanding of your vehicle's systems. This guide will provide a clear, step-by-step process to safely and effectively bleed your brakes at home.
Why Bleed Your Brakes?
Understanding why bleeding your brakes is necessary is the first step. Your car's braking system relies on hydraulic fluid to transmit the force from your foot on the brake pedal to the brake calipers, which then clamp down on the rotors to stop your wheels. Air in the system is compressible, unlike brake fluid. This means that when you press the brake pedal, some of the force is used to compress the air bubbles instead of applying pressure to the brake calipers. This results in a:
- Spongy or soft brake pedal: The pedal feels soft and requires more travel to engage the brakes.
- Reduced braking power: Your car takes longer to stop, increasing the risk of accidents.
- Inconsistent brake performance: The braking force may vary depending on the amount of air in the system.
Regular brake bleeding ensures that your brake lines are filled with only brake fluid, maintaining optimal braking performance.
When Should You Bleed Your Brakes?
Knowing when to bleed your brakes is almost as important as knowing how. Consider bleeding your brakes:
- After replacing brake lines, calipers, or a master cylinder: These components are typically disconnected during replacement, introducing air into the system.
- If the brake pedal feels spongy or soft: This is a clear indication that air has entered the brake lines.
- As part of routine maintenance: Many manufacturers recommend bleeding the brakes every two to three years, regardless of symptoms. Refer to your owner's manual for specific recommendations.
- If brake fluid level is very low: A very low brake fluid level can allow air to be sucked into the system. Address the leak first!
Tools and Materials Needed
Before you begin, gather the necessary tools and materials:
- Brake fluid: Use the correct type of brake fluid specified in your vehicle's owner's manual (usually DOT 3 or DOT 4). Do not mix different types of brake fluid.
- Wrench: You'll need a wrench (usually a box-end wrench) that fits the brake bleeder screws. Consult your vehicle's repair manual or online forums for the correct size.
- Clear tubing: A length of clear tubing (approximately 1/4 inch inner diameter) to attach to the bleeder screw.
- Catch container: A jar or bottle to collect the old brake fluid.
- Jack and jack stands: To safely lift and support your vehicle. Never work under a vehicle supported only by a jack.
- Wheel chocks: To prevent the vehicle from rolling.
- Gloves: To protect your hands from brake fluid, which can be corrosive.
- Safety glasses: To protect your eyes from brake fluid splashes.
- Brake cleaner: To clean up any spilled brake fluid.
- Assistant (optional but highly recommended): Having someone to pump the brake pedal makes the process significantly easier, especially with the two-person method.
Safety Precautions
Safety should be your top priority when working on your brakes. Always follow these precautions:
- Work in a well-ventilated area: Brake fluid fumes can be harmful.
- Wear safety glasses and gloves: Brake fluid can irritate your skin and eyes.
- Dispose of used brake fluid properly: Brake fluid is a hazardous waste and should not be poured down the drain. Check your local regulations for proper disposal methods.
- Use the correct type of brake fluid: Using the wrong type of brake fluid can damage your braking system.
- Never reuse brake fluid: Used brake fluid can be contaminated with moisture and debris.
- Double-check your work: After bleeding the brakes, ensure that all bleeder screws are tightened and that the brake fluid reservoir is filled to the appropriate level.
- Test your brakes: Before driving, test your brakes in a safe area to ensure they are working properly.
Brake Bleeding Methods
There are several methods for bleeding brakes. Here are two common approaches:
Two-Person Brake Bleeding Method
This is the most common and arguably the easiest method if you have an assistant. It involves one person pumping the brake pedal while the other opens and closes the bleeder screw.
- Prepare the vehicle: Park the vehicle on a level surface, engage the parking brake, chock the wheels, and lift the vehicle using a jack and jack stands. Ensure the vehicle is securely supported.
- Locate the bleeder screws: The bleeder screws are small valves located on the brake calipers. They are usually covered with a rubber cap. Remove the cap.
- Attach the tubing: Attach one end of the clear tubing to the bleeder screw and place the other end into the catch container. Make sure the end of the tube is submerged in brake fluid to prevent air from being drawn back into the system.
- Identify the Bleeding Order: The bleeding order typically starts with the brake furthest from the master cylinder and ends with the one closest. Generally, this is:
- Right Rear
- Left Rear
- Right Front
- Left Front
- Consult your vehicle's repair manual to confirm the correct sequence for your specific vehicle.
- Pump the brake pedal: Have your assistant pump the brake pedal several times and hold it down.
- Open the bleeder screw: While your assistant is holding the brake pedal down, carefully open the bleeder screw with the wrench. You should see brake fluid and potentially air bubbles flowing through the tubing into the catch container.
- Close the bleeder screw: Before your assistant releases the brake pedal, close the bleeder screw.
- Repeat the process: Repeat steps 5-7 until no more air bubbles are visible in the tubing.
- Check the brake fluid reservoir: Regularly check the brake fluid reservoir to ensure it doesn't run dry. Keep the reservoir topped up with fresh brake fluid throughout the bleeding process.
- Move to the next wheel: Repeat the process for each wheel, following the correct bleeding order.
- Final check: After bleeding all four brakes, make sure all bleeder screws are tightened and that the brake fluid reservoir is filled to the appropriate level.
- Test the brakes: Pump the brake pedal several times to ensure it feels firm. Test the brakes in a safe area before driving.
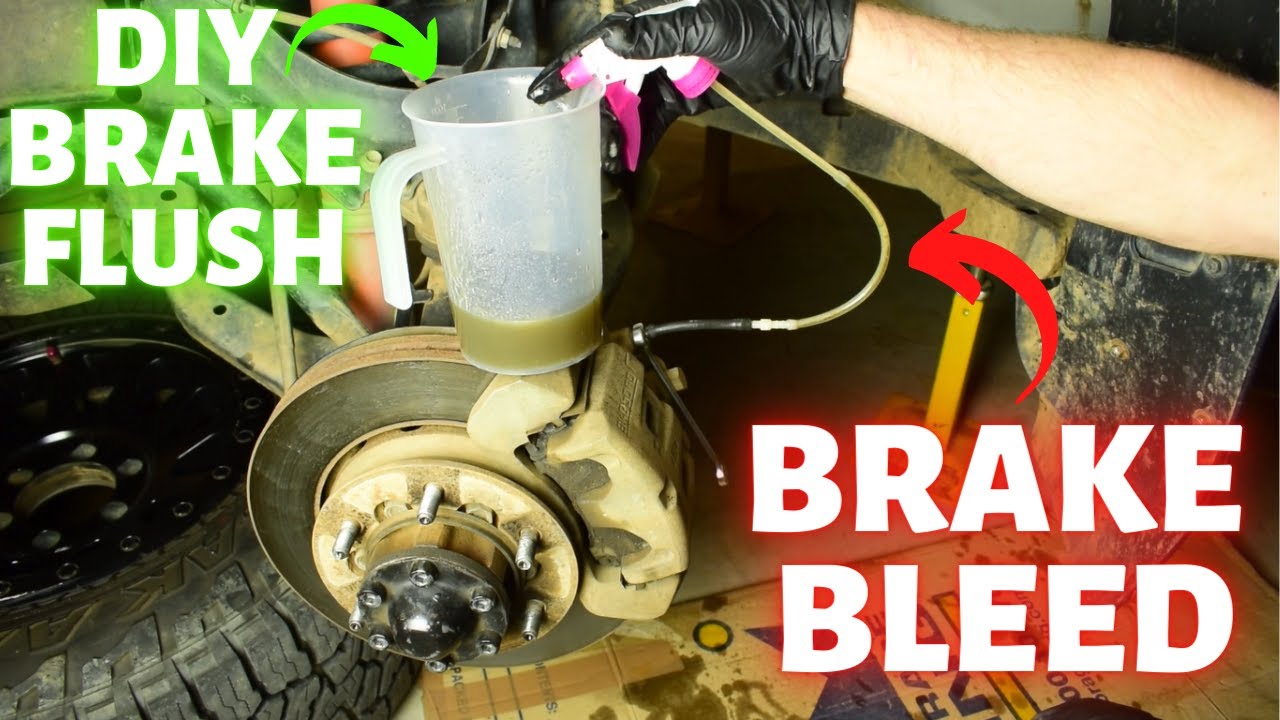
One-Person Brake Bleeding Method (using a Bleeder Kit)
If you don't have an assistant, you can use a one-person brake bleeder kit. These kits typically include a one-way valve that prevents air from being drawn back into the system when you release the brake pedal. Several types of one person bleeder kits exist. Vacuum bleeders use a vacuum pump to draw fluid through the system, while pressure bleeders use a pressurized tank to force fluid through. The instructions below are general guidelines for using a one-way valve type bleeder.
- Prepare the vehicle: Same as step 1 in the two-person method.
- Locate the bleeder screws: Same as step 2 in the two-person method.
- Attach the tubing: Attach one end of the clear tubing to the bleeder screw and the other end to the one-way valve. Place the other end of the valve tubing into the catch container. Ensure the end is submerged in brake fluid.
- Identify the Bleeding Order: Same as step 4 in the two-person method.
- Pump the brake pedal: Pump the brake pedal several times and hold it down briefly on each pump. The one-way valve should allow fluid and air to flow out but prevent it from flowing back in.
- Repeat the process: Repeat step 5 until no more air bubbles are visible in the tubing.
- Check the brake fluid reservoir: Same as step 9 in the two-person method.
- Move to the next wheel: Repeat the process for each wheel, following the correct bleeding order.
- Final check: Same as step 11 in the two-person method.
- Test the brakes: Same as step 12 in the two-person method.
Troubleshooting
Sometimes, things don't go as planned. Here are some common issues and how to address them:
- Bleeder screw is stuck: Apply penetrating oil to the bleeder screw and let it soak for a while. If it's still stuck, you may need to use a bleeder screw extractor. Be careful not to break the bleeder screw.
- No fluid is coming out: Check the brake fluid reservoir to ensure it's not empty. Also, make sure the bleeder screw is open far enough. If still no fluid, the brake line may be blocked.
- Air keeps coming out: This could indicate a leak in the brake lines or a faulty bleeder screw. Inspect the brake lines and bleeder screws for any signs of damage. If using the two person method and air is still being drawn back in after closing the bleeder screw, it could indicate a damaged bleeder screw or caliper.
- Brake pedal still feels spongy: Repeat the bleeding process for all four brakes, paying close attention to the bleeding order. There may still be air trapped in the system. It is also possible the master cylinder is faulty.
Conclusion
Bleeding your brakes is a straightforward process that can significantly improve your vehicle's braking performance. By following these steps and taking the necessary precautions, you can confidently bleed your brakes by yourself and save money on professional mechanic fees. Remember, a safe and properly functioning braking system is essential for your safety and the safety of others on the road. If you are unsure about any aspect of the process, it is always best to consult a qualified mechanic. Good luck, and drive safely!