How To Bleed Brakes With Abs
Bleeding brakes. Just the phrase can send shivers down the spine of even seasoned mechanics. But fear not! While ABS (Anti-lock Braking System) adds a layer of complexity, bleeding brakes with ABS is manageable with the right knowledge and tools. This comprehensive guide will walk you through the process, ensuring optimal brake performance and safety.
Understanding ABS and its Impact on Bleeding
The ABS is a crucial safety feature preventing wheel lockup during hard braking, allowing you to maintain steering control. It achieves this through a complex system of sensors, valves, and a dedicated electronic control unit (ECU). This system can trap air during brake work, requiring a slightly different bleeding approach compared to vehicles without ABS.
Older ABS systems were notoriously sensitive to air intrusion and sometimes required a dealer-level scan tool to cycle the ABS module valves for proper bleeding. Modern systems are generally more forgiving, but understanding the potential complications is key.
Types of ABS Systems
While the core function remains the same, ABS systems vary in their complexity and implementation. The most common types you'll encounter are:
- One-Channel ABS: Typically found on older trucks and vans, it controls only the rear axle. Bleeding is usually straightforward, similar to non-ABS vehicles.
- Three-Channel ABS: Controls each front wheel individually and both rear wheels together. Slightly more complex, but still manageable with standard bleeding techniques.
- Four-Channel ABS: Offers individual control of all four wheels, providing the most sophisticated braking performance. May require special procedures for certain vehicles.
Tools and Materials Required
Before you begin, gather the necessary tools and materials:
- Brake Fluid: Use the correct type specified in your vehicle's owner's manual (typically DOT 3 or DOT 4). Never mix different types of brake fluid!
- Brake Bleeder Wrench: A specialized wrench designed to fit brake bleeder screws securely, preventing rounding off.
- Clear Tubing: To connect to the bleeder screw and direct the fluid into a collection bottle.
- Collection Bottle: To catch the old brake fluid. An empty plastic bottle works well.
- Jack and Jack Stands: To safely lift and support the vehicle.
- Wheel Chocks: To secure the wheels that remain on the ground.
- Gloves and Eye Protection: Brake fluid is corrosive and can irritate skin and eyes.
- Shop Rags: For cleaning up spills.
- Turkey Baster or Syringe: To remove old brake fluid from the master cylinder reservoir.
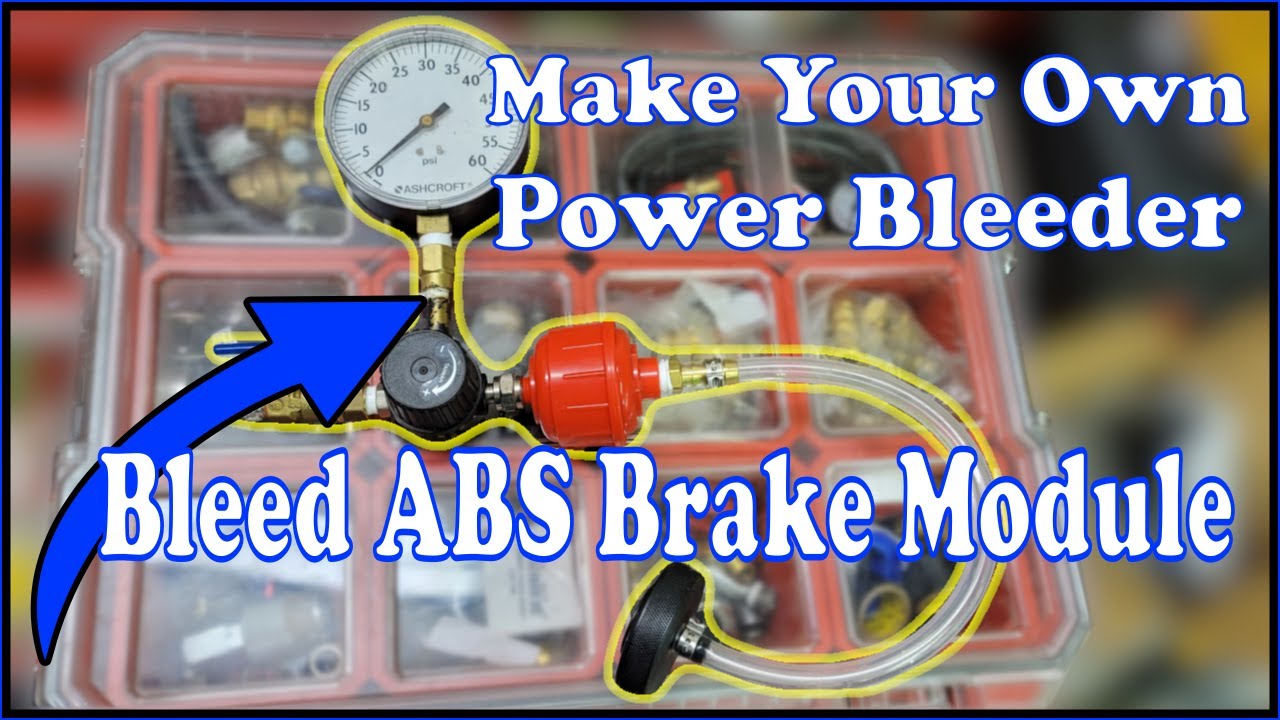
- Optional: Pressure Bleeder or Vacuum Bleeder: These tools can simplify the bleeding process, especially on vehicles with stubborn ABS systems.
- Optional: Scan Tool: Some vehicles require a scan tool to cycle the ABS module during bleeding. Consult your vehicle's service manual.
The Bleeding Procedure: Step-by-Step
Follow these steps for a successful brake bleeding process:
- Prepare the Vehicle: Park the vehicle on a level surface, engage the parking brake, and chock the rear wheels. Loosen the lug nuts on all wheels before lifting the vehicle.
- Lift and Support: Using a jack, lift the vehicle and securely support it with jack stands. Remove all four wheels.
- Prepare the Master Cylinder: Open the hood and locate the master cylinder reservoir. Use a turkey baster or syringe to remove as much of the old brake fluid as possible. Refill the reservoir with fresh brake fluid. Do not let the master cylinder run dry during the bleeding process!
- Locate the Bleeder Screws: Each brake caliper or wheel cylinder has a bleeder screw. Clean the area around the bleeder screws with a wire brush to remove any dirt or debris.
- Connect the Bleeding Tube: Attach one end of the clear tubing to the bleeder screw and the other end to the collection bottle. Make sure the end of the tubing is submerged in brake fluid in the bottle to prevent air from being drawn back into the system.
- Bleeding Order: The standard bleeding order is to start with the wheel farthest from the master cylinder and work your way closer. Typically, this is:
- Right Rear
- Left Rear
- Right Front
- Left Front
- Open the Bleeder Screw: Have a helper slowly depress the brake pedal. While the pedal is depressed, open the bleeder screw slightly (usually about a quarter turn). Watch for fluid and air bubbles to flow through the clear tubing into the collection bottle.
- Close the Bleeder Screw: Before your helper releases the brake pedal, close the bleeder screw tightly. This prevents air from being sucked back into the system.
- Repeat the Process: Repeat steps 7 and 8 until clear, bubble-free brake fluid flows through the tubing. Typically, 5-10 repetitions are sufficient.
- Move to the Next Wheel: Repeat steps 5-9 for each wheel, following the recommended bleeding order. Remember to check and refill the master cylinder reservoir frequently throughout the process!
- Final Check: Once all wheels have been bled, ensure the master cylinder reservoir is filled to the proper level. Pump the brake pedal several times to check for a firm pedal feel.
- Test Drive: Carefully test drive the vehicle in a safe area to ensure the brakes are functioning properly. Pay attention to pedal feel and stopping power. If the pedal feels spongy or the brakes are not performing as expected, repeat the bleeding process.
Dealing with Stubborn ABS Systems
In some cases, air may become trapped in the ABS module, making it difficult to bleed the brakes using standard methods. Here are some techniques to try:
- Aggressive Pedal Pumping: After bleeding each wheel using the standard method, try pumping the brake pedal rapidly several times, followed by a hard, sustained press. This can sometimes dislodge trapped air.
- Using a Pressure Bleeder or Vacuum Bleeder: These tools provide a constant flow of brake fluid, which can help to force air out of the system. Follow the manufacturer's instructions for using these tools.
- ABS Cycling with a Scan Tool: Some vehicles require a scan tool to cycle the ABS module valves during bleeding. This opens the valves and allows any trapped air to be purged. Consult your vehicle's service manual for specific instructions.
Troubleshooting Common Issues
Here are some common problems encountered during brake bleeding and how to address them:
- Rounded Bleeder Screws: Use a penetrating oil and a specialized bleeder screw extraction tool to remove the rounded screw. Consider replacing all bleeder screws if they are corroded or damaged.
- Spongy Brake Pedal: This indicates air in the brake lines. Repeat the bleeding process, paying close attention to the master cylinder reservoir level.
- Brake Fluid Leaks: Check all brake lines, calipers, and wheel cylinders for leaks. Repair or replace any leaking components.
- ABS Warning Light: An ABS warning light indicates a problem with the ABS system. This may be due to a faulty sensor, a damaged ABS module, or low brake fluid. Consult a qualified mechanic for diagnosis and repair.
Preventive Maintenance
Regular brake fluid flushes are essential for maintaining optimal brake performance and preventing corrosion within the brake system. Most manufacturers recommend flushing the brake fluid every 2-3 years or 30,000-45,000 miles. This helps to remove moisture and contaminants from the brake fluid, prolonging the life of brake components.
When choosing brake fluid, always use the type specified in your vehicle's owner's manual. DOT 4 fluid has a higher boiling point than DOT 3 and is often recommended for vehicles that experience heavy braking or towing. However, never use DOT 5 fluid in a system designed for DOT 3 or DOT 4, as it is silicone-based and incompatible.
By understanding the nuances of bleeding brakes with ABS and following these guidelines, you can confidently maintain your vehicle's braking system and ensure a safe and reliable driving experience. Remember, if you're unsure about any aspect of the process, consult a qualified mechanic.