How To Bleed Hydraulic Clutch
The hydraulic clutch, a marvel of simple engineering, bridges the gap between the driver's intention and the engine's power, allowing for smooth and controlled gear changes. While its operation seems seamless, the hydraulic system relies on an incompressible fluid to transmit force. Introduce air into this system, and suddenly, the clutch pedal feels spongy, engagement becomes difficult, and the driving experience deteriorates rapidly. This is where bleeding the hydraulic clutch becomes a necessity. Think of it as an automotive blood transfusion, purging the system of performance-robbing air bubbles and restoring its vital function. But what exactly *is* bleeding a hydraulic clutch, and how is it done? This article dives into the technical details of the process, providing a comprehensive guide for understanding and executing this critical maintenance task.
Understanding the Hydraulic Clutch System
Before delving into the bleeding procedure, it's crucial to understand the components that comprise a hydraulic clutch system and their respective roles. The system is fundamentally similar to a hydraulic brake system, sharing the same principles of fluid displacement and pressure transmission. The main components include:
- Master Cylinder: Located near the clutch pedal, the master cylinder is the heart of the system. When the driver depresses the clutch pedal, a piston within the master cylinder pushes hydraulic fluid through a line towards the slave cylinder.
- Hydraulic Line: This is a reinforced hose or metal pipe that connects the master cylinder to the slave cylinder, acting as the conduit for the hydraulic fluid.
- Slave Cylinder: Positioned near the clutch fork (or directly on the clutch itself in some designs), the slave cylinder receives the hydraulic pressure from the master cylinder. The pressure actuates a pushrod, which in turn moves the clutch fork and disengages the clutch from the engine.
- Clutch Fork (or Actuator): The mechanical linkage that ultimately disengages the clutch disc from the flywheel, interrupting power transmission.
- Bleeder Valve: Typically located on the slave cylinder, the bleeder valve is a small, screw-like fitting designed to release air and old fluid from the system. This is the focal point of the bleeding process.
- Reservoir: Often integrated with the brake master cylinder reservoir (especially in newer vehicles) or a separate dedicated reservoir, this holds the hydraulic fluid for the clutch system. Maintaining the correct fluid level in the reservoir is critical.
The beauty of this system lies in its simplicity. Depressing the clutch pedal converts mechanical force into hydraulic pressure, which is then converted back into mechanical force to disengage the clutch. Air, however, disrupts this process by being compressible. When air bubbles are present, some of the force applied to the clutch pedal is used to compress the air instead of displacing fluid, resulting in a spongy pedal feel and incomplete clutch disengagement.
Why Bleeding is Necessary
Air can enter the hydraulic clutch system in several ways. Leaks in the lines, worn seals in the master or slave cylinders, or even simply opening the system for maintenance (such as replacing a clutch line) can introduce air. Over time, the hydraulic fluid can also absorb moisture from the atmosphere. This moisture can boil under high temperatures (especially during aggressive driving), creating vapor bubbles that act similarly to air bubbles. Furthermore, old hydraulic fluid degrades, losing its ability to properly transmit force. Regular bleeding not only removes air but also replaces old fluid with fresh, clean fluid, ensuring optimal system performance.
The Bleeding Process: A Step-by-Step Guide
There are several methods for bleeding a hydraulic clutch. The most common are the two-person method and the use of a pressure bleeder. The two-person method is straightforward but requires coordination. The pressure bleeder method uses a device to force fluid through the system, making it a one-person operation. We'll focus on the two-person method here, as it's accessible to most DIY enthusiasts.
Tools and Materials Required:
- New hydraulic fluid (DOT 3 or DOT 4, check your vehicle's specifications)
- Wrench or socket to fit the bleeder valve
- Clear hose that fits snugly over the bleeder valve
- Catch container to collect the old fluid
- Jack and jack stands (if needed to access the slave cylinder)
- Shop rags
- Protective gloves and eyewear
Procedure:
- Preparation: Park the vehicle on a level surface and engage the parking brake. If necessary, safely raise the vehicle and support it with jack stands to access the slave cylinder and bleeder valve. Open the hood and locate the clutch master cylinder reservoir. Clean around the reservoir cap to prevent debris from falling into the fluid.
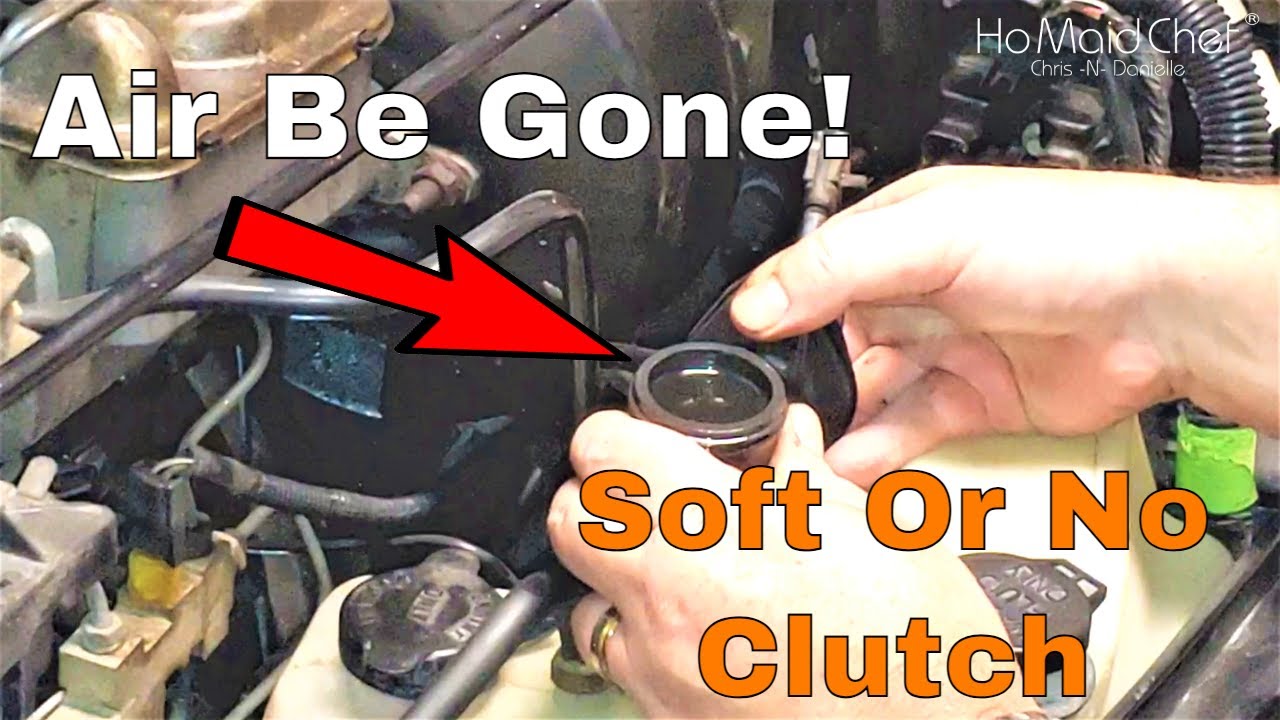
- Check and Top Off Fluid: Remove the master cylinder reservoir cap and check the fluid level. Fill it to the "MAX" line with fresh hydraulic fluid. Do not allow the reservoir to run dry during the bleeding process! This will introduce more air into the system, defeating the purpose of bleeding.
- Locate the Bleeder Valve: Locate the bleeder valve on the slave cylinder. It's usually a small fitting with a rubber cap. Remove the rubber cap.
- Attach the Hose: Attach one end of the clear hose to the bleeder valve. Place the other end of the hose into the catch container. This will prevent brake fluid from spilling onto the ground and allow you to observe the fluid as it's being bled.
- The Bleeding Process (Two-Person Method):
- Person 1 (Pedal Operator): Fully depress the clutch pedal and hold it down.
- Person 2 (Bleeder Operator): While Person 1 is holding the pedal down, use the wrench or socket to slightly loosen the bleeder valve. You should see fluid (and hopefully air bubbles) flowing through the clear hose into the catch container.
- Person 2 (Bleeder Operator): Once the fluid flow slows or stops, *immediately* tighten the bleeder valve.
- Person 1 (Pedal Operator): Slowly release the clutch pedal.
- Repeat: Repeat steps 5a through 5d several times, checking the fluid level in the master cylinder reservoir frequently and topping it off as needed. Continue until you see a steady stream of fluid flowing through the hose without any air bubbles.
- Final Steps: Once you are confident that all the air has been bled from the system, tighten the bleeder valve securely (but don't overtighten it, as you could damage the threads). Remove the hose from the bleeder valve and replace the rubber cap. Clean up any spilled fluid with shop rags.
- Test the Clutch: Pump the clutch pedal several times to build up pressure. The pedal should feel firm and consistent. Start the engine and test the clutch engagement. The clutch should engage smoothly and disengage fully. If the pedal still feels spongy or the clutch is not engaging properly, repeat the bleeding process.
- Final Check: Check the fluid level in the master cylinder reservoir one last time and top it off if necessary.
Troubleshooting and Tips
- Persistent Air: If you're having trouble bleeding the system and air continues to come out, check for leaks in the hydraulic lines, master cylinder, or slave cylinder. A faulty master or slave cylinder may need to be replaced.
- Bleeder Valve Condition: Ensure the bleeder valve is not damaged or corroded. A damaged bleeder valve can prevent a proper seal, making it difficult to bleed the system.
- Reverse Bleeding: In some cases, reverse bleeding (using a syringe or pressure bleeder to force fluid up through the bleeder valve and into the master cylinder) can be effective in removing stubborn air pockets.
- Fluid Type: Always use the correct type of hydraulic fluid specified for your vehicle. Mixing different types of fluid can damage the seals in the system.
- Safety First: Hydraulic fluid can be harmful to your skin and eyes. Wear protective gloves and eyewear when working with it. Dispose of used hydraulic fluid properly according to local regulations.
Conclusion
Bleeding the hydraulic clutch is a relatively simple procedure that can significantly improve your vehicle's performance and driving experience. By understanding the components of the hydraulic clutch system and following the steps outlined in this guide, you can confidently tackle this maintenance task yourself, saving money and gaining a deeper understanding of your vehicle. Remember to prioritize safety and take your time to ensure a thorough and effective bleeding process. A properly bled hydraulic clutch translates to smoother shifts, better control, and a more enjoyable driving experience. Always consult your vehicle's repair manual for specific instructions and torque specifications. Happy wrenching!