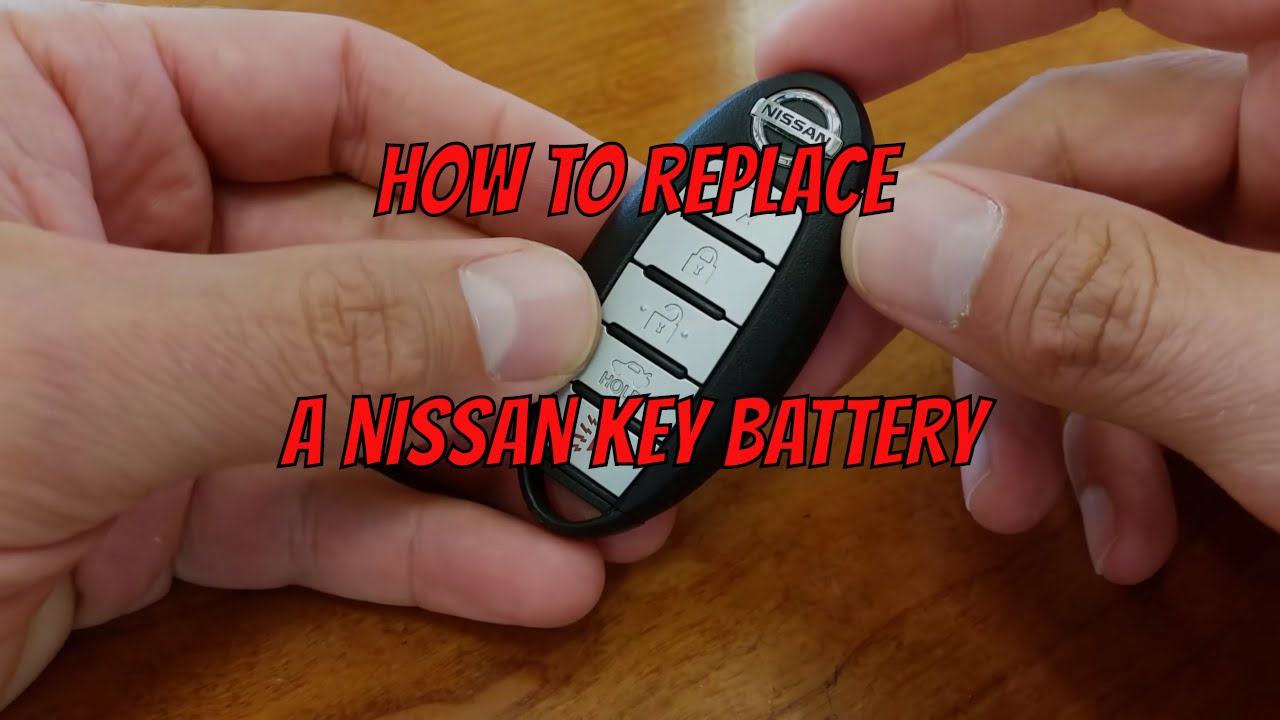
How To Change Nissan Key Fob Battery
So, your Nissan key fob is starting to act flaky, huh? Not responding every time you press a button, or maybe only working when you're practically touching the door handle? Chances are, the battery is on its way out. Don't sweat it; replacing it is a pretty straightforward DIY job, even if you're just starting to dabble in car maintenance. This guide will walk you through the process step-by-step.
Understanding Key Fob Technology
Before we dive in, let's quickly recap what's going on inside that little plastic shell. Your key fob is essentially a miniature radio transmitter. When you press a button (lock, unlock, panic, etc.), it sends a specific radio frequency (RF) signal to your car's receiver, which then executes the corresponding command. This communication often uses sophisticated rolling code encryption to prevent replay attacks (where someone intercepts the signal and uses it later to unlock your car). As the battery weakens, the signal strength decreases, making it harder for your car to "hear" the fob.
The battery itself is typically a 3-volt lithium coin cell, often a CR2025 or CR2032, though the exact type can vary by Nissan model and year. We'll cover how to identify the correct battery later.
Tools and Materials You'll Need
Here's what you'll need to get the job done:
- The correct replacement battery: We'll cover how to identify this in the next section.
- A small flathead screwdriver or pry tool: For carefully opening the key fob case. A plastic trim removal tool is even better to minimize the risk of scratches.
- A small Phillips head screwdriver (optional): Some key fobs have a small screw holding the battery compartment closed.
- A clean, static-free workspace: This is crucial to avoid damaging the delicate electronics inside the fob. A lint-free cloth can also be helpful.
Safety First: Although the voltages involved are low, it's always a good idea to remove any static electricity by grounding yourself before working with electronic components. Touching a grounded metal object (like a metal doorknob) will do the trick.
Identifying the Correct Battery
This is arguably the most important step. Using the wrong battery type can damage your key fob or cause it to malfunction. There are a few ways to figure out which battery you need:
- Check your owner's manual: The owner's manual often lists the battery type for the key fob.
- Open the key fob and inspect the old battery: This is the most reliable method. Once you open the fob (following the instructions below), you'll see the battery clearly labeled with its type (e.g., CR2025, CR2032).
- Consult online resources: Websites like batterylookup.com or specific Nissan parts websites can help you identify the battery based on your car's make, model, and year.
Important Note: CR2025 and CR2032 batteries are both 3-volt lithium coin cells, but they have different thicknesses. CR2032 is slightly thicker than CR2025. While you might be able to get away with using a CR2025 in place of a CR2032 in some cases, it's generally not recommended, as it may not make a secure connection. Always try to use the exact battery type specified for your key fob.
Step-by-Step Battery Replacement Guide
Step 1: Accessing the Battery Compartment
The method for opening the key fob varies slightly depending on the model. Here are the most common types:
- Fob with a Physical Key: Many Nissan key fobs have a physical key that slides out. Locate the release button or latch (usually on the back or side of the fob) and slide the key out. Once the key is removed, you'll often find a small slot or notch revealed. This is where you'll insert your flathead screwdriver or pry tool.
- Fob without a Physical Key: Some newer fobs don't have a physical key. In this case, look for a seam or groove running around the perimeter of the fob. You'll need to gently pry the two halves of the case apart.
Prying the Case Open: Carefully insert your flathead screwdriver or plastic pry tool into the slot or seam. Gently twist or pry to separate the two halves of the fob. Be patient and apply even pressure. Avoid forcing it, as you could damage the plastic case. If you encounter resistance, try another spot along the seam.
Dealing with Screws: Some key fobs have one or more small Phillips head screws holding the case together. Locate and remove these screws before attempting to pry the case open.
Step 2: Removing the Old Battery
Once the key fob case is open, you'll see the circuit board and the battery. The battery is typically held in place by a small metal clip or retainer. There are two common ways these retainers work:
- Clip-in Retainer: The battery is held in place by a clip that you need to gently push aside to release the battery. Use the tip of your screwdriver or pry tool to carefully push the clip away from the battery.
- Slide-out Retainer: The battery slides out from under a small metal tab. Gently push the battery towards the tab and then lift it out.
Important Note: Pay attention to the orientation of the battery (positive (+) and negative (-) sides) before removing it. This is crucial for installing the new battery correctly. The positive side is usually marked with a "+" symbol.
Step 3: Installing the New Battery
Insert the new battery into the compartment, making sure the positive (+) side is facing the correct direction (matching the orientation of the old battery). Secure it under the retainer clip or slide it into place, depending on the design of your key fob.
Step 4: Reassembling the Key Fob
Carefully align the two halves of the key fob case and press them together until they snap securely into place. If your fob had screws, reinsert and tighten them. Make sure the case is fully closed and there are no gaps or loose parts.
Step 5: Testing the Key Fob
Test the key fob by pressing the buttons and verifying that your car responds correctly (locks, unlocks, etc.). If the fob doesn't work, double-check the battery orientation, the battery type, and the connection between the battery and the terminals. If it still doesn't work, the problem might be more complex, and you may need to consult a professional.
Troubleshooting
Here are some common issues you might encounter and how to address them:
- Key Fob Still Doesn't Work After Battery Replacement:
- Check Battery Orientation: Make sure the battery is installed with the correct polarity (+/-).
- Check Battery Type: Verify that you used the correct battery type (e.g., CR2025 or CR2032).
- Clean Battery Contacts: Use a cotton swab and a small amount of isopropyl alcohol to clean the metal contacts in the battery compartment. Corroded contacts can prevent a good connection.
- Resync the Key Fob: In some cases, you may need to resynchronize the key fob with your car after replacing the battery. Refer to your owner's manual for instructions on how to do this. The process often involves turning the ignition on and off a specific number of times while pressing a button on the fob.
- Check for Damage: Inspect the circuit board for any signs of damage (e.g., broken components, corrosion). If you see any damage, the key fob may need to be replaced.
- Key Fob Case Won't Close Properly:
- Check Alignment: Make sure the two halves of the case are properly aligned before pressing them together.
- Check for Obstructions: Make sure there are no small parts or debris preventing the case from closing fully.
- Check for Broken Tabs: Inspect the plastic tabs that hold the case together for any signs of damage. If the tabs are broken, the case may not close securely, and you may need to replace the key fob case.
Final Thoughts
Replacing the battery in your Nissan key fob is a simple and cost-effective way to keep your keyless entry system working smoothly. By following these steps and taking your time, you can easily handle this task yourself. However, if you're uncomfortable working with electronics or encounter any difficulties, don't hesitate to seek help from a qualified mechanic or locksmith. Good luck!