How To Change The Gas Filter
Fuel filters. Seemingly insignificant, yet absolutely vital to the smooth operation and longevity of your internal combustion engine. They stand guard against dirt, rust, and other contaminants that could wreak havoc on your fuel system, ensuring a clean and consistent fuel supply reaches the injectors. Changing your fuel filter is a routine maintenance task that, while sometimes overlooked, can save you from costly repairs down the road. This guide provides a detailed, step-by-step walkthrough for replacing your fuel filter, along with essential safety precautions and helpful tips.
Understanding Your Fuel Filter: Location and Type
Before diving into the replacement process, it's crucial to identify your vehicle's fuel filter location and type. While the specific placement varies depending on the make and model, common locations include:
- In-line, along the fuel line: Typically found underneath the vehicle, running along the chassis, between the fuel tank and the engine compartment. This is a common configuration, especially in older vehicles.
- Inside the fuel tank: Integrated with the fuel pump assembly. This design is increasingly common in modern vehicles. Access requires dropping the fuel tank, making it a more involved process.
- In the engine compartment: Located near the fuel rail or fuel injectors. This provides easier access for maintenance.
Consult your vehicle's service manual for the precise location. Identifying the filter type is equally important. Common types include:
- Spin-on filters: Resemble oil filters, featuring a threaded base that screws onto a mounting point.
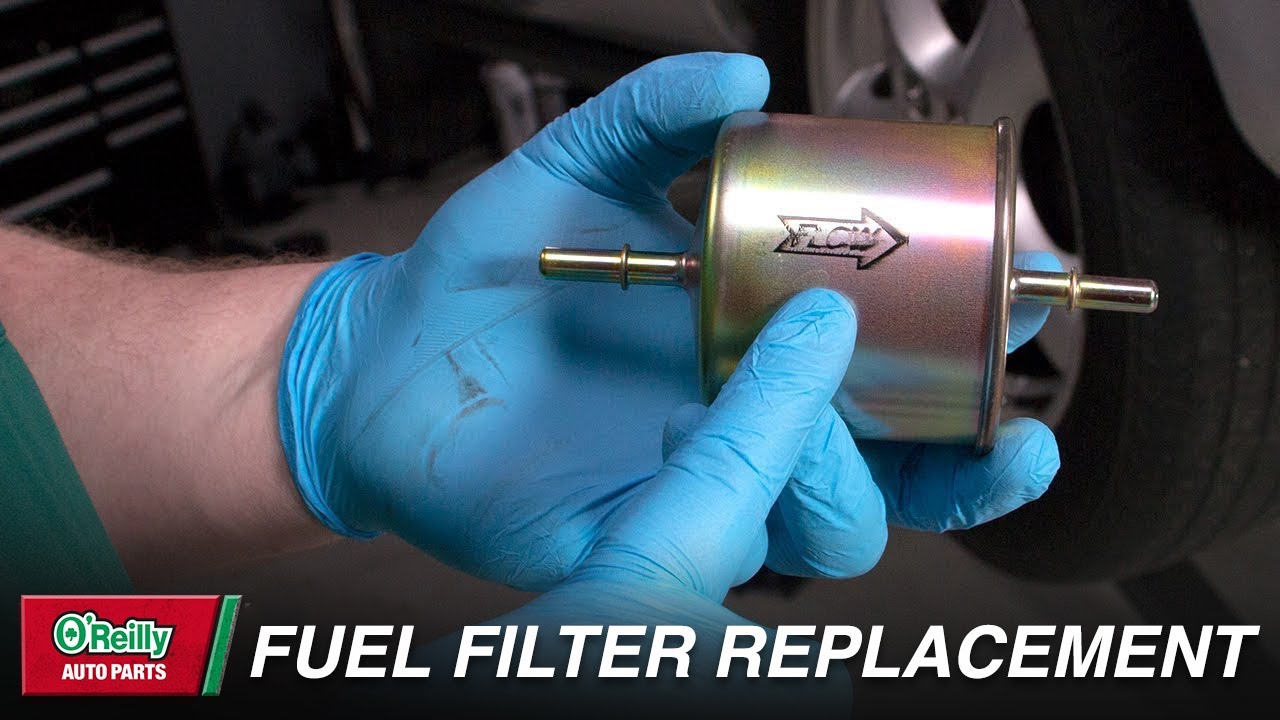
- In-line filters: Typically cylindrical, with barbed fittings or threaded connections for the fuel lines.
- Cartridge filters: Inserted into a housing, which is then connected to the fuel lines.
Purchasing the correct replacement filter is essential. Use your vehicle's year, make, and model to ensure compatibility. Premium brands like Bosch, Mahle, and Purolator offer high-quality filters designed to meet or exceed OEM specifications.
Safety First: Preparation and Precautions
Working with fuel is inherently hazardous. Before starting, prioritize safety:
- Work in a well-ventilated area: Gasoline fumes are flammable and toxic. Open doors and windows to ensure adequate ventilation.
- Disconnect the negative battery terminal: This prevents accidental sparks that could ignite fuel vapors. Use a wrench to loosen the nut securing the cable to the negative terminal and carefully detach the cable.
- Wear safety glasses and gloves: Protect your eyes and skin from fuel spills.
- Have a fire extinguisher nearby: In case of an emergency. A class B fire extinguisher is suitable for gasoline fires.
- Avoid smoking or open flames: Eliminate any potential ignition sources.
- Depressurize the fuel system: Crucial to prevent fuel from spraying out when disconnecting the fuel lines.
Depressurizing the fuel system can be achieved through several methods. The most common involves locating the fuel pump relay (consult your vehicle's service manual for its location), removing it, and then starting the engine. The engine will run for a few seconds until the remaining fuel in the lines is used up, then stall. Crank the engine a couple more times to ensure the system is fully depressurized. Alternatively, some vehicles have a Schrader valve (similar to a tire valve) on the fuel rail that can be used to bleed off pressure. Consult your service manual for the recommended procedure for your specific vehicle.
Tools You'll Need
Gathering the necessary tools before starting will streamline the process:
- New fuel filter: The correct part for your vehicle.
- Wrenches: To disconnect fuel lines and remove the filter. Metric or SAE sizes, depending on your vehicle. Flare nut wrenches are recommended for fuel lines to prevent rounding the fittings.
- Screwdrivers: Possibly needed to remove access panels or clips.
- Fuel line disconnect tool: If your vehicle uses quick-connect fuel line fittings. These tools are specific to the fitting size and type.
- Drain pan: To catch spilled fuel.
- Rags or shop towels: For cleaning up spills and wiping components.
- Jack and jack stands (if accessing the filter from underneath): Ensure the vehicle is securely supported.
- Penetrating oil: To loosen stubborn fittings.
- Torque wrench: To tighten fittings to the correct specifications.
- Service manual: Provides valuable information on filter location, fuel system depressurization, and torque specifications.
Step-by-Step Fuel Filter Replacement
With safety precautions in place and tools ready, follow these steps:
- Locate the fuel filter: Refer to your vehicle's service manual.
- Prepare for fuel spillage: Position the drain pan underneath the fuel filter and fuel lines.
- Disconnect the fuel lines: Use the appropriate wrenches or fuel line disconnect tool. Apply penetrating oil to stubborn fittings and allow it to soak for a few minutes. Be prepared for some fuel to spill out. Carefully remove any retaining clips or brackets.
- Remove the old fuel filter: Depending on the type, unscrew the spin-on filter or detach the in-line or cartridge filter from its mounting point. Note the direction of fuel flow (indicated by an arrow on the filter) for proper installation of the new filter.
- Prepare the new fuel filter: If replacing a spin-on filter, lightly lubricate the rubber gasket with clean engine oil.
- Install the new fuel filter: Follow the reverse of the removal procedure. Ensure the new filter is securely mounted and the fuel lines are properly connected. Pay attention to the direction of fuel flow.
- Tighten the fittings: Use a torque wrench to tighten the fuel line fittings to the manufacturer's specified torque. Overtightening can damage the fittings.
- Reconnect the fuel pump relay (if removed): Ensure it is securely seated.
- Reconnect the negative battery terminal: Tighten the nut securely.
- Inspect for leaks: Turn the ignition key to the "on" position (without starting the engine) to allow the fuel pump to prime the system. Carefully inspect all fuel line connections for leaks. If any leaks are detected, tighten the fittings further or replace the fuel lines or fittings as needed.
- Start the engine: Allow the engine to idle for a few minutes and re-inspect for leaks.
- Dispose of the old fuel filter and contaminated materials properly: Fuel filters and fuel-soaked rags are considered hazardous waste and should be disposed of according to local regulations.
Troubleshooting Common Problems
While the fuel filter replacement process is generally straightforward, you might encounter some common problems:
- Stubborn fuel line fittings: Applying penetrating oil and using flare nut wrenches can help. In extreme cases, you may need to heat the fitting with a heat gun (exercise extreme caution) or cut the fuel line and replace it with a new section.
- Fuel leaks after installation: Double-check the tightness of the fuel line fittings. Ensure the fittings are properly seated and that the threads are not damaged. Replacing the fuel lines or fittings may be necessary.
- Engine not starting after replacement: The fuel system may need to be primed. Cycle the ignition key to the "on" position several times to allow the fuel pump to build pressure. Check the fuel pump relay and fuse.
- Incorrect fuel filter: Compare the old and new filters to ensure they are identical. Return the incorrect filter and purchase the correct one.
Maintenance Schedule and Considerations
The recommended fuel filter replacement interval varies depending on the vehicle manufacturer and operating conditions. Consult your vehicle's service manual for the recommended interval, typically between 25,000 and 50,000 miles. However, if you experience symptoms such as:
- Difficulty starting
- Rough idling
- Hesitation during acceleration
- Reduced fuel economy
- Engine stalling
…it may be time to replace the fuel filter, regardless of the mileage. Regular fuel filter replacement can prevent fuel pump damage, injector clogging, and other fuel system problems, ultimately extending the life of your engine and improving its performance. The cost of a fuel filter is relatively low, typically ranging from $10 to $50, while the labor cost can vary depending on the location of the filter and the complexity of the job. However, performing this task yourself can save you money and provide a better understanding of your vehicle's fuel system.
Consider using high-quality fuel filters, especially if you frequently drive in dusty or contaminated environments. Premium filters offer improved filtration efficiency and can better protect your fuel system from harmful particles. Also, be mindful of the fuel quality you use. Regularly using low-quality fuel can accelerate filter clogging and shorten its lifespan.