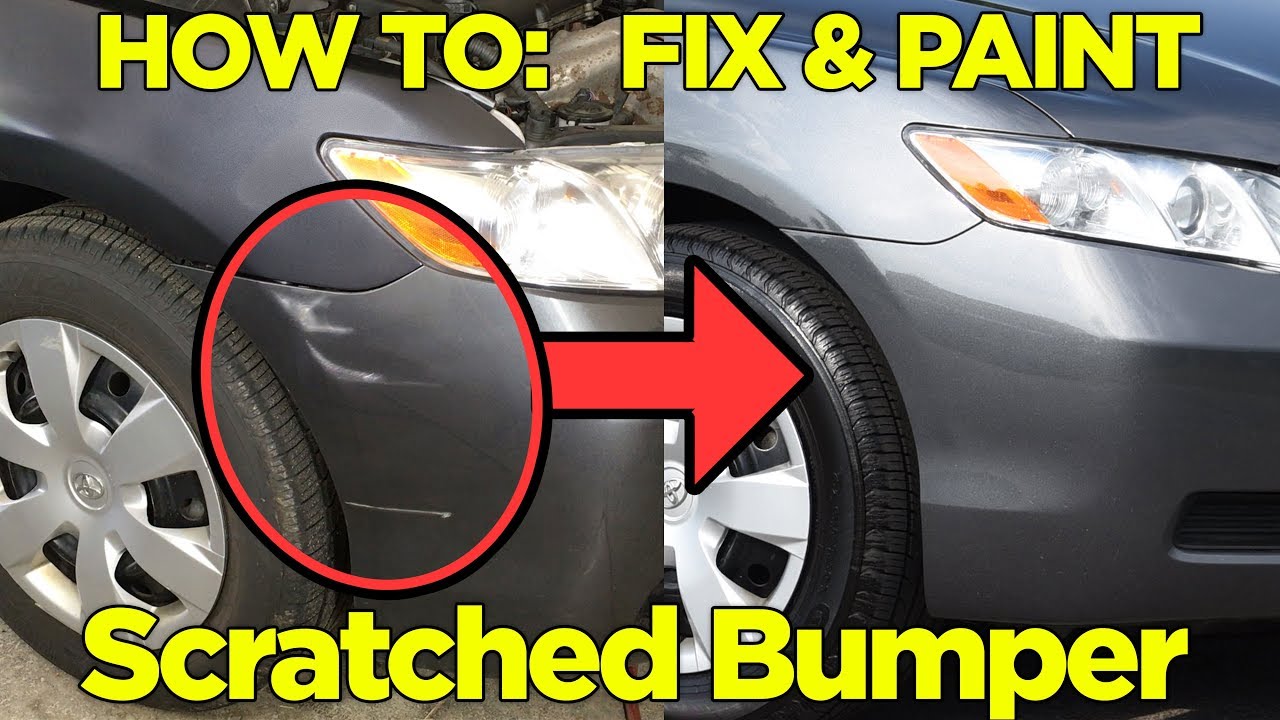
How To Fix A Scratch In A Plastic Bumper
Plastic bumpers, while incredibly effective at absorbing low-speed impacts and protecting your car's vital components, are unfortunately prone to scratches. Whether it's a rogue shopping cart in a parking lot, a stray branch on a narrow road, or even just abrasive cleaning methods, those unsightly marks can quickly detract from your car's appearance. Thankfully, fixing a scratch in a plastic bumper is a manageable DIY project for most car enthusiasts and owners. This article will guide you through the process, providing the necessary knowledge and techniques to achieve professional-looking results.
Understanding the Scratch
Before diving into the repair, it's crucial to properly assess the damage. Scratches on plastic bumpers vary in severity, and the approach you take will depend on the depth and extent of the blemish. We can broadly categorize them into three types:
Surface Scratches
These are the least severe, often appearing as light scuff marks or hairline scratches that only affect the clear coat or the very top layer of the plastic. They usually don't penetrate the paint layer itself. Think of it like wiping a dry cloth on a dusty surface – you're only disturbing the top layer. These types of scratches are often treatable with simple polishing compounds.
Example: Minor scuffs on a dark-colored Toyota Camry bumper from leaning against it while loading groceries.
Clear Coat Scratches
Slightly deeper than surface scratches, clear coat scratches penetrate the clear coat layer but still leave the base coat (the actual colored paint) untouched. These might be visible as slightly deeper lines or imperfections, and you might feel them slightly with your fingernail, but without catching. Buffing will usually resolve these marks.
Example: Fine scratches on the clear coat of a Honda Civic bumper caused by improper car washing techniques using a gritty sponge.
Base Coat Scratches
These are the most severe type of scratch, reaching through the clear coat and into the base coat. You'll likely feel these distinctly with your fingernail. They often appear as colored lines exposing the plastic underneath in some cases. Repairing these scratches usually requires more extensive work, including filling and repainting.
Example: A noticeable scratch on a red Mazda 3 bumper after a minor scrape against a parking bollard, revealing the grey plastic underneath.
Tools and Materials Needed
The specific tools and materials will vary depending on the severity of the scratch, but here's a general list:
- Cleaning Supplies: Car wash soap, microfiber cloths, degreaser (isopropyl alcohol works well).
- Sandpaper: A variety of grits, typically ranging from 400 grit to 3000 grit. Wet/dry sandpaper is recommended.
- Sanding Block: For even sanding and preventing finger pressure from creating uneven surfaces.
- Polishing Compound: A compound designed for automotive paint, used to remove fine scratches and swirl marks.
- Buffing Pads: Several polishing pads of varying firmness.
- Polishing Machine (Optional): A dual-action polisher will make the job easier and provide better results, but it's not essential.
- Touch-Up Paint (If Needed): Matching the exact paint code of your car is critical. This code can usually be found on a sticker located on the driver's side door jamb or in the engine bay. Many automotive parts stores can mix a custom color for you, too.
- Primer (If Needed): To prepare bare plastic for paint. Adhesion promoters can work well.
- Filler (If Needed): For deep scratches that require filling. Plastic bumper repair filler is essential to keep it flexible and long-lasting.
- Masking Tape: To protect surrounding areas.
- Gloves: To protect your hands.
- Safety Glasses: To protect your eyes.
- Tack Cloth: To remove dust and debris before painting.
The Repair Process: Step-by-Step
Here’s a detailed breakdown of the repair process, tailored to different scratch severities.
For Surface Scratches
- Clean the Area: Thoroughly wash and dry the bumper area around the scratch using car wash soap and a microfiber cloth. Use a degreaser to remove any wax or grease.
- Apply Polishing Compound: Apply a small amount of polishing compound to a clean buffing pad.
- Buff the Scratch: If using a polishing machine, use a low speed and gentle pressure to buff the scratch in a circular motion. If buffing by hand, apply moderate pressure and use the same circular motion.
- Wipe Clean: Wipe away any excess polishing compound with a clean microfiber cloth.
- Inspect and Repeat: Inspect the scratch. If it's still visible, repeat steps 2-4. You may need to use a slightly more aggressive polishing compound if the initial one isn't effective.
- Apply Wax or Sealant (Optional): After removing the scratch, apply a coat of wax or sealant to protect the paint and enhance the shine.
For Clear Coat Scratches
- Clean the Area: As with surface scratches, start by thoroughly cleaning the area.
- Wet Sanding (Optional but Recommended): If the scratch is slightly deeper, you may need to wet sand it with fine-grit sandpaper (2000-3000 grit). Soak the sandpaper in water for a few minutes before using it. Lightly sand the scratch in a straight, back-and-forth motion. The goal is to level the scratch, not to remove a large amount of paint.
- Apply Polishing Compound: Apply polishing compound to a clean buffing pad.
- Buff the Scratch: Use a polishing machine or hand buffing to remove the sanding marks and blend the area. Start with a more aggressive compound if needed, then follow up with a finer compound for a smooth finish.
- Wipe Clean: Wipe away any excess polishing compound.
- Inspect and Repeat: Inspect the scratch. Repeat steps 2-5 if necessary.
- Apply Wax or Sealant (Optional): Apply a coat of wax or sealant.
For Base Coat Scratches
- Clean the Area: Clean the bumper thoroughly.
- Sanding: Use 400-grit sandpaper to gently feather the edges of the scratch, creating a smooth transition between the damaged area and the surrounding paint. Gradually move to finer grits like 600 and then 800 to further refine the surface.
- Filler Application (If Necessary): For deeper scratches, apply a thin layer of plastic bumper filler to fill the void. Use a spreader to ensure a smooth, even application. Allow the filler to dry completely according to the manufacturer's instructions.
- Sanding the Filler: Once the filler is dry, sand it smooth using progressively finer grits of sandpaper (400, 600, 800) until it's flush with the surrounding surface.
- Priming: Apply a thin, even coat of automotive primer to the repaired area. This will provide a good surface for the paint to adhere to. Allow the primer to dry completely.
- Sanding the Primer: Lightly sand the primer with very fine grit sandpaper (1000 grit or higher) to remove any imperfections and ensure a smooth surface.
- Painting: Apply several thin, even coats of touch-up paint, allowing each coat to dry completely before applying the next. It's crucial to match the paint code of your car to ensure a seamless blend.
- Clear Coat Application: Apply two or three coats of clear coat to protect the paint and provide a glossy finish. Allow each coat to dry completely.
- Wet Sanding (Optional): After the clear coat has dried completely (usually 24-48 hours), you can wet sand it with very fine-grit sandpaper (2000-3000 grit) to remove any orange peel or imperfections.
- Polishing: Polish the repaired area to restore the shine and blend it with the surrounding paint.
- Apply Wax or Sealant: Apply a coat of wax or sealant to protect the paint and enhance the shine.
Important Considerations
- Paint Matching: Accurate paint matching is paramount. Use your car's paint code to order the correct touch-up paint. Automotive paint suppliers can usually match the paint precisely.
- Cleanliness: Ensure a clean working environment. Dust and debris can contaminate the paint and create imperfections.
- Thin Coats: When painting, apply multiple thin coats rather than one thick coat. This will prevent runs and sags.
- Patience: Allow sufficient drying time between coats of paint, primer, and clear coat. Rushing the process can lead to problems.
- Practice: If you're new to this, consider practicing on a scrap piece of plastic or an inconspicuous area of the bumper before tackling the main scratch.
- Blending: Blending the new paint with the surrounding original paint is key for a seamless repair. Fading the edges of the new paint creates a more natural transition.
- UV Protection: Ensure the clear coat you use has UV protection. This will prevent the paint from fading over time.
Examples from Well-Known Car Brands and Models
Let's consider specific scenarios with popular car models:
- Ford F-150: A common issue with pickup trucks like the Ford F-150 is scratches on the rear bumper from loading and unloading cargo. Surface scratches can usually be easily buffed out, while deeper scratches might require filler and touch-up paint. The tough plastic used on these bumpers is designed to last, but even it can be marred.
- BMW 3 Series: BMW bumpers, known for their sleek designs, often suffer from scratches due to their low ground clearance. These might involve curb rash or scratches from road debris. Clear coat scratches are common and usually repairable with wet sanding and polishing.
- Tesla Model 3: Tesla's minimalist design includes large, smooth bumper surfaces, making scratches more noticeable. Base coat scratches on a Tesla require careful attention to paint matching, as the color palette can be complex. The unique paint formulations used by Tesla can make perfect matching a challenge.
- Honda CR-V: The Honda CR-V is a popular family SUV, and its bumpers are often subjected to the rigors of daily use. Surface scratches from shopping carts or minor impacts are common, and these are usually easily addressed with polishing.
Practical Takeaways
- Assess the Damage: Determine the type and severity of the scratch before starting the repair.
- Gather the Right Tools: Ensure you have all the necessary tools and materials on hand.
- Prepare the Surface: Thoroughly clean and prepare the bumper surface before starting any repair work.
- Use the Right Techniques: Follow the appropriate repair steps based on the scratch severity.
- Be Patient and Precise: Take your time and pay attention to detail for the best results.
- Practice Makes Perfect: Don't be afraid to practice on a less visible area before tackling the main scratch.
- Know When to Call a Pro: For extensive damage or if you're not comfortable with the repair process, it's best to consult a professional auto body shop.
- Prevention is Key: Regular washing and waxing can help protect your bumper from scratches. Consider using a bumper protector for added protection, especially in high-traffic areas. Applying a ceramic coating can give an added layer of durable protection, too.
By following these steps and tips, you can effectively repair scratches on your plastic bumper and restore your car's appearance. Remember that patience, careful preparation, and the right techniques are key to achieving professional-looking results. Good luck!