How To Fix A Scratched Bumper Plastic
How to Fix a Scratched Bumper (Plastic): A Step-by-Step Guide
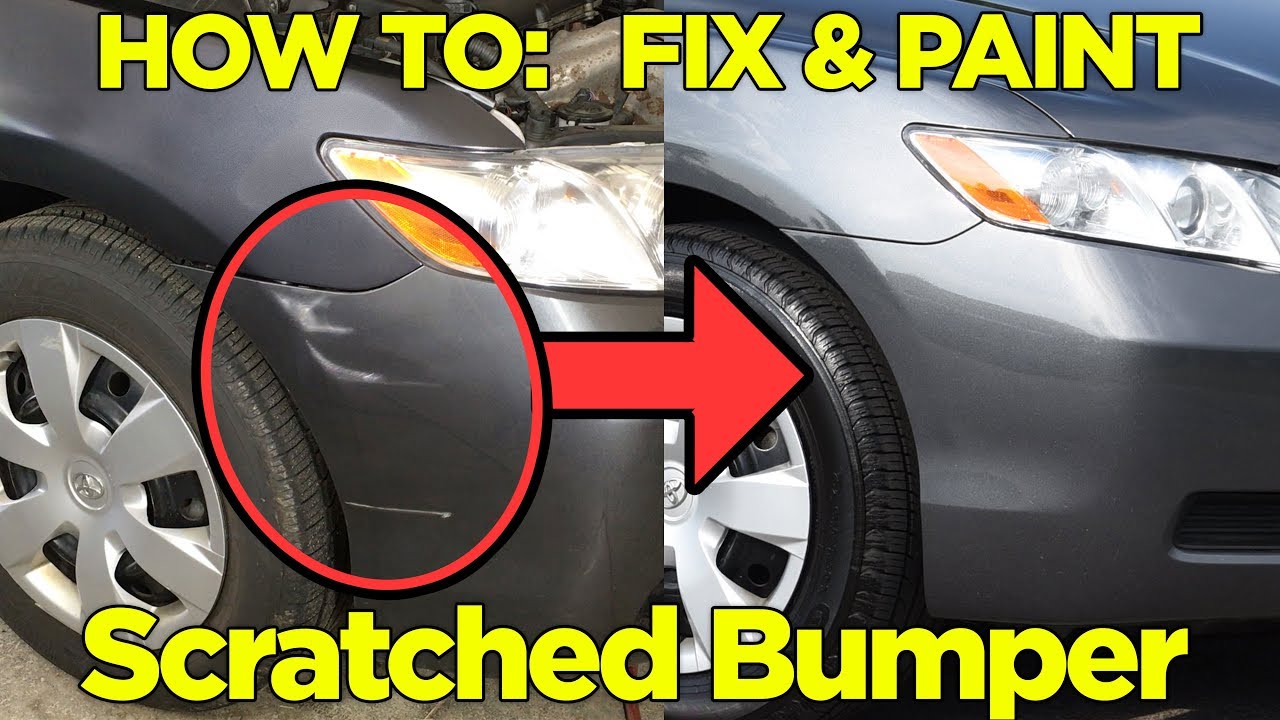
Scratches on your car's bumper are an unfortunate reality of driving. Whether it's a minor scrape from a parking mishap or a more noticeable gouge, a scratched bumper can detract from your vehicle's appearance and potentially lower its resale value. Fortunately, repairing minor scratches on a plastic bumper is often a DIY project that can save you money compared to professional auto body repairs. This comprehensive guide will walk you through the process, providing you with the knowledge and steps necessary to restore your bumper's pristine look.
Understanding the Type of Scratch
Before you begin, it's crucial to assess the severity of the scratch. This will determine the tools and techniques you'll need. Scratches generally fall into three categories:
- Clear Coat Scratches: These are the most superficial scratches, affecting only the clear coat layer of the paint. They often appear as light swirls or hazy areas.
- Paint Scratches: These scratches penetrate the clear coat and reach the paint layer, revealing the color of the primer or even the plastic underneath.
- Deep Scratches: These are the most severe, extending through the paint and into the plastic of the bumper itself. They may be accompanied by cracks or dents.
This guide primarily focuses on repairing clear coat and paint scratches. Deep scratches may require more extensive repairs, including filling and sanding, which are beyond the scope of this article. If you have a deep scratch, it's best to consult with a professional auto body shop.
Materials You'll Need
To successfully repair your scratched bumper, gather the following materials:
- Car Wash Soap: Essential for cleaning the area thoroughly before you begin.
- Clean Microfiber Towels: For washing, drying, and polishing. Avoid using abrasive cloths that could cause further damage.
- Rubbing Alcohol (Isopropyl Alcohol): For degreasing the area before applying any repair products.
- Sandpaper (Various Grits): You'll need different grits for different stages of the repair. Start with a higher grit (e.g., 2000-3000 grit) for light scratches and progressively lower grits (e.g., 1000-1500 grit) for deeper scratches. Wet sanding is recommended.
- Sanding Block: To ensure even pressure and prevent creating uneven surfaces.
- Scratch Remover Compound: Specifically designed to remove minor scratches and swirl marks from car paint.
- Polishing Compound: Used after the scratch remover to further refine the surface and restore shine.
- Paint Touch-Up Pen or Brush (Matching Your Car's Color): For filling in paint scratches. Ensure you have the correct paint code for a perfect match.
- Clear Coat Touch-Up Pen or Brush: To protect the repaired area and restore the clear coat layer.
- Wax or Sealant: To protect the newly repaired area and enhance its shine.
- Masking Tape: To protect surrounding areas from accidental sanding or polishing.
- Water Spray Bottle: For wet sanding.
- Latex or Nitrile Gloves: To protect your hands from chemicals.
Step-by-Step Repair Process
Follow these steps carefully to achieve the best results:
- Clean the Area: Thoroughly wash the bumper area around the scratch with car wash soap and water. Rinse well and dry with a clean microfiber towel. This removes dirt, grime, and any loose debris that could interfere with the repair process.
- Degrease the Surface: Wipe the area with rubbing alcohol to remove any remaining wax, grease, or silicone. This ensures that the repair products will adhere properly.
- Assess the Scratch: As mentioned earlier, determine the depth of the scratch. This will determine the grit of sandpaper you'll need to use.
- Sand the Scratch (If Necessary): For clear coat scratches, start with a 2000-3000 grit sandpaper. For paint scratches, you may need to start with 1000-1500 grit. Wet sand the area using a sanding block and a spray bottle filled with water. This prevents the sandpaper from clogging and reduces the risk of creating deeper scratches. Sand in a back-and-forth motion, feathering the edges of the scratch. Avoid sanding too aggressively.
- Clean and Dry Again: After sanding, thoroughly clean and dry the area with a microfiber towel.
- Apply Scratch Remover: Apply a small amount of scratch remover compound to a clean microfiber towel. Rub the compound onto the scratched area using a circular motion, applying moderate pressure. Follow the instructions on the scratch remover product label.
- Buff the Area: Use a clean microfiber towel to buff the area and remove any excess scratch remover.
- Apply Polishing Compound: Apply a small amount of polishing compound to a clean microfiber towel. Rub the compound onto the area using a circular motion, applying light pressure. This will further refine the surface and restore shine.
- Buff Again: Use a clean microfiber towel to buff the area and remove any excess polishing compound.
- Apply Touch-Up Paint (If Necessary): If the scratch penetrated the paint layer, carefully apply touch-up paint to the scratch using a fine-tipped brush or paint pen. Apply thin coats, allowing each coat to dry completely before applying the next. Avoid applying too much paint, as this can create a raised area.
- Apply Clear Coat (If Necessary): After the touch-up paint has completely dried, apply a thin layer of clear coat using a fine-tipped brush or clear coat pen. This will protect the paint and restore the clear coat layer.
- Wet Sand (Optional): If the touch-up paint or clear coat application resulted in a slightly uneven surface, you can gently wet sand the area with very fine grit sandpaper (e.g., 3000-5000 grit) to smooth it out. Be extremely careful not to sand too much.
- Polish Again: After wet sanding (if applicable), re-apply polishing compound and buff the area to restore shine.
- Apply Wax or Sealant: Apply a coat of wax or sealant to the repaired area to protect the paint and enhance its shine. This will also help to prevent future scratches.
Tips for Success
Here are some additional tips to help you achieve the best results:
- Work in a Well-Ventilated Area: Ensure proper ventilation when working with chemicals like rubbing alcohol, scratch remover, and polishing compound.
- Test in an Inconspicuous Area: Before applying any product to the visible area of the bumper, test it in a small, inconspicuous area to ensure that it doesn't damage the paint.
- Use the Correct Grit Sandpaper: Using sandpaper that is too coarse can create deeper scratches. Start with a higher grit and progressively lower the grit as needed.
- Don't Apply Too Much Pressure: Applying too much pressure when sanding or polishing can damage the paint. Use gentle, even pressure.
- Take Your Time: Rushing the repair process can lead to mistakes. Take your time and carefully follow each step.
- Clean Your Tools: Keep your microfiber towels and sanding block clean to prevent contamination.
When to Seek Professional Help
While this guide provides a comprehensive overview of how to fix a scratched plastic bumper, there are some situations where it's best to seek professional help:
- Deep Scratches: As mentioned earlier, deep scratches that penetrate the plastic of the bumper may require more extensive repairs.
- Cracked or Dented Bumpers: If your bumper is cracked or dented, it may need to be repaired or replaced by a professional.
- Extensive Damage: If the damage is extensive, it may be more cost-effective to have the bumper professionally repaired.
- If You're Not Comfortable: If you're not comfortable performing the repair yourself, it's always best to consult with a professional auto body shop.
Preventing Future Scratches
Once you've repaired your scratched bumper, you'll want to take steps to prevent future scratches. Here are some tips:
- Park Carefully: Be mindful of your surroundings when parking and avoid parking too close to other vehicles or objects.
- Use Bumper Protectors: Consider installing bumper protectors to help prevent scratches from parking mishaps.
- Wash Your Car Regularly: Regular washing will remove dirt and grime that can cause scratches.
- Wax Your Car Regularly: Waxing your car will protect the paint and make it more resistant to scratches.
- Be Careful When Loading and Unloading: Be careful when loading and unloading items from your car to avoid accidentally scratching the bumper.
By following these steps and taking preventative measures, you can keep your car's bumper looking its best and maintain its value. Remember to always prioritize safety and work in a well-lit and ventilated area. Good luck!