How To Get Scuff Out Of Plastic Bumper
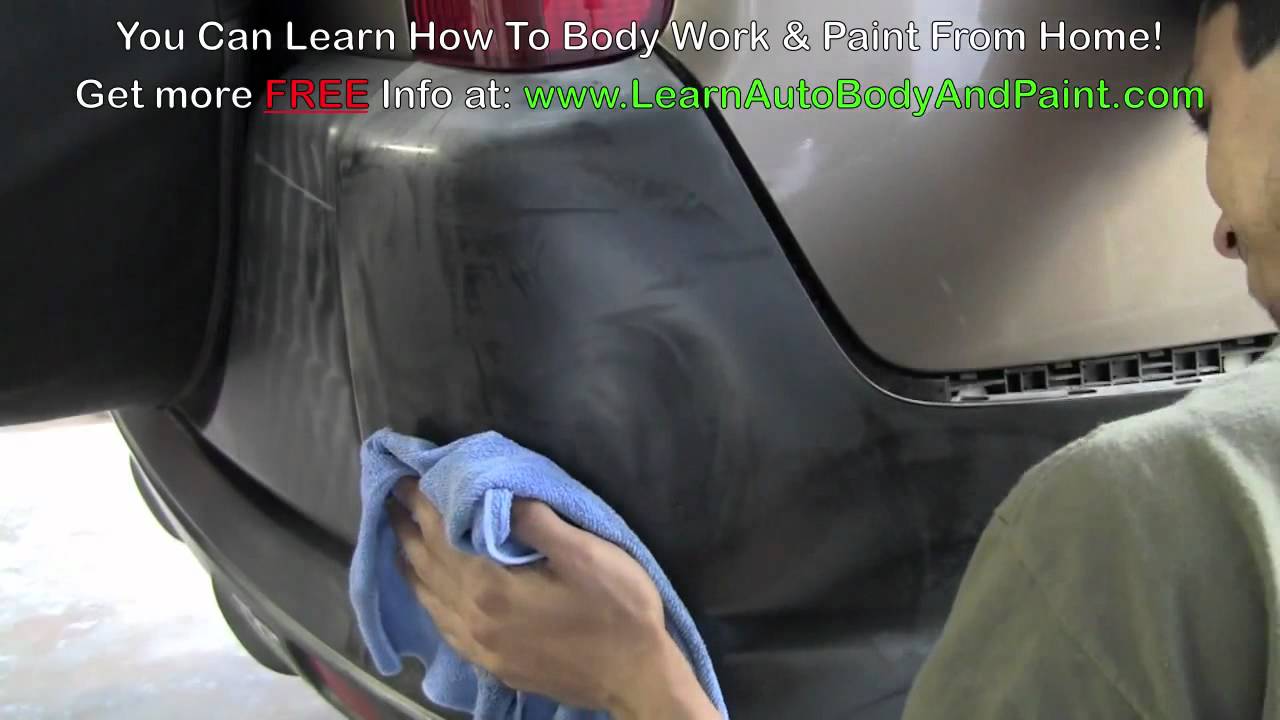
Ah, the dreaded scuff. A badge of honor for some, a source of unending frustration for others. No matter which camp you fall into, that unsightly mark on your plastic bumper is a testament to the everyday battles fought on our roads – parking lot skirmishes, rogue shopping carts, and the occasional overzealous bush on a narrow lane. But fear not, fellow petrolheads! Restoring your car's aesthetic dignity is within reach. Let's dive into the art and science of removing scuffs from your plastic bumper, exploring different methods and offering a peek at how various car models react to these restorative techniques.
The Anatomy of a Scuff: Understanding the Enemy
Before we unleash our arsenal of cleaning products and buffing tools, let's understand what we're dealing with. A scuff is typically a shallow abrasion that mars the surface of the plastic. It's usually not a deep gouge that penetrates the entire bumper. The depth of the scuff will dictate the approach needed. Think of it like diagnosing an engine problem – you need to understand the cause before you start wrenching!
Surface Scuffs: The Easiest Wins
These are the minor blemishes, often just surface transfer from another object. Think paint residue from a parking mishap. Thankfully, these are usually the easiest to remedy.
Deeper Scuffs: Requiring More Elbow Grease (or Technology)
These scuffs have penetrated a bit further into the plastic, leaving a more noticeable mark. They might even have a slightly rough texture. These require a more aggressive approach, potentially involving light sanding and polishing.
The Toolkit: Essential Gear for Scuff Removal
No matter the severity of the scuff, certain tools will be invaluable. Here's a breakdown:
- Microfiber cloths: These are your best friends. Soft, absorbent, and less likely to scratch the surface.
- Plastic cleaner/degreaser: To remove dirt, grime, and any loose debris.
- Plastic polish/scratch remover: Specifically formulated for plastic surfaces.
- Water: For rinsing and cleaning. Distilled water is preferred to avoid mineral deposits.
- (Optional) Heat gun or hairdryer: For gently warming the plastic, which can sometimes help to reduce the visibility of very light scuffs. Use with extreme caution!
- (Optional) Sandpaper (various grits): For tackling deeper scuffs. Start with a very fine grit (2000 or higher) and work your way up as needed. Practice on an inconspicuous area first!
- (Optional) Polishing pad and machine: For a more efficient and even polishing process.
Methods of Attack: A Step-by-Step Guide
Here's a breakdown of the common methods, starting with the simplest and escalating in intensity:
Method 1: The Gentle Cleanse
- Wash the area around the scuff with soap and water.
- Dry thoroughly with a microfiber cloth.
- Apply a plastic cleaner/degreaser to a clean microfiber cloth.
- Gently rub the affected area in a circular motion.
- Wipe away any excess cleaner with a clean, damp microfiber cloth.
- Dry thoroughly.
- Inspect the results. If the scuff is gone, you're done!
Method 2: The Plastic Polish Power-Up
- Follow steps 1-6 from Method 1.
- Apply a small amount of plastic polish/scratch remover to a clean microfiber cloth or polishing pad.
- Gently rub the polish into the scuff in a circular motion.
- Buff the area with a clean, dry microfiber cloth until the polish is gone and the surface is smooth.
- Inspect the results. Repeat if necessary.
Method 3: The Heat Treatment (Use with Extreme Caution!)
Warning: Excessive heat can melt or warp the plastic. Use this method sparingly and with extreme care. Practice on an unseen area first!
- Follow steps 1-6 from Method 2.
- Using a heat gun or hairdryer on a low setting, gently warm the area around the scuff. Keep the heat source moving and do not hold it in one spot for too long.
- As the plastic warms, the scuff may become less visible.
- Allow the plastic to cool completely.
- Apply plastic polish as in Method 2.
Method 4: The Sanding Solution (For Deeper Scuffs Only!)
Warning: Sanding can easily damage the plastic if done incorrectly. Start with a very fine grit sandpaper and work your way up slowly. Practice on an unseen area first!
- Clean the area thoroughly.
- Wet a piece of very fine grit sandpaper (2000 or higher) with water.
- Gently sand the scuff in a circular motion, applying very light pressure.
- Rinse the area with water and inspect the results.
- Repeat sanding with progressively finer grit sandpaper (e.g., 2500, 3000) until the scuff is minimized.
- Apply plastic polish as in Method 2.
Model-Specific Considerations: How Different Cars React
The type of plastic used in bumpers varies widely between manufacturers and even between different models within the same brand. Some plastics are more durable and resistant to scratching, while others are softer and more prone to damage. This can significantly impact the effectiveness of scuff removal methods.
Here's a table showcasing real-world observations on a few popular models:
| Model | Bumper Plastic Type (General) | Ease of Scuffing | Response to Polish | Notes |
|---|---|---|---|---|
| BMW 3 Series (F30, 2012-2019) | Relatively Hard Plastic | Medium | Good | Responds well to polish, but deeper scratches require more aggressive methods. |
| Honda Civic (FC, 2016-2021) | Softer, More Flexible Plastic | High | Medium | Scuffs easily, but light polishing can often remove most imperfections. Be careful with heat! |
| Tesla Model 3 (2017-Present) | Medium Hardness, Paint-Matched | Medium | Excellent (if only clear coat scuffed) | Paint-matched bumpers require extra care. If the paint is damaged, professional repair is recommended. |
| Ford F-150 (2015-2020) | Durable, Textured Plastic | Low | Poor (difficult to polish texture) | Textured plastic makes polishing difficult. Cleaning and spot treatment are often the best options. |
As you can see, the material of the bumper plays a huge role. For instance, the Ford F-150's textured plastic is designed for durability, but it makes polishing difficult. In contrast, the painted bumper on a Tesla Model 3 looks great but is much more susceptible to showing scratches (at least in the clear coat).
Engine Considerations: Does Your Engine Impact Your Bumper's Fate?
While the engine itself doesn't directly influence the likelihood of bumper scuffs, driving style certainly does! A more aggressive driver, frequently navigating tight corners and parallel parking spots, is statistically more likely to encounter those pesky scuffs. And let's be honest, that twin-turbo V8 in your BMW M3 might encourage a *slightly* more spirited driving style than the inline-4 in your neighbor's Civic.
Pros and Cons of DIY vs. Professional Repair
DIY Scuff Removal:
- Pros: Cost-effective, convenient, satisfying (when successful)
- Cons: Risk of damaging the bumper if done incorrectly, time-consuming, may not achieve professional-level results
Professional Repair:
- Pros: Guaranteed results, professional finish, minimal effort on your part
- Cons: More expensive, requires scheduling an appointment, potential inconvenience
Real-World Driving Impressions: Tales from the Road
"I had a nasty scuff on my Audi S4 bumper after a run-in with a rogue parking bollard. After trying a few DIY methods without much luck, I ended up taking it to a professional. They were able to completely remove the scuff and restore the bumper to its original condition. Cost a bit more, but well worth it for the peace of mind." - John S.
"My Mazda Miata picked up a few light scuffs from autocross events. A simple plastic polish and some elbow grease were enough to get rid of them. The softer plastic on the Miata is easy to work with." - Sarah L.
The Verdict: Scuff Be Gone!
Removing scuffs from your plastic bumper is a process that requires patience, the right tools, and a bit of skill. Start with the simplest methods and gradually escalate as needed. Remember to practice on an inconspicuous area first and always err on the side of caution. If you're unsure or the scuff is particularly deep, it's always best to consult a professional.
Now, for the fun part! Which is worse: a small, noticeable scuff, or a perfectly pristine bumper that's never seen a challenging road? Let the debate begin!