How To Hook Up A Sub To A Factory Radio
So, you want to add some serious thump to your ride by installing a subwoofer, but you're hesitant to ditch your factory radio? No problem. It's a common upgrade, and while it's not *quite* as straightforward as adding a sub to an aftermarket head unit, it's definitely achievable with the right knowledge and tools. This guide will walk you through the process, focusing on the technical aspects and providing clear explanations along the way. We'll cover everything from signal acquisition to power considerations, ensuring you get the best possible bass from your factory setup.
Understanding the Challenge: Factory Head Units and Low-Level Signals
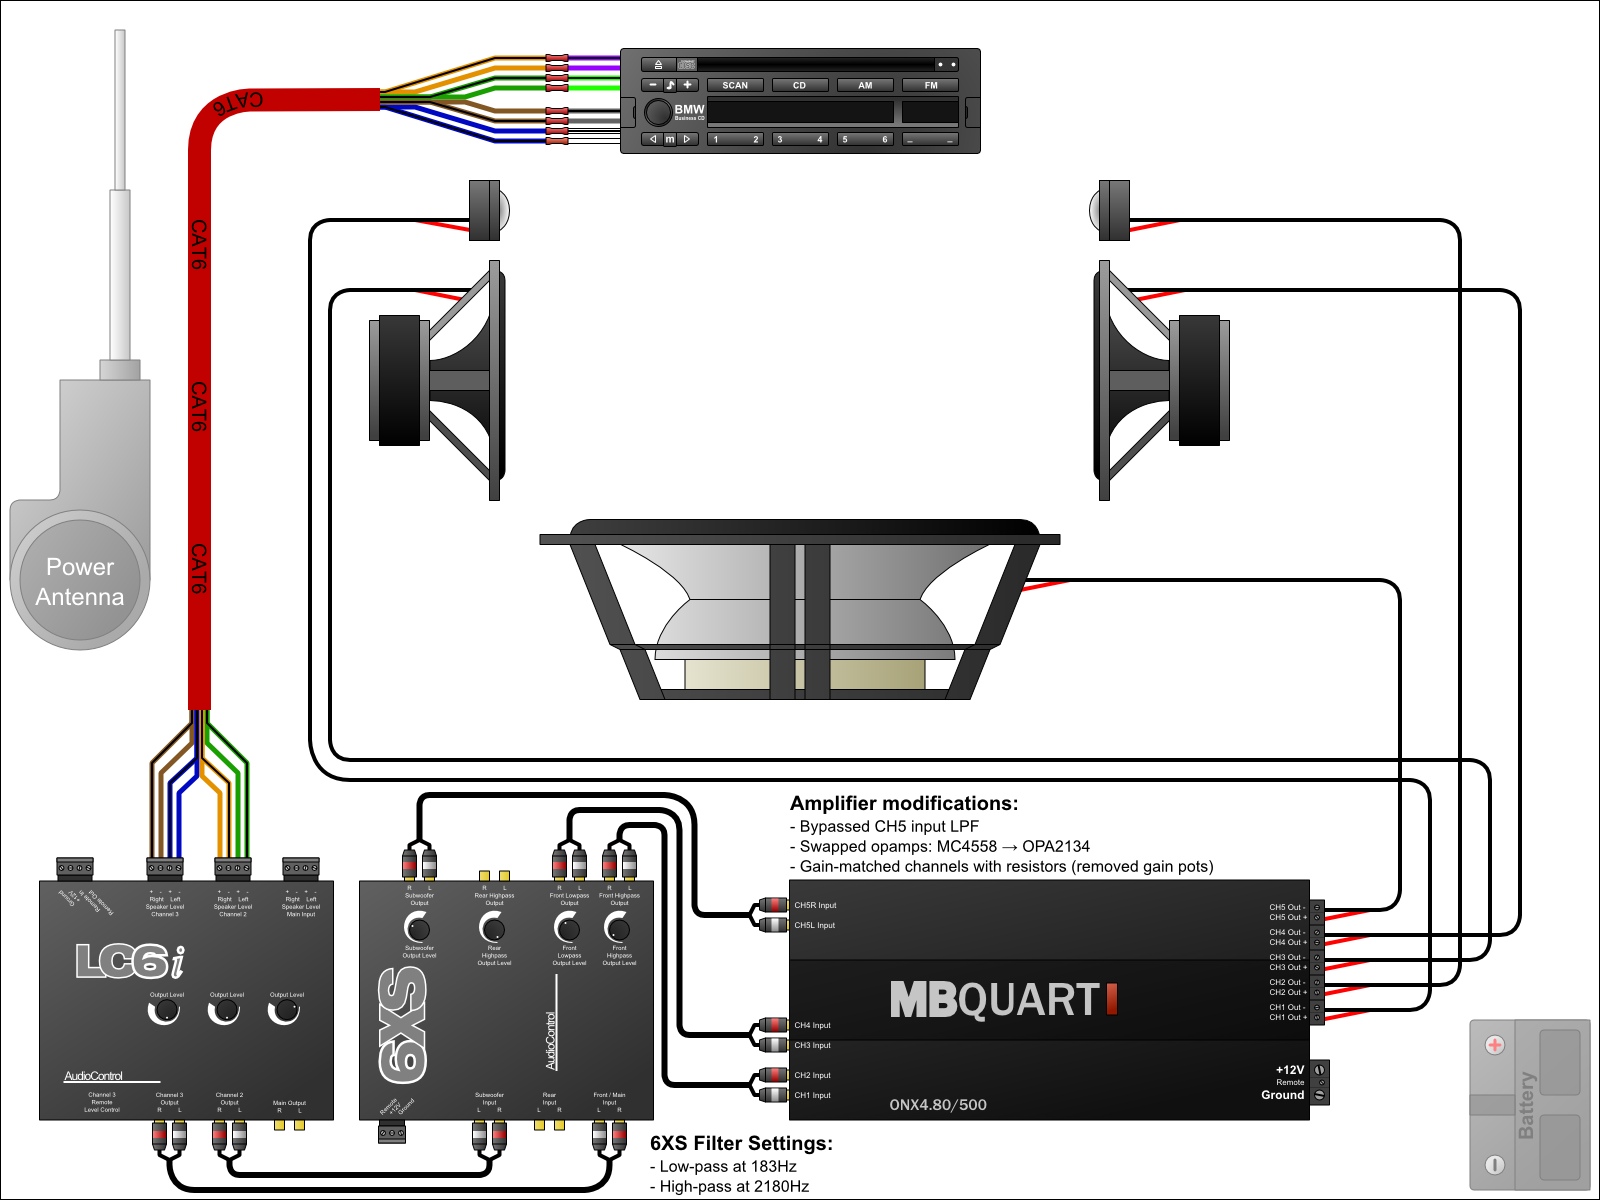
The biggest hurdle when connecting a sub to a factory radio is that factory head units generally don't have dedicated RCA outputs, also known as low-level outputs, for connecting to an amplifier. These RCA outputs are the standard way to send an audio signal from a head unit to an amplifier. Instead, factory radios send audio signals directly to the car's speakers using high-level outputs.
A high-level output signal is a much higher voltage than a low-level (RCA) signal. Think of it like this: low-level is a whisper, while high-level is a shout. Amplifiers designed for subwoofers are typically expecting that whisper. So, we need a way to convert the factory radio's "shout" into a "whisper" the amplifier can understand. This is where a Line Output Converter (LOC) comes in.
The Key Component: Line Output Converter (LOC) Explained
A Line Output Converter, or LOC, is the heart of this operation. It's a small electronic device that takes the high-level output signal from your factory radio and converts it into a low-level (RCA) signal suitable for connecting to your subwoofer amplifier. Think of it as a translator between your factory radio and your amplifier. It reduces the voltage of the speaker wires to a level the amp can process without distortion.
There are two main types of LOCs:
- Basic LOCs: These are the simplest and often the most affordable. They simply convert the high-level signal to a low-level signal. They typically have a basic level adjustment.
- Advanced LOCs: These are more sophisticated and may include features like remote turn-on, signal sensing, and even equalization to compensate for the factory radio's audio curve. Signal sensing LOCs automatically turn on the amplifier when they detect an audio signal, eliminating the need to run a separate remote turn-on wire (more on that later). Some even offer equalization options to flatten out the factory's equalization curve for a cleaner audio signal.
Choosing the right LOC depends on your budget and the specific features you need. For most basic subwoofer upgrades, a basic LOC will suffice. However, if you're looking for the best possible sound quality and convenient features, an advanced LOC is the way to go.
Step-by-Step Guide: Connecting the Subwoofer
Here's a detailed breakdown of how to connect your subwoofer to your factory radio, using a LOC:
1. Gather Your Supplies
Before you start, make sure you have everything you need:
- Subwoofer and enclosure
- Subwoofer amplifier
- Line Output Converter (LOC)
- Wiring kit (including power wire, ground wire, remote turn-on wire - if your LOC doesn't have signal sensing, RCA cables, and speaker wire)
- Wire stripper/crimper
- Connectors (butt connectors, ring terminals)
- Fuse holder and fuse
- Screwdrivers
- Multimeter
- Optional: Wire loom or electrical tape for protecting wires
2. Locate Speaker Wires
The first step is to identify the speaker wires you'll be tapping into. The best place to access these wires is typically behind the radio itself. You'll need to carefully remove the trim panels surrounding your radio to access the wiring harness. Refer to your vehicle's service manual or online resources for specific instructions on removing your radio.
Once you have access to the wiring harness, you'll need to identify the left and right rear speaker wires. A wiring diagram for your vehicle is essential here. You can usually find these diagrams online (check vehicle-specific forums) or in a service manual. Use a multimeter to confirm you've identified the correct wires. With the radio playing, use the multimeter in AC voltage mode, the meter should read a voltage that changes with the volume if you are measuring the speaker wire.
Important Safety Tip: Disconnect the negative terminal of your car battery before working with any electrical wiring. This will prevent any accidental shorts or damage to your electrical system.
3. Connect the LOC
Now, connect the LOC to the speaker wires. Use wire strippers to expose a small section of the speaker wires and the LOC's input wires. Connect the corresponding wires together using butt connectors or by soldering (soldering is the preferred method for a more secure connection).
Important: Pay close attention to the polarity of the speaker wires. The positive and negative wires are usually identified by different colors or by a stripe on one of the wires. Connect the LOC's positive input wire to the speaker's positive wire and the LOC's negative input wire to the speaker's negative wire. Reversing the polarity will result in poor sound quality.
Once the input wires are connected, the LOC now outputs a Low-level RCA connection. Using RCA cables, run them from the LOC to the inputs of your amplifier.
4. Power the Amplifier
Next, you need to provide power to your subwoofer amplifier. This involves running a heavy-gauge power wire from the car's battery to the amplifier. Choose the appropriate wire gauge based on the amplifier's power requirements (refer to the amplifier's manual).
Safety First: Install a fuse holder as close as possible to the battery (within 12 inches) to protect your vehicle's electrical system in case of a short circuit. Use a fuse with the amperage rating specified by the amplifier manufacturer.
Run the power wire through the firewall (use an existing grommet or drill a new hole and install a grommet to prevent the wire from chafing) and along the vehicle's interior to the location where you'll be mounting the amplifier. Connect the power wire to the amplifier's power terminal.
Grounding is Crucial: Connect a short length of heavy-gauge wire from the amplifier's ground terminal to a solid, clean metal point on the vehicle's chassis. Scrape away any paint or rust to ensure a good connection. A poor ground connection can cause all sorts of problems, including noise, distortion, and even damage to the amplifier.
5. Remote Turn-On (if necessary)
If your LOC doesn't have signal sensing, you'll need to run a remote turn-on wire from the factory radio to the amplifier. This wire tells the amplifier to turn on when the radio is powered on. Many aftermarket radios have a dedicated remote turn-on wire (usually blue), but factory radios typically don't. You can either use an "add-a-circuit" fuse tap to tap into an accessory fuse (a fuse that's only powered when the ignition is on) or use a signal sensing LOC. Run the remote turn-on wire from the fuse tap or LOC to the amplifier's remote turn-on terminal.
6. Connect the Subwoofer
Finally, connect the subwoofer to the amplifier using speaker wire. Again, pay attention to polarity. Connect the amplifier's positive output terminal to the subwoofer's positive terminal and the amplifier's negative output terminal to the subwoofer's negative terminal.
7. Test and Adjust
Reconnect the negative terminal of your car battery. Turn on the radio and test the subwoofer. Start with the amplifier's gain control turned all the way down and gradually increase it until you reach the desired volume level without distortion.
Fine-tune the amplifier's crossover and equalization settings to optimize the subwoofer's performance for your vehicle's acoustics. Experiment with different settings to find what sounds best to you.
Troubleshooting Common Issues
Here are a few common issues you might encounter and how to resolve them:
- No sound: Double-check all your wiring connections, especially the power, ground, and speaker wire connections. Verify that the amplifier is receiving power and that the remote turn-on wire is working (if applicable).
- Distortion: Reduce the amplifier's gain control. Check for a poor ground connection. Make sure the LOC is properly adjusted.
- Noise: Try routing the RCA cables away from power wires to minimize interference. Check for a poor ground connection. Consider using a noise filter.
- Subwoofer not turning off: If using a signal sensing LOC, ensure it's properly configured. Otherwise, double check the remote turn-on wire is connected to an accessory fuse that is turned off when the ignition is turned off.
Final Thoughts
Connecting a subwoofer to a factory radio can significantly enhance your car's audio system. While it requires some technical knowledge and careful attention to detail, it's a rewarding project that can be completed by a DIYer with intermediate skills. By following these steps and taking your time, you can enjoy deep, rich bass without sacrificing the functionality of your factory radio. Remember safety is paramount, and when in doubt, consult a professional.