How To Put Brake Pad Clips On
Brake pad clips, often overlooked, play a vital role in the overall performance and longevity of your braking system. These seemingly insignificant pieces of metal ensure proper brake pad alignment, reduce noise, and contribute to even wear. Whether you're a seasoned mechanic or a DIY enthusiast tackling a brake job for the first time, understanding how to correctly install these clips is crucial. This guide provides a comprehensive overview of the process, covering various clip types and installation techniques.
Understanding Brake Pad Clips
Before diving into the installation process, it's essential to understand the different types of brake pad clips and their functions. Broadly, they can be categorized into:
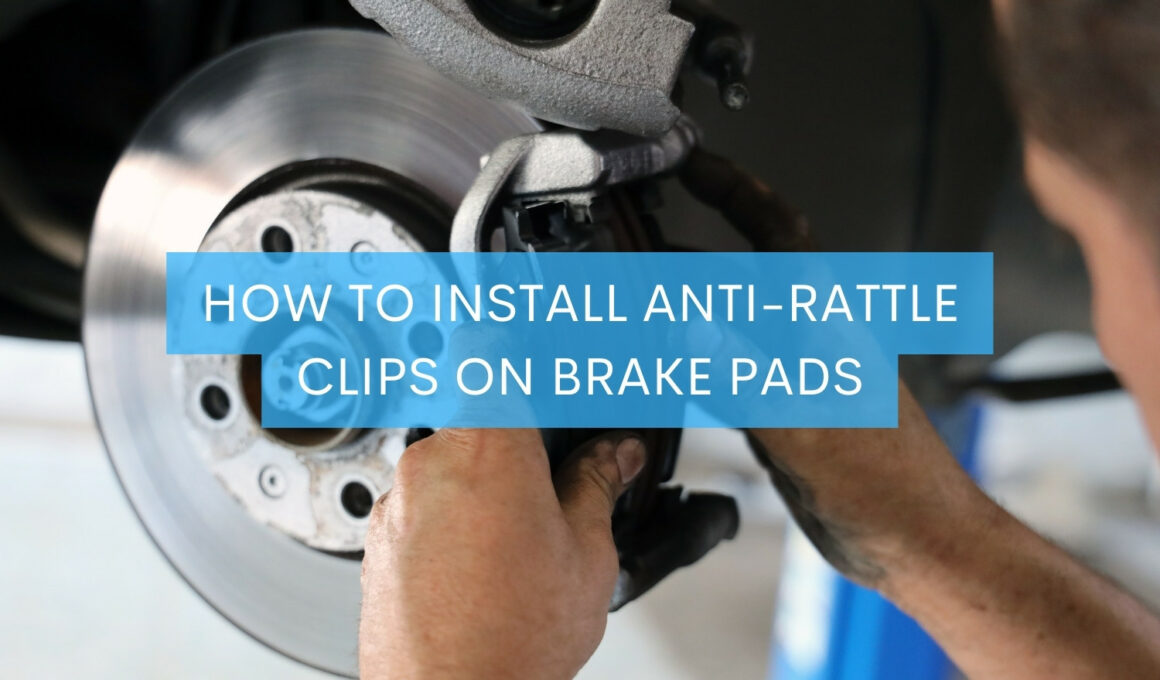
- Anti-Rattle Clips (Spring Clips): These clips are designed to maintain tension on the brake pads, preventing them from vibrating and causing noise. They typically clip onto the brake pad itself or the caliper bracket.
- Wear Indicator Clips: These clips incorporate a metal tab that rubs against the rotor when the brake pads are worn down to a certain level, creating a squealing noise to alert the driver.
- Caliper Bracket Clips (Slide Clips): These clips, sometimes called abutment clips, reside in the caliper bracket and provide a smooth surface for the brake pads to slide on. They also help to keep the pads properly positioned within the caliper.
The specific type of clip used will vary depending on the vehicle make and model. Consulting your vehicle's service manual or a parts catalog is essential to identify the correct clips for your application.
Tools and Materials Required
Before starting, gather the necessary tools and materials. This will ensure a smooth and efficient installation process:
- New brake pad clips (matching the original equipment)
- Brake cleaner
- Wire brush
- Gloves
- Safety glasses
- Needle-nose pliers or brake clip removal tool (optional)
- Torque wrench
- Appropriate sockets and wrenches for caliper removal
- Brake lubricant (specifically formulated for brake components)
Always prioritize safety when working on your vehicle. Wear safety glasses and gloves to protect yourself from brake dust and chemicals.
Step-by-Step Installation Guide
The installation process can vary slightly depending on the type of clip and the vehicle. However, the general steps are as follows:
1. Preparation and Disassembly
Begin by safely lifting the vehicle and securing it on jack stands. Remove the wheel to expose the brake assembly. Disconnect the brake pad wear sensor, if equipped. Carefully remove the brake caliper, either by unbolting it directly or by sliding it off the mounting bracket after removing retaining bolts. Support the caliper to prevent stress on the brake hose. Finally, remove the old brake pads and inspect the caliper bracket.
2. Cleaning and Inspection
Thoroughly clean the caliper bracket with a wire brush to remove any rust, dirt, or debris. Use brake cleaner to remove any remaining residue. Inspect the bracket for damage or wear. Pay close attention to the areas where the brake pad clips will be installed. Damaged brackets may need to be replaced.
3. Clip Installation
This is where the specific installation technique will vary. We'll cover the most common types:
a) Caliper Bracket Clips (Slide Clips)
These clips usually slide or snap into place on the caliper bracket. Ensure that the clips are properly seated and aligned. A small amount of brake lubricant can be applied to the contact points between the clips and the brake pads to reduce friction and noise. Apply the lubricant sparingly, as excessive lubricant can attract dirt and debris.
b) Anti-Rattle Clips (Spring Clips)
These clips can attach to the brake pad itself or to the caliper. If the clips attach to the brake pad, ensure they are securely fastened. Some clips may require a specific orientation; consult the vehicle's service manual. If the clips attach to the caliper, ensure they provide adequate tension to hold the brake pad firmly in place. Some brake pads will have small indentations for the anti-rattle clip to sit into. Make sure these align properly when installing the pads.
c) Wear Indicator Clips
These clips are typically integrated into the brake pad and do not require separate installation. However, ensure that the wear indicator is positioned correctly so that it will make contact with the rotor when the pads are worn down.
4. Reassembly
Carefully install the new brake pads with the installed clips into the caliper bracket. Ensure that the pads are properly seated and aligned. Reinstall the brake caliper, tightening the bolts to the manufacturer's specified torque. Reconnect the brake pad wear sensor. Reinstall the wheel and lower the vehicle.
5. Testing and Break-In
After completing the installation, pump the brake pedal several times to ensure that the brake pads are properly seated against the rotor. Perform a test drive in a safe area to verify that the brakes are functioning correctly. Avoid hard braking during the initial break-in period to allow the brake pads and rotors to mate properly.
Common Mistakes to Avoid
Several common mistakes can occur during brake pad clip installation. Avoiding these mistakes will ensure a safe and effective brake job:
- Using the wrong clips: Always use the correct clips for your vehicle make and model. Using the wrong clips can compromise the performance and safety of your braking system.
- Forgetting to clean the caliper bracket: A dirty caliper bracket can prevent the clips from seating properly and can contribute to noise and uneven wear.
- Over-lubricating the clips: Excessive lubricant can attract dirt and debris, which can compromise the performance of the clips.
- Damaging the clips during installation: Be careful not to bend or damage the clips during installation. Damaged clips may not function properly.
- Forgetting the clips altogether: Installing brake pads without clips, especially anti-rattle clips, can lead to significant brake noise and premature wear of the brake pads and rotors.
Advanced Tips and Considerations
For experienced mechanics and automotive professionals, here are some advanced tips and considerations:
- Consider stainless steel clips: Stainless steel clips offer superior corrosion resistance and durability compared to standard steel clips. They are a good option for vehicles that are exposed to harsh environments.
- Use a brake clip removal tool: A brake clip removal tool can make the installation and removal of clips easier and faster.
- Inspect the rotors: When replacing brake pads, always inspect the rotors for wear and damage. Rotors that are worn or damaged should be resurfaced or replaced.
- Check the brake fluid level: After replacing brake pads, check the brake fluid level and top it off if necessary.
Troubleshooting
If you experience any problems after installing brake pad clips, such as brake noise, uneven wear, or reduced braking performance, troubleshoot the following:
- Check the clip installation: Ensure that the clips are properly installed and seated.
- Inspect the brake pads and rotors: Look for signs of wear or damage.
- Check the brake fluid level: Ensure that the brake fluid level is adequate.
- Bleed the brakes: If the brakes feel spongy, bleed the brakes to remove any air from the system.
Consult a qualified mechanic if you are unable to resolve the problem.
Conclusion
Proper brake pad clip installation is an essential part of any brake job. By following the steps outlined in this guide and avoiding common mistakes, you can ensure that your braking system functions safely and effectively. Remember to always consult your vehicle's service manual for specific instructions and torque specifications. With a little patience and attention to detail, you can successfully install brake pad clips and enjoy a smooth, quiet, and reliable braking experience. Always prioritize safety when working on your vehicle and consult a qualified mechanic if you have any doubts.