How To Remove A Locking Lug Nut Without The Key
Losing the key to your locking lug nuts is a frustrating situation. You're probably thinking, "Now what? I need to change a tire, get new brakes, or just rotate my tires, and I'm stuck." Don't panic! While these lug nuts are designed to prevent theft, they aren't invincible. There are several methods you can use to remove them without the key, ranging from simple DIY techniques to professional assistance. This guide will walk you through the most common and effective approaches.
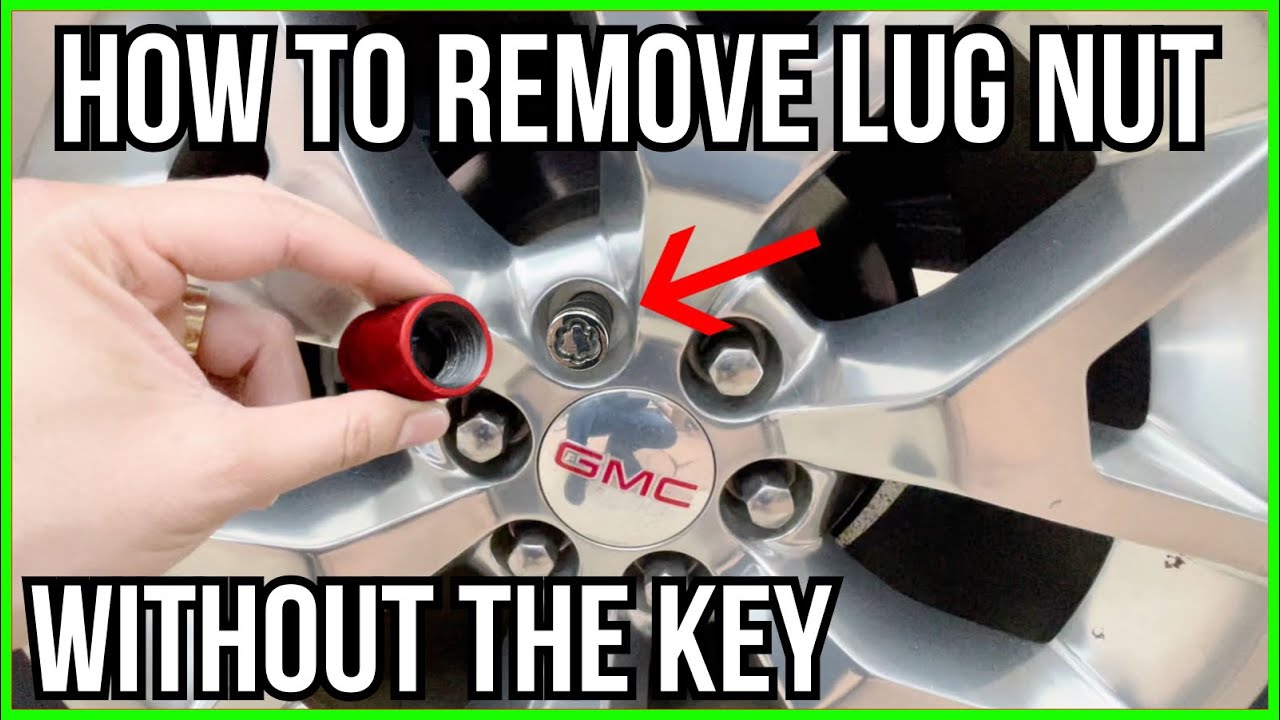
Understanding Locking Lug Nuts
Before we dive into the how-to, let's understand what we're dealing with. Locking lug nuts are designed with a unique pattern or shape that requires a specific key to loosen them. They're installed in place of one or more standard lug nuts on each wheel, making it harder for thieves to steal your wheels. The key matches this unique pattern, allowing you to remove the lug nut like any other.
The problem arises when you lose that key. It's crucial to store your key in a safe and memorable place, such as your glove compartment, owner's manual pouch, or with your spare tire tools. But accidents happen, and keys get misplaced. So, let's explore your options.
Methods for Removing Locking Lug Nuts Without the Key
1. The Impact Socket Method (Aggressive but Effective)
This is one of the most common DIY methods and involves forcing a slightly smaller impact socket onto the locking lug nut. The idea is to create a tight grip that allows you to turn the lug nut.
Tools Needed:
- Impact Socket Set (Metric or SAE, depending on your vehicle)
- Hammer
- Breaker Bar or Impact Wrench
- Safety Glasses
- Gloves
Steps:
- Safety First: Put on your safety glasses and gloves.
- Select the Right Socket: Choose an impact socket that is slightly smaller than the outer diameter of the locking lug nut. You might need to experiment with a few sizes. The socket needs to be small enough to be hammered onto the lug nut.
- Force the Socket On: Place the socket over the locking lug nut and use the hammer to forcefully drive it onto the lug nut. The goal is to create a tight, wedged fit. This might require several hits. Be careful not to damage the surrounding wheel.
- Loosen the Lug Nut: Once the socket is securely on the lug nut, attach a breaker bar or impact wrench to the socket. Apply steady pressure to loosen the lug nut. Using an impact wrench is generally more effective than a breaker bar.
- Remove the Socket and Lug Nut: Once the lug nut is loose, remove the socket and finish unscrewing the lug nut.
- Removing the Lug Nut from the Socket: This can be tricky. You can try using a punch and hammer to knock the lug nut out from the back of the socket. Alternatively, you can use a vise to grip the socket and then use a punch to drive the lug nut out. Be extremely careful not to damage the socket. You may need to sacrifice the socket for this method.
Important Considerations:
- This method can damage the locking lug nut and the socket. Be prepared to replace both.
- It's crucial to use an impact socket, as regular sockets can shatter under the force.
- Take your time and apply even pressure. Avoid jerky movements that could strip the lug nut or damage the wheel.
- This method might not work on all types of locking lug nuts, especially those with rotating collars.
Approximate Cost: The cost depends on whether you already own an impact socket set and breaker bar/impact wrench. If you need to purchase these tools, expect to spend between $50 and $200. A single impact socket could cost around $10-$20.
2. The Locking Lug Nut Removal Tool (Specialized Solution)
Specialized locking lug nut removal tools are designed specifically for this purpose. They have a hardened, reverse-threaded design that bites into the locking lug nut, allowing you to remove it.
Tools Needed:
- Locking Lug Nut Removal Tool (Specific to the size of your lug nuts)
- Breaker Bar or Impact Wrench
- Hammer
- Safety Glasses
- Gloves
Steps:
- Safety First: Put on your safety glasses and gloves.
- Select the Right Tool: Choose a locking lug nut removal tool that is appropriate for the size and type of your locking lug nuts. These tools come in various sizes, so measure the outer diameter of your lug nut to ensure a proper fit.
- Hammer the Tool On: Place the tool over the locking lug nut and use the hammer to drive it onto the lug nut. The reverse threads will bite into the lug nut as you hammer.
- Loosen the Lug Nut: Attach a breaker bar or impact wrench to the tool. Apply steady pressure to loosen the lug nut.
- Remove the Tool and Lug Nut: Once the lug nut is loose, remove the tool and finish unscrewing the lug nut.
- Removing the Lug Nut from the Tool: This is similar to removing the lug nut from the impact socket. You might need a vise and punch.
Important Considerations:
- This method is generally less damaging than the impact socket method.
- The quality of the removal tool is crucial. Cheaper tools may break or strip.
- This method might not work on all types of locking lug nuts, especially those with rotating collars.
Approximate Cost: Locking lug nut removal tools typically range from $20 to $50 per tool.
3. The Wheel Removal Method (Last Resort)
If the above methods fail, and you absolutely need to remove the wheel, you can try removing the entire wheel hub. This is a more involved process that requires more tools and mechanical knowledge.
Tools Needed:
- Jack and Jack Stands
- Socket Set
- Wrench Set
- Penetrating Oil
- Hammer
- Vehicle Repair Manual (Specific to your vehicle)
- Safety Glasses
- Gloves
Steps:
- Safety First: Park the vehicle on a level surface, engage the parking brake, and chock the wheels that are *not* being worked on. Put on your safety glasses and gloves.
- Loosen Other Lug Nuts: Slightly loosen the other lug nuts on the wheel *before* jacking up the vehicle.
- Jack Up the Vehicle: Use the jack to raise the vehicle and securely support it with jack stands.
- Remove Brake Caliper and Rotor: This will vary depending on your vehicle. Consult your repair manual for specific instructions. Generally, you'll need to remove the brake caliper and rotor to access the wheel hub assembly.
- Remove Wheel Hub Assembly: Again, consult your repair manual. The wheel hub assembly is typically bolted to the suspension. Remove the bolts and carefully detach the hub.
- Take the Hub to a Professional: Once the hub is removed, take it to a mechanic or tire shop. They will have the tools and expertise to safely remove the locking lug nut without damaging the hub.
Important Considerations:
- This method is complex and requires a good understanding of automotive mechanics. If you're not comfortable working on your vehicle, it's best to leave this to a professional.
- Consult your vehicle's repair manual for specific instructions and torque specifications.
- This method is only recommended as a last resort when all other options have failed.
Approximate Cost: The cost will depend on the year make and model. The main expense is the professional labor to separate the lug nut from the hub, which may start at $50. Parts could be a bigger expense if you damage anything during the process. (The wheel hub assembly, etc.)
4. Calling a Professional (The Safest Option)
If you're not comfortable attempting any of these methods, or if you've tried them and failed, the safest and most reliable option is to call a professional mechanic or tire shop. They have specialized tools and experience in removing locking lug nuts without causing damage to your vehicle.
What to Expect:
- The mechanic will likely use a specialized locking lug nut removal tool or a combination of techniques to remove the lug nut.
- They may also have access to a master set of keys that could match your locking lug nuts.
- The cost will vary depending on the complexity of the job and the hourly rate of the mechanic.
Approximate Cost: Professional removal can range from $50 to $150 per lug nut, depending on the difficulty and the shop's labor rates. Some shops may charge a flat fee per wheel.
Preventing Future Problems
Once you've successfully removed the locking lug nuts, consider replacing them with standard lug nuts to avoid this problem in the future. If you prefer to keep using locking lug nuts, here are some tips to prevent losing the key again:
- Store the key in a safe and memorable place: Glove compartment, owner's manual pouch, or with your spare tire tools.
- Make a copy of the key: Some manufacturers can provide a replacement key if you have the original locking lug nut identification number.
- Keep a digital photo of the key and the identification number: This can be helpful if you need to order a replacement key.
Final Thoughts
Removing locking lug nuts without the key can be a challenging but manageable task. Start with the least aggressive method (specialized removal tool) and work your way up as needed. Always prioritize safety and consider calling a professional if you're not comfortable with any of the techniques. Remember to replace the locking lug nuts or take steps to prevent losing the key again. Good luck!