How To Remove Broken Dipstick
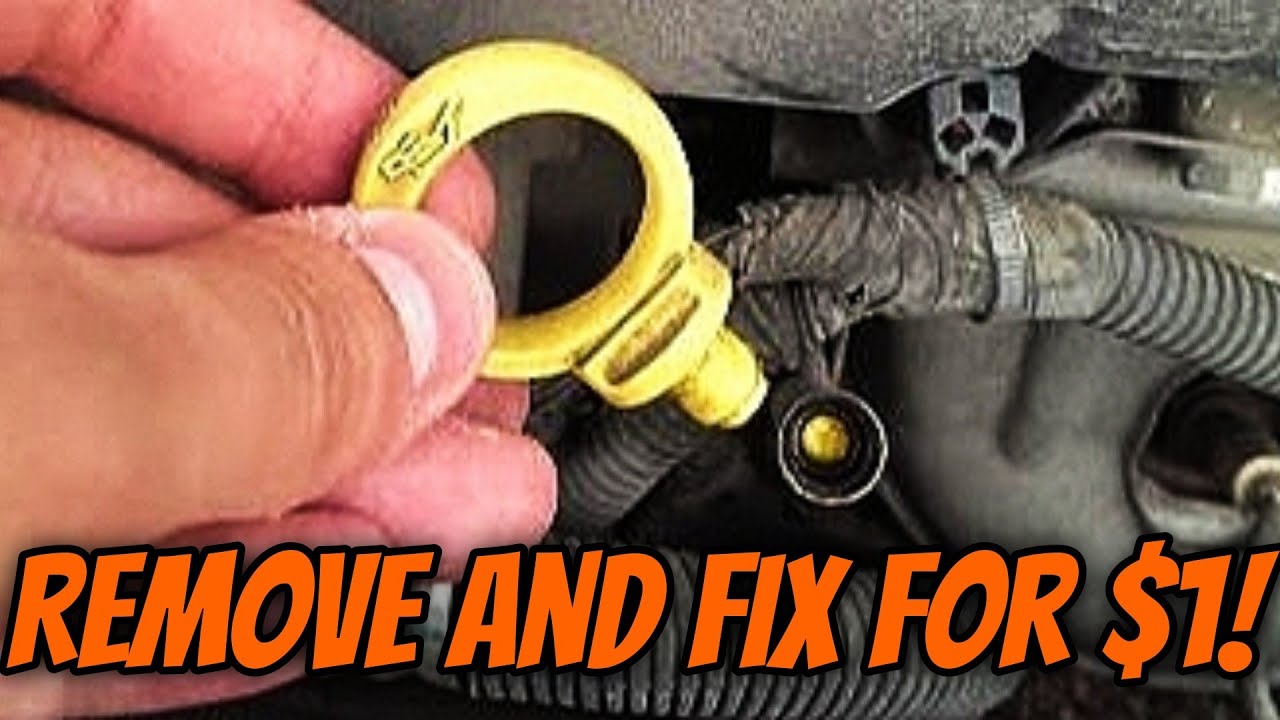
So, you've managed to break a dipstick off inside the dipstick tube. It happens to the best of us. Maybe it was brittle plastic, maybe you got a little overzealous checking the oil after a long road trip. Whatever the reason, you're now faced with a stuck piece of plastic or metal obstructing access to your engine's oil reservoir. Don't panic! While it can be frustrating, removing a broken dipstick is often a manageable DIY project. This article will walk you through various techniques, from the simplest to the more involved, to safely extract that broken fragment.
Assessing the Situation
Before you start grabbing tools, take a moment to assess the situation. This will help you choose the best removal method and avoid further complications. Consider these factors:
- Material of the broken piece: Is it plastic or metal? Plastic dipsticks are often easier to remove as they tend to be more pliable, especially with the aid of heat. Metal dipsticks, on the other hand, require more careful extraction to prevent scoring the inside of the dipstick tube.
- Depth of the break: How far down the tube is the broken piece? If it's close to the top, you'll have an easier time accessing it. If it's deep inside, you may need specialized tools or a more creative approach.
- Condition of the remaining piece: Is the broken end clean and smooth, or is it jagged and splintered? A clean break offers more surface area for gripping tools to latch onto. A splintered break can make extraction trickier and requires preventing further fragmentation.
- Dipstick tube material: Is the dipstick tube metal or plastic? Metal tubes are generally more durable and can withstand more aggressive extraction methods. Plastic tubes require gentler techniques to avoid damaging or cracking them.
Tools You'll Need
Depending on the situation, you'll need a selection of the following tools:
- Penetrating oil: Such as PB Blaster or Liquid Wrench. This will help loosen any corrosion or debris that's gripping the broken piece.
- Needle-nose pliers: For gripping and pulling the broken piece. Opt for long, slender pliers to reach deeper into the tube.
- Magnetic pickup tool: Useful for retrieving metal fragments. Some have flexible shafts for navigating bends in the dipstick tube.
- Screw extractors (Easy-Outs): Small, reverse-threaded bits that can be used to grip and turn the broken piece.
- Coat hanger or wire: For pushing or manipulating the broken piece from the top or bottom (if accessible).
- Heat gun or hairdryer: To soften plastic dipsticks and make them more pliable. Use caution when applying heat near engine components.
- Small drill with various drill bits: For creating a pilot hole for a screw extractor or for carefully breaking up a plastic dipstick.
- Shop towels or rags: To clean up any spills and protect surrounding components.
- Safety glasses: To protect your eyes from debris.
- Gloves: To protect your hands.
Extraction Methods
Here are several methods for removing a broken dipstick, starting with the simplest and progressing to more involved techniques. Always start with the least invasive method and only move on to more aggressive techniques if necessary.
Method 1: Penetrating Oil and Pliers
This is the first line of defense and often the most successful, especially if the break isn't too deep.
- Apply penetrating oil: Spray penetrating oil liberally into the dipstick tube, aiming to saturate the area around the broken piece. Let it soak for at least 15-30 minutes. The longer it soaks, the better it will penetrate and loosen any corrosion or debris.
- Attempt to grip with pliers: Insert the needle-nose pliers into the tube and try to grip the broken piece firmly. If possible, try to grip the inside surface of the broken dipstick for a more secure hold.
- Twist and pull: Gently twist the pliers back and forth while simultaneously pulling upwards. Avoid excessive force, as this could cause the piece to break further.
- Repeat: Reapply penetrating oil and repeat the twisting and pulling motion until the broken piece comes loose.
Method 2: Magnetic Pickup Tool
This method is only applicable for metal dipsticks. Its effectiveness depends on the strength of the magnet and the size of the broken piece.
- Insert the magnetic tool: Carefully insert the magnetic pickup tool into the dipstick tube, guiding it down to the broken piece.
- Attach the magnet: Ensure the magnet makes solid contact with the broken piece.
- Slowly withdraw: Slowly and steadily withdraw the magnetic pickup tool, taking care not to dislodge the broken piece.
Method 3: Screw Extractor (Easy-Out)
Screw extractors are a good option for both plastic and metal dipsticks, but require a bit more finesse.
- Drill a pilot hole (if necessary): If the broken piece doesn't have a pre-existing hole, use a small drill bit to create a pilot hole in the center of the broken piece. The size of the drill bit should be slightly smaller than the screw extractor you plan to use. Be extremely careful not to drill through the side of the dipstick tube.
- Insert the screw extractor: Insert the screw extractor into the pilot hole.
- Turn counterclockwise: Using a wrench or pliers, turn the screw extractor counterclockwise. As you turn, the extractor will bite into the broken piece.
- Extract the broken piece: Continue turning the screw extractor until the broken piece starts to come out of the tube. Be patient and apply even pressure.
Method 4: Heat (for Plastic Dipsticks)
Heat can soften plastic dipsticks, making them more pliable and easier to remove. Use caution when applying heat near engine components.
- Apply heat: Use a heat gun or hairdryer to gently heat the area around the broken piece. Avoid overheating, as this could melt or deform the plastic.
- Grip with pliers: While the plastic is still warm, use needle-nose pliers to grip the broken piece and attempt to twist and pull it out.
- Reheat and repeat: If the piece is still stuck, reapply heat and repeat the process until it comes loose.
Method 5: Pushing from Below (if accessible)
Some dipstick tubes are accessible from underneath the vehicle. If this is the case, you might be able to push the broken piece out from the bottom.
- Locate the bottom of the dipstick tube: Safely lift the vehicle using jack stands and locate the bottom of the dipstick tube.
- Insert a wire or coat hanger: Insert a wire or coat hanger into the bottom of the tube and gently push the broken piece upwards.
- Grip from the top: Have someone grip the broken piece from the top with pliers as you push it upwards.
Method 6: Drilling and Breaking (Last Resort)
This method should only be used as a last resort, as it involves potentially damaging the dipstick tube. It's best suited for brittle plastic dipsticks.
- Carefully drill into the broken piece: Use a small drill bit to carefully drill into the broken piece, creating several small holes.
- Break up the piece: Use a small screwdriver or pick to carefully break up the plastic into smaller pieces.
- Remove the fragments: Use needle-nose pliers or a vacuum cleaner to remove the fragments from the tube. Be meticulous to ensure all pieces are removed to prevent oil contamination.
Important Considerations and Warnings
- Safety first: Always wear safety glasses and gloves when working on your vehicle.
- Avoid damaging the dipstick tube: Be gentle when applying force, especially when using screw extractors or drilling. Damaging the dipstick tube can lead to oil leaks and require replacement of the tube itself, which is often a more involved repair.
- Prevent debris from entering the engine: Use rags to block off the opening of the dipstick tube to prevent any debris from falling into the oil pan.
- Clean the dipstick tube thoroughly: Once the broken piece is removed, use a solvent or degreaser to clean the inside of the dipstick tube to remove any residue.
- Change your oil: After removing the broken dipstick, it's a good idea to change your oil and filter. This will help remove any small fragments that may have fallen into the oil pan.
- If in doubt, consult a professional: If you're uncomfortable performing any of these procedures, or if you've tried several methods and are still unable to remove the broken dipstick, it's best to consult a professional mechanic.
By following these steps, you should be able to safely and effectively remove a broken dipstick from your vehicle. Remember to be patient, use the right tools, and prioritize safety. Good luck!