How To Remove Headlight Glass
Removing headlight glass, or lens covers, is a task that ranges from relatively straightforward to intensely frustrating, depending on the vehicle and the method used to seal the lens to the headlight housing. This process is often necessary for replacing damaged lenses, upgrading to aftermarket options, or performing thorough cleaning and restoration work. Understanding the different sealing methods and employing the correct techniques are crucial for a successful outcome and avoiding damage to the headlight assembly.
Understanding Headlight Sealing Methods
The primary hurdle in removing headlight glass is breaking the seal that bonds it to the housing. There are two predominant sealing methods employed by manufacturers:
Butylene Sealant (Permaseal)
This is a common type of sealant known for its tenacious grip and resistance to heat. It's found in many headlights, particularly in vehicles manufactured before the widespread adoption of adhesives. Identifying butylene sealant is often as simple as observing a thick, grey or black bead between the lens and the housing. While durable, it requires significant heat and persistence to break down. Permaseal is notoriously difficult to work with, and is often the reason many shops charge a premium for headlight lens replacement.
Adhesive Sealant
More modern headlight assemblies frequently use a specialized adhesive sealant. These adhesives offer good bonding strength and can be more flexible than butylene. They are also generally easier to soften with heat, though specific types of adhesive sealant will vary greatly.
Tools and Materials Required
Before attempting to remove the headlight glass, gather the necessary tools and materials:
- Heat Gun or Oven (kitchen oven, or dedicated headlight oven)
- Flathead Screwdrivers (various sizes)
- Plastic Trim Tools
- Gloves (heat-resistant recommended)
- Pry Tools (optional, but helpful)
- Razor Blade or Utility Knife
- Clean Rags
- Safety Glasses
Step-by-Step Removal Process
This process assumes that the headlight assembly has already been removed from the vehicle. Disconnecting the wiring harness is essential for safety and to avoid damage during the heating process.
Step 1: Preparation and Inspection
Before commencing any work, thoroughly inspect the headlight assembly. Identify the type of sealant used. Look for any cracks or pre-existing damage that might make the lens more susceptible to breaking during the removal process. Clean the headlight assembly to remove any dirt or debris that could contaminate the work area.
Step 2: Applying Heat
Heat is your primary ally in softening the sealant. The method of applying heat depends on the equipment available.
Heat Gun Method
Using a heat gun, evenly apply heat to the perimeter of the headlight lens where it meets the housing. Maintain a distance of a few inches to prevent scorching or melting the plastic. Continuously move the heat gun in a sweeping motion, focusing on small sections at a time. Check the lens periodically to see if the sealant is softening. Avoid overheating any one area, as this can damage the plastic.
Oven Method
Preheat your oven to a low temperature, typically around 200-250°F (93-121°C). Place the headlight assembly on a baking sheet lined with cardboard or a towel to protect it. Monitor the assembly closely, checking the sealant every few minutes. The baking time varies, but generally, 10-15 minutes is sufficient. This method provides more consistent and even heating.
Important Note: Monitor the headlight assembly closely. Overheating can cause the plastic to warp or melt.
Step 3: Separating the Lens
Once the sealant is sufficiently softened, begin carefully prying the lens from the housing. This is where plastic trim tools and flathead screwdrivers come in handy. Start at a corner and gently work your way around the perimeter. Insert the trim tool or screwdriver into the seam between the lens and the housing and apply gentle pressure. Avoid using excessive force, as this could crack the lens or damage the housing. If the lens is not separating easily, apply more heat to the stubborn area.
A razor blade or utility knife can be used to cut through the softened sealant in particularly difficult areas. Be extremely cautious when using these tools to avoid scratching the lens or cutting yourself.
Step 4: Removing Residual Sealant
After separating the lens, there will likely be residual sealant remaining on both the lens and the housing. This sealant needs to be removed to ensure a proper seal when reinstalling the lens. Use a plastic scraper or a screwdriver to carefully scrape away the old sealant. A heat gun can be used to soften the sealant further, making it easier to remove. Clean both the lens and the housing with a clean rag and a suitable solvent to remove any remaining residue. Isopropyl alcohol is often a good choice.
Tips and Considerations
- Patience is key. Rushing the process can lead to damage. Take your time and apply heat gradually.
- Work in a clean environment. This will prevent debris from getting trapped between the lens and the housing during reassembly.
- Wear gloves. The headlight assembly can get hot, and the sealant can be messy.
- Consider aftermarket sealants. When resealing, consider using a high-quality aftermarket sealant specifically designed for headlights. 3M and other reputable brands offer excellent options.
- Professional Help. If you're uncomfortable with any part of this process, it's best to seek professional assistance. Some headlight designs are notoriously difficult, and attempting to force the lens can lead to costly damage.
Common Problems and Solutions
- Lens Cracking: Applying excessive force or uneven heat can cause the lens to crack. Ensure even heat distribution and avoid applying too much pressure.
- Housing Damage: Overheating or using improper tools can damage the headlight housing. Use plastic trim tools instead of metal screwdrivers to minimize the risk of scratches or cracks.
- Sealant Not Softening: Some sealants are more resistant to heat than others. Increase the heat slightly, but be careful not to overheat the plastic.
- Moisture Intrusion: If the headlight is not sealed properly after reassembly, moisture can enter, causing condensation and damage to the internal components. Use a high-quality sealant and ensure a complete and even seal.
Resealing and Reassembly
Once the lens and housing are cleaned, apply a fresh bead of sealant around the perimeter of the housing. Carefully align the lens with the housing and press it firmly into place. Use clamps or tape to hold the lens in position while the sealant cures. Follow the sealant manufacturer's instructions for curing time.
After the sealant has fully cured, inspect the headlight assembly for any gaps or leaks. If necessary, apply additional sealant to any problem areas. Reinstall the headlight assembly on the vehicle and reconnect the wiring harness.
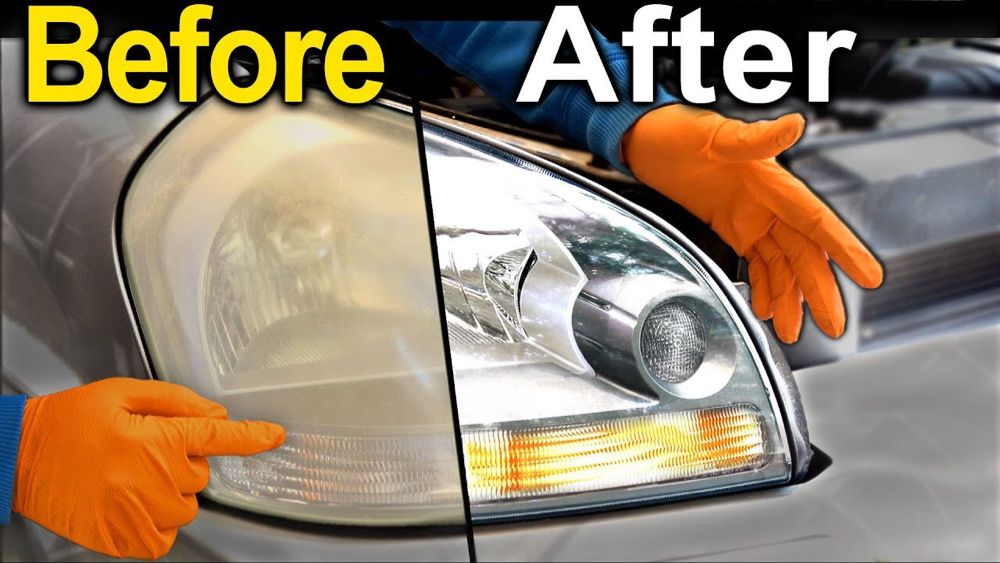
Alternatives: Headlight Restoration Kits
If your primary goal is to improve the clarity of your headlight lenses, consider using a headlight restoration kit. These kits typically include sandpaper, polishing compounds, and a UV protectant coating. They can effectively remove oxidation and yellowing, restoring the lens to near-new condition. This avoids the need to separate the lens from the housing, minimizing the risk of damage.
Cost Considerations
The cost of removing headlight glass and replacing it varies depending on the vehicle and the extent of the damage. A DIY approach is the most cost-effective, with the primary expenses being tools and sealant. However, a professional repair can range from $100 to $500 or more, depending on the complexity of the job and the cost of replacement lenses. The price will also vary from shop to shop, with some shops specializing in this type of work, offering competitive pricing.
Conclusion
Removing headlight glass can be a rewarding DIY project or a necessary repair. By understanding the different sealing methods, using the correct tools, and following a careful and methodical approach, you can successfully separate the lens from the housing without causing damage. Always prioritize safety and take your time. If you're unsure about any part of the process, it's best to consult with a qualified automotive professional.