How To Remove Stuck Ignition Coil Boot
Dealing with a stuck ignition coil boot is a common frustration for car enthusiasts and DIY mechanics. These rubber boots, responsible for sealing the connection between the ignition coil and the spark plug, can become stubbornly lodged in place due to heat, age, and general wear and tear. This article will guide you through the process of safely removing a stuck ignition coil boot, providing practical tips and techniques to avoid damage to your vehicle.
Understanding Ignition Coils and Boots
Before diving into the removal process, let's quickly review the purpose of ignition coils and boots. The ignition coil is a vital component of your car's ignition system. Its job is to take the relatively low voltage from the car's battery (typically 12 volts) and amplify it dramatically (tens of thousands of volts) to create the spark needed to ignite the air-fuel mixture in the engine cylinders. Without a properly functioning ignition coil, your engine won't run.
The ignition coil boot is a rubber or silicone sleeve that connects the ignition coil to the spark plug. It serves several important functions:
- Sealing: The boot creates a tight seal around the spark plug, preventing moisture, dirt, and other contaminants from interfering with the spark.
- Insulation: It insulates the high-voltage connection, preventing electrical arcing to the engine block or other components.
- Vibration Dampening: The boot helps to absorb vibrations, protecting the coil and spark plug from damage.
Over time, the constant exposure to heat and the elements can cause the boot to harden, crack, and become fused to the spark plug. This is especially common in older vehicles or those driven in harsh conditions. Think of a 2005 Honda Civic that's spent its life in the hot Arizona sun – those coil boots are likely brittle and difficult to remove.
Tools and Materials You'll Need
Having the right tools will make the job much easier and safer. Here's a list of essentials:
- Penetrating Oil: A good quality penetrating oil like PB Blaster or Liquid Wrench is crucial for loosening a stuck boot.
- Ignition Coil Puller Tool: This specialized tool is designed to grip the coil boot securely and pull it straight out. While not always necessary, it's highly recommended, especially for coils that are deeply recessed or difficult to access. Many generic sets can be purchased at local auto parts stores, though some vehicle specific tools will be much more effective (and can be found online).
- Long Needle-Nose Pliers: These can be used to gently grip and wiggle the boot if a puller tool isn't available. Be careful not to damage the boot or the spark plug wire (if applicable).
- Flathead Screwdriver (Small): Useful for carefully prying around the edges of the boot to break the seal. Use with extreme caution!
- Clean Rags: To wipe away excess penetrating oil and keep your work area clean.
- Gloves: To protect your hands from dirt, oil, and chemicals.
- Safety Glasses: To protect your eyes from debris.
- Dielectric Grease: To apply to the new boot to prevent future sticking.
Step-by-Step Removal Process
Now, let's walk through the process of removing a stuck ignition coil boot. Always disconnect the negative terminal of your battery before working on any electrical components in your vehicle.
Step 1: Accessing the Ignition Coils
Locate the ignition coils in your engine bay. They're typically mounted directly on top of the engine, near the spark plugs. The configuration will vary depending on your vehicle's engine type (inline, V-shaped, etc.). For example, on a 2012 Toyota Camry with a 2.5L inline-4 engine, the coils are easily accessible on top of the engine. On a V6 engine like those found in many Ford Explorers, they might be tucked under the intake manifold, requiring you to remove some components for access.
Step 2: Applying Penetrating Oil
Generously spray penetrating oil around the base of the boot where it meets the spark plug. Allow the oil to soak in for at least 15-20 minutes. This will help to break down any corrosion or adhesion that's causing the boot to stick. For severely stuck boots, you may need to reapply the oil and let it soak overnight.
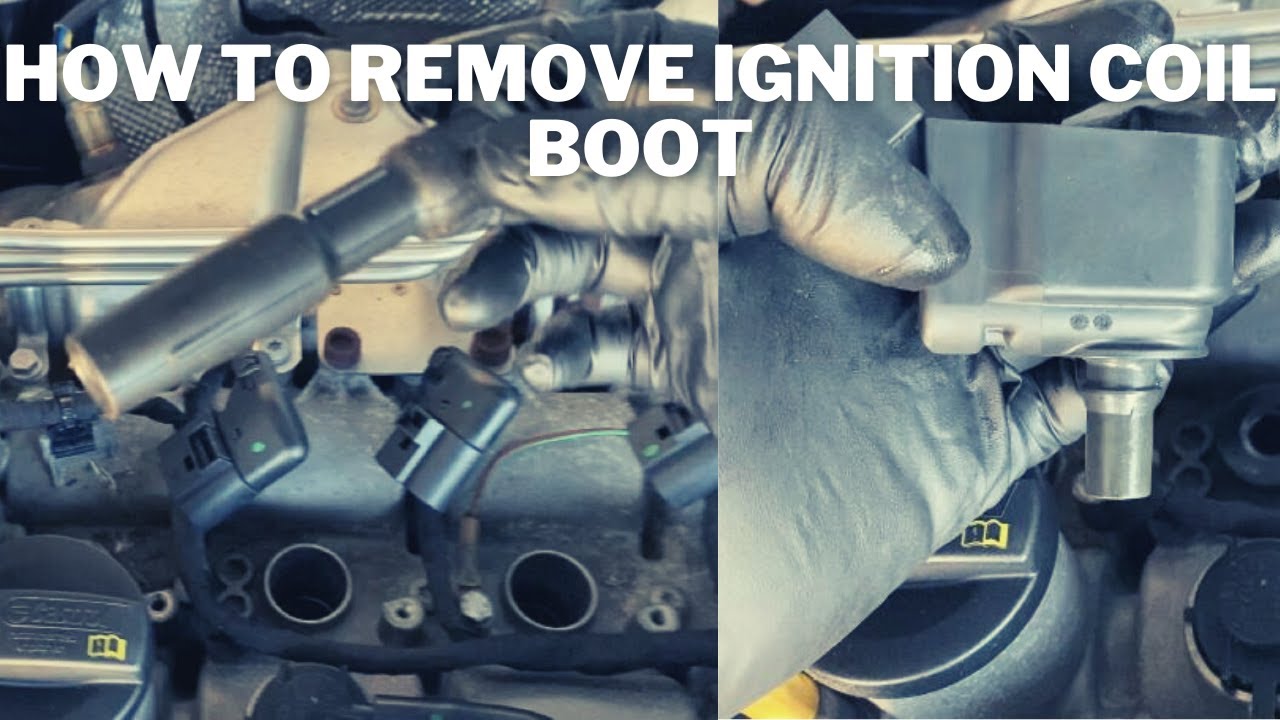
Step 3: Using an Ignition Coil Puller Tool
If you have an ignition coil puller tool, attach it to the boot according to the tool's instructions. Ensure that the tool is securely gripping the boot before attempting to pull. Then, apply a slow, steady pulling force to remove the boot. Avoid jerking or twisting the tool, as this could damage the boot or the spark plug.
Step 4: Using Pliers or a Screwdriver (If a Puller Isn't Available)
If you don't have a puller tool, you can try using long needle-nose pliers to gently grip the boot and wiggle it back and forth while pulling upward. Be extremely careful not to puncture or tear the boot, as this can make it even harder to remove. Alternatively, you can use a small flathead screwdriver to carefully pry around the edges of the boot, working your way around the circumference to break the seal. Again, exercise extreme caution to avoid damaging the boot, the spark plug, or the surrounding components. Prying on the valve cover is a last resort, and should only be done to create a small gap for penetrating oil. Avoid excessive force on plastic parts, as they can be easily damaged.
Step 5: Wiggling and Pulling
Regardless of the method you use, the key is to wiggle the boot while applying a steady pulling force. This helps to break the adhesion and allows the boot to gradually slide off the spark plug. If the boot is particularly stubborn, try alternating between applying penetrating oil, wiggling, and pulling.
Step 6: Inspection and Cleaning
Once the boot is removed, inspect the spark plug well for any signs of moisture, oil, or debris. Clean the area thoroughly with a clean rag. Also, inspect the spark plug itself for wear or damage. If the spark plug is due for replacement, now is a good time to do it.
Common Mistakes to Avoid
Here are some common mistakes to avoid when removing a stuck ignition coil boot:
- Using Excessive Force: Applying too much force can damage the boot, the spark plug, or the ignition coil. Be patient and use a slow, steady pulling motion.
- Using the Wrong Tools: Using the wrong tools, such as a large screwdriver or pliers with sharp edges, can damage the boot or the surrounding components.
- Ignoring the Penetrating Oil: Penetrating oil is your best friend in this situation. Don't skip this step, and allow the oil to soak in for sufficient time.
- Damaging the Spark Plug Wire: If your vehicle has spark plug wires (older vehicles), be careful not to damage them when removing the boot.
- Forgetting to Disconnect the Battery: Working on electrical components with the battery connected is dangerous and can damage your vehicle.
Preventing Future Problems
Here are some tips to help prevent ignition coil boots from sticking in the future:
- Apply Dielectric Grease: Before installing a new ignition coil boot, apply a thin layer of dielectric grease to the inside of the boot. This will help to prevent the boot from sticking to the spark plug.
- Use Quality Boots: Use high-quality ignition coil boots that are designed to withstand the heat and harsh conditions of the engine bay.
- Regular Inspections: Inspect your ignition coils and boots regularly for signs of wear or damage. Replace them as needed.
Practical Takeaways
- Patience is Key: Don't rush the process. Take your time and use a slow, steady approach.
- Penetrating Oil is Your Friend: Don't underestimate the power of penetrating oil.
- Consider a Puller Tool: An ignition coil puller tool can save you a lot of time and frustration.
- Inspect and Clean: Always inspect the spark plug well and spark plug after removing the boot.
- Preventative Maintenance: Applying dielectric grease to new boots and using quality components can prevent future problems.
By following these steps and tips, you can safely and effectively remove a stuck ignition coil boot without damaging your vehicle. Remember to prioritize safety and use the right tools for the job. Good luck!