How To Remove Tpms Valve Stem
Removing a TPMS (Tire Pressure Monitoring System) valve stem is a task that might seem straightforward, but it requires a delicate touch and the right tools to avoid damaging the sensor or the wheel. This process is commonly undertaken when replacing tires, servicing the TPMS unit, or addressing corrosion issues. This article provides a comprehensive guide on how to safely and effectively remove a TPMS valve stem.
Understanding TPMS Valve Stems
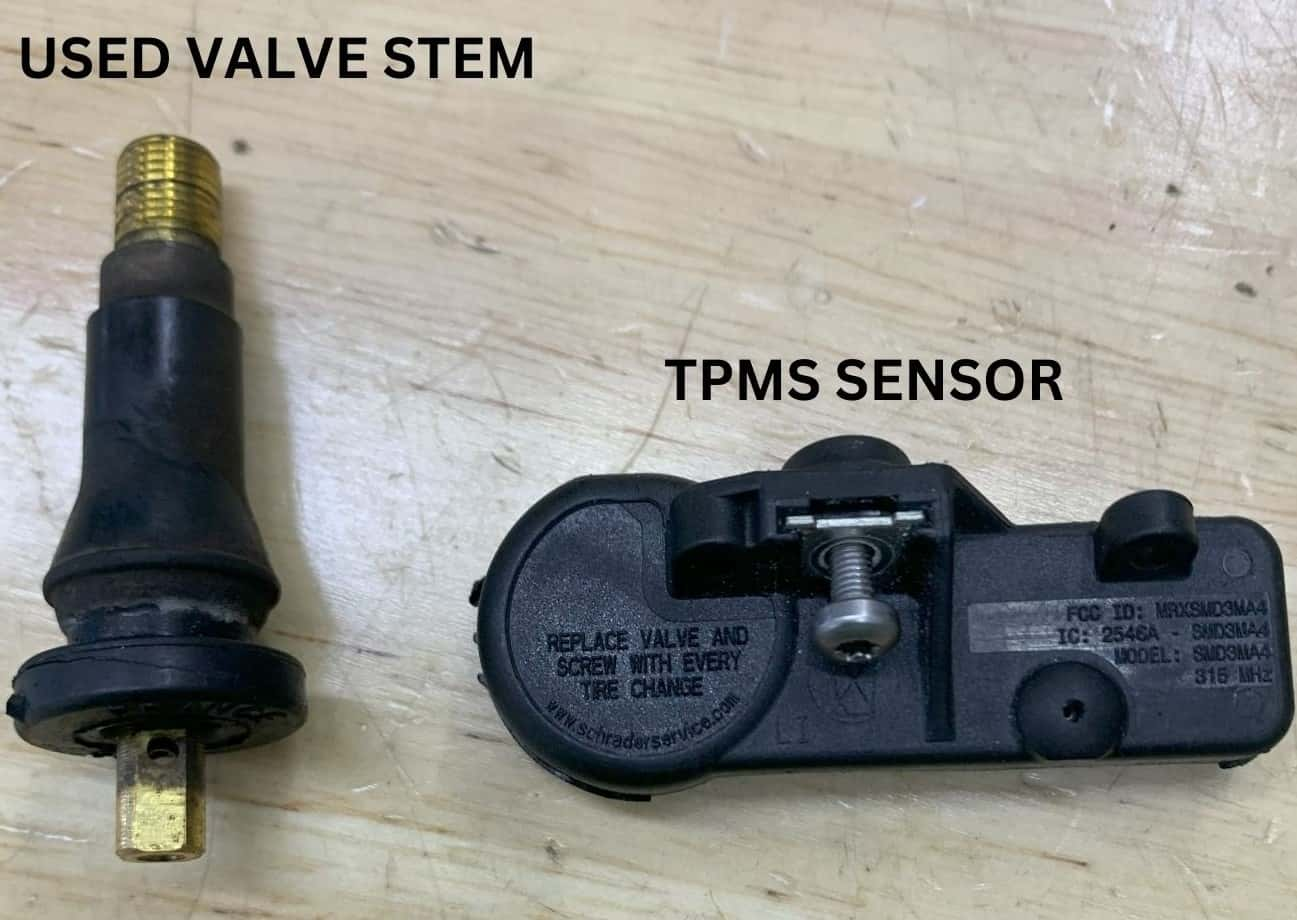
Before diving into the removal process, it's crucial to understand the different types of TPMS valve stems. There are primarily two types: rubber snap-in and metal clamp-in. Rubber snap-in stems are typically found on older or less expensive vehicles, while metal clamp-in stems are more common on newer or higher-end vehicles. The key difference lies in how they attach to the wheel and the material they are made of. Metal stems are generally more durable and often integrated directly with the TPMS sensor itself.
Tools You'll Need
Having the right tools is essential for a successful and damage-free removal. Here's a list of tools you should gather before starting:
- TPMS Service Kit: This kit usually includes a valve core tool, a torque wrench, and specialized TPMS valve stem tools.
- Valve Core Tool: Used for removing and installing the valve core.
- Torque Wrench: Essential for tightening the valve stem nut to the manufacturer's specified torque.
- Socket Set: You'll need sockets to fit the valve stem nut.
- Breaker Bar (optional): Useful for loosening stubborn nuts.
- Penetrating Oil (optional): Can help loosen corroded nuts.
- Gloves: To protect your hands.
- Safety Glasses: To protect your eyes.
Step-by-Step Removal Process
The following steps outline the general process for removing both rubber snap-in and metal clamp-in TPMS valve stems. However, always consult your vehicle's service manual for specific instructions and torque specifications.
Step 1: Deflate the Tire
Begin by deflating the tire completely. Use the valve core tool to remove the valve core. This ensures there is no residual pressure in the tire, making the process safer.
Step 2: Break the Bead
This step usually requires specialized tire changing equipment. The tire bead needs to be separated from the wheel rim. If you don't have access to this equipment, it's best to take the wheel to a professional tire shop.
Step 3: Access the Valve Stem
With the bead broken, you should be able to access the inside of the wheel and the TPMS valve stem. Carefully maneuver the tire to expose the valve stem assembly.
Step 4A: Removing Rubber Snap-In TPMS Valve Stems
For rubber snap-in stems, gently push the stem inward from the outside of the wheel. The rubber stem should compress and allow you to pull it through the hole in the wheel rim from the inside. Sometimes the rubber has hardened over time. In this case, a bit of lubrication may help.
Important Note: Be careful not to damage the TPMS sensor (if present) when removing the rubber stem. Some sensors are integrated with the stem, while others are separate.
Step 4B: Removing Metal Clamp-In TPMS Valve Stems
Metal clamp-in stems are secured with a nut on the inside of the wheel. Locate the nut and use the appropriate socket to loosen it. If the nut is corroded, apply penetrating oil and let it soak for a few minutes before attempting to loosen it. A breaker bar might be necessary for stubborn nuts.
Once the nut is loose, carefully unscrew it completely. Hold the valve stem from the outside while unscrewing the nut to prevent it from spinning. With the nut removed, you should be able to push the valve stem outward from the inside of the wheel.
Step 5: Inspect the TPMS Sensor
After removing the valve stem, inspect the TPMS sensor for any signs of damage or corrosion. Clean the sensor with a soft, dry cloth. If the sensor is damaged, it will need to be replaced.
Installing a New TPMS Valve Stem
Installing a new TPMS valve stem is essentially the reverse of the removal process. However, there are a few key points to keep in mind.
Step 1: Prepare the Wheel
Clean the area around the valve stem hole on the wheel rim. Remove any dirt, debris, or corrosion that could interfere with the new valve stem's seal.
Step 2A: Installing Rubber Snap-In TPMS Valve Stems
Lubricate the new rubber stem with a tire mounting lubricant. This will make it easier to push the stem through the hole in the wheel rim. From the inside of the wheel, pull the stem through the hole until it seats properly.
Step 2B: Installing Metal Clamp-In TPMS Valve Stems
Insert the new metal valve stem through the hole in the wheel rim from the outside. From the inside of the wheel, install the nut onto the valve stem. Use a torque wrench to tighten the nut to the manufacturer's specified torque. Over-tightening can damage the valve stem or the TPMS sensor.
Torque Specifications: Always refer to your vehicle's service manual or the TPMS sensor manufacturer's instructions for the correct torque specification. A typical torque range is between 40-60 inch-pounds, but this can vary.
Step 3: Reinstall the Valve Core
Install the new valve core using the valve core tool. Tighten it securely, but don't over-tighten.
Step 4: Remount the Tire
Remount the tire onto the wheel, ensuring the bead is properly seated. This step typically requires specialized tire changing equipment. If you don't have access to this equipment, it's best to take the wheel to a professional tire shop.
Step 5: Inflate the Tire
Inflate the tire to the manufacturer's recommended pressure. Check for leaks around the valve stem and the tire bead. If you detect any leaks, deflate the tire and re-seat the bead or reinstall the valve stem.
Step 6: TPMS Relearn Procedure
After replacing a TPMS sensor or valve stem, you may need to perform a TPMS relearn procedure. This procedure allows the vehicle's computer to recognize the new sensor. The relearn procedure varies depending on the vehicle make and model. Some vehicles have an automatic relearn procedure, while others require a manual relearn using a TPMS scan tool.
Common Problems and Solutions
- Corroded Valve Stem Nut: Applying penetrating oil and using a breaker bar can help loosen corroded nuts. If the nut is severely corroded, it may need to be cut off.
- Damaged TPMS Sensor: If the TPMS sensor is damaged, it will need to be replaced.
- Leaking Valve Stem: Ensure the valve stem is properly seated and the nut is tightened to the correct torque. If the leak persists, the valve stem may be defective.
- Difficulty Breaking the Bead: Use a tire bead breaker tool or take the wheel to a professional tire shop.
Safety Precautions
- Always wear safety glasses and gloves when working on tires and wheels.
- Deflate the tire completely before removing the valve stem.
- Use a torque wrench to tighten the valve stem nut to the manufacturer's specified torque.
- If you are not comfortable performing this procedure, take the wheel to a professional tire shop.
Conclusion
Removing and installing TPMS valve stems requires patience, the right tools, and attention to detail. By following these steps and taking the necessary precautions, you can safely and effectively complete this task. Remember to always consult your vehicle's service manual for specific instructions and torque specifications. Proper maintenance of your TPMS system ensures accurate tire pressure monitoring, contributing to safer driving and optimal fuel efficiency. Replacing the valve stem regularly as part of tire service can prevent future issues.