How To Repair Scratch On Plastic Bumper
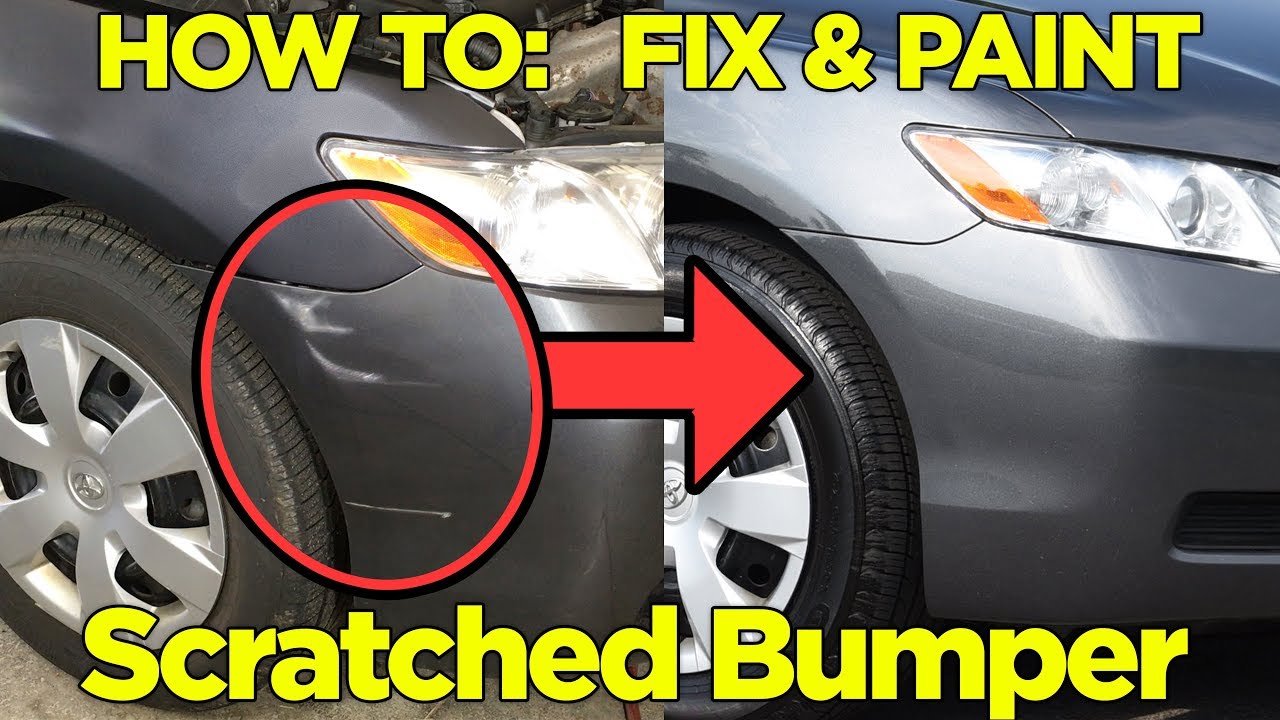
Plastic bumpers, while designed for impact absorption and pedestrian safety, are unfortunately susceptible to scratches. Whether it's a minor scuff from a shopping cart or a more significant scrape from a curb, knowing how to repair a scratch on a plastic bumper can save you a considerable amount of money compared to professional body shop repairs. This guide outlines the process, providing the necessary steps and techniques for achieving a professional-looking finish.
Assessing the Damage
Before diving into the repair process, a thorough assessment of the scratch is crucial. Determining the severity of the damage will dictate the tools and techniques required.
- Light Scratches (Clear Coat Scratches): These are superficial marks that only affect the clear coat layer. They appear as faint lines and often disappear when wet.
- Medium Scratches (Paint Scratches): These scratches penetrate the clear coat and reach the paint layer. They are more visible and may expose the bumper's color beneath the clear coat.
- Deep Scratches (Plastic Scratches): These are the most severe type, reaching the plastic substrate of the bumper. They are easily felt with a fingernail and may involve gouges or cracks in the plastic.
Tools and Materials
Having the right tools and materials on hand is essential for a successful repair. Here's a comprehensive list:
- Cleaning Supplies: Car wash soap, degreaser (isopropyl alcohol), microfiber cloths.
- Sandpaper: Assorted grits, ranging from 400 to 3000 grit. Wet/dry sandpaper is recommended. Consider starting with 400 or 600 for deep scratches, 800-1000 for medium, and 2000-3000 for light.
- Sanding Block: Provides a flat, even surface for sanding, preventing uneven removal of material.
- Body Filler (for Deep Scratches): A two-part epoxy filler specifically designed for plastic repairs. Look for flexible body filler for better long-term results on a plastic bumper.
- Putty Knife or Spreader: For applying and smoothing body filler.
- Primer: Automotive primer designed for plastic, ensuring proper paint adhesion.
- Automotive Paint: Matching the exact color code of your vehicle. The paint code is usually found on a sticker inside the driver's side door jamb or in the engine compartment. Obtain this code from your vehicle and take it to an automotive paint supplier for a perfectly matched spray can or have them mix it for you if using a spray gun.
- Clear Coat: Automotive clear coat for protecting the paint and providing a glossy finish.
- Rubbing Compound: A mild abrasive used to remove sanding marks and blend the repaired area with the surrounding paint.
- Polishing Compound: A finer abrasive used after rubbing compound to enhance gloss and remove swirl marks.
- Buffing Pad: For use with a power buffer or drill attachment to apply rubbing and polishing compounds.
- Wax or Sealant: For protecting the repaired area and enhancing the shine.
- Masking Tape and Paper: For protecting surrounding areas from overspray.
- Tack Cloth: For removing dust and debris before painting.
- Safety Gear: Gloves, safety glasses, and a respirator mask, especially when sanding and painting.
Repairing Light Scratches (Clear Coat)
These scratches are the easiest to fix and often require only a few steps.
- Cleaning: Thoroughly wash and dry the area around the scratch. Use a degreaser, such as isopropyl alcohol, to remove any wax, grease, or contaminants.
- Polishing: Apply a small amount of polishing compound to a clean microfiber cloth or buffing pad. Gently rub the compound onto the scratch in a circular motion.
- Buffing: Use a clean buffing pad on a drill attachment or a dedicated buffer, using light pressure to remove the remaining polish residue.
- Waxing: Apply a coat of wax or sealant to protect the repaired area and enhance the shine.
Repairing Medium Scratches (Paint)
These scratches require a more involved process, including sanding and painting.
- Cleaning: Thoroughly clean and degrease the area around the scratch.
- Sanding: Wet sand the scratched area and the surrounding paint with 2000-grit sandpaper, using a sanding block for even pressure. Keep the sandpaper and the surface wet throughout the process. The goal is to feather the edges of the scratch and create a smooth transition.
- Cleaning: Wipe the area clean with a tack cloth to remove any sanding residue.
- Priming: Apply a thin, even coat of automotive primer designed for plastic. Allow the primer to dry completely according to the manufacturer's instructions.
- Sanding (Primer): Lightly sand the primed area with 3000-grit sandpaper to remove any imperfections and create a smooth surface for the paint.
- Cleaning: Wipe the area clean with a tack cloth.
- Painting: Apply several thin, even coats of automotive paint, allowing each coat to dry completely before applying the next. Follow the manufacturer's instructions for drying times and application techniques. Avoid applying too much paint at once, as this can lead to runs or drips.
- Clear Coating: After the paint has dried completely, apply several thin, even coats of automotive clear coat, following the manufacturer's instructions. The clear coat protects the paint and provides a glossy finish.
- Wet Sanding (Clear Coat): After the clear coat has dried completely (typically 24-48 hours), wet sand the area with 3000-grit sandpaper to remove any orange peel or imperfections.
- Rubbing Compound: Apply rubbing compound to a clean microfiber cloth or buffing pad and gently rub the repaired area to remove sanding marks and blend the repair with the surrounding paint.
- Polishing Compound: Apply polishing compound to a clean microfiber cloth or buffing pad to enhance the gloss and remove any swirl marks left by the rubbing compound.
- Waxing: Apply a coat of wax or sealant to protect the repaired area and enhance the shine.
Repairing Deep Scratches (Plastic)
Deep scratches that penetrate the plastic require the use of body filler to restore the bumper's original shape.
- Cleaning: Thoroughly clean and degrease the area around the scratch.
- Sanding: Sand the scratched area and the surrounding plastic with 400-grit sandpaper to create a rough surface for the body filler to adhere to. Feather the edges of the scratch to create a smooth transition.
- Cleaning: Wipe the area clean with a tack cloth.
- Mixing Body Filler: Mix the two-part body filler according to the manufacturer's instructions. Be sure to use the correct ratio of hardener to filler.
- Applying Body Filler: Apply the body filler to the scratched area, using a putty knife or spreader to fill the gouge or crack. Overfill the area slightly to allow for sanding.
- Curing: Allow the body filler to cure completely according to the manufacturer's instructions.
- Sanding (Body Filler): Sand the cured body filler with 400-grit sandpaper to remove the excess material and shape the filler to match the surrounding bumper. Gradually move to finer grits, such as 800-grit and then 1000-grit, to create a smooth, even surface. Use a sanding block to ensure a flat, consistent finish.
- Priming: Apply a thin, even coat of automotive primer designed for plastic. Allow the primer to dry completely according to the manufacturer's instructions.
- Sanding (Primer): Lightly sand the primed area with 3000-grit sandpaper to remove any imperfections and create a smooth surface for the paint.
- Cleaning: Wipe the area clean with a tack cloth.
- Painting: Apply several thin, even coats of automotive paint, allowing each coat to dry completely before applying the next.
- Clear Coating: After the paint has dried completely, apply several thin, even coats of automotive clear coat.
- Wet Sanding (Clear Coat): After the clear coat has dried completely, wet sand the area with 3000-grit sandpaper to remove any orange peel or imperfections.
- Rubbing Compound: Apply rubbing compound to a clean microfiber cloth or buffing pad and gently rub the repaired area to remove sanding marks.
- Polishing Compound: Apply polishing compound to a clean microfiber cloth or buffing pad to enhance the gloss and remove any swirl marks.
- Waxing: Apply a coat of wax or sealant to protect the repaired area and enhance the shine.
Blending and Color Matching
Achieving a seamless repair requires careful blending of the repaired area with the surrounding paint. This involves feathering the edges of the paint and clear coat and using appropriate techniques to minimize the visibility of the repair.
Color matching is also crucial. Using the exact paint code for your vehicle will ensure the best possible match. However, even with the correct paint code, slight variations can occur due to factors such as fading and aging. In some cases, it may be necessary to blend the paint into a larger area to achieve a perfect match. Consider consulting with an automotive paint specialist for assistance with color matching.
Tips and Tricks
- Patience is Key: Take your time and don't rush the process. Applying multiple thin coats of paint and clear coat is better than applying one thick coat.
- Cleanliness: Keep your work area clean and free of dust and debris. Use a tack cloth to remove any dust before painting.
- Practice Makes Perfect: If you're new to automotive paint repair, consider practicing on a scrap piece of plastic or metal before working on your bumper.
- Ventilation: Ensure adequate ventilation when sanding, painting, and applying clear coat. Wear a respirator mask to protect yourself from harmful fumes.
- Professional Help: If you're not comfortable performing the repair yourself, consider taking your vehicle to a professional body shop.
By following these steps and using the right tools and materials, you can successfully repair a scratch on your plastic bumper and restore its original appearance. While some repairs may require more skill and experience than others, with patience and attention to detail, you can achieve professional-looking results and save a considerable amount of money. Remember to prioritize safety and always follow the manufacturer's instructions for all products used.