How To Repair Scratched Plastic Bumper
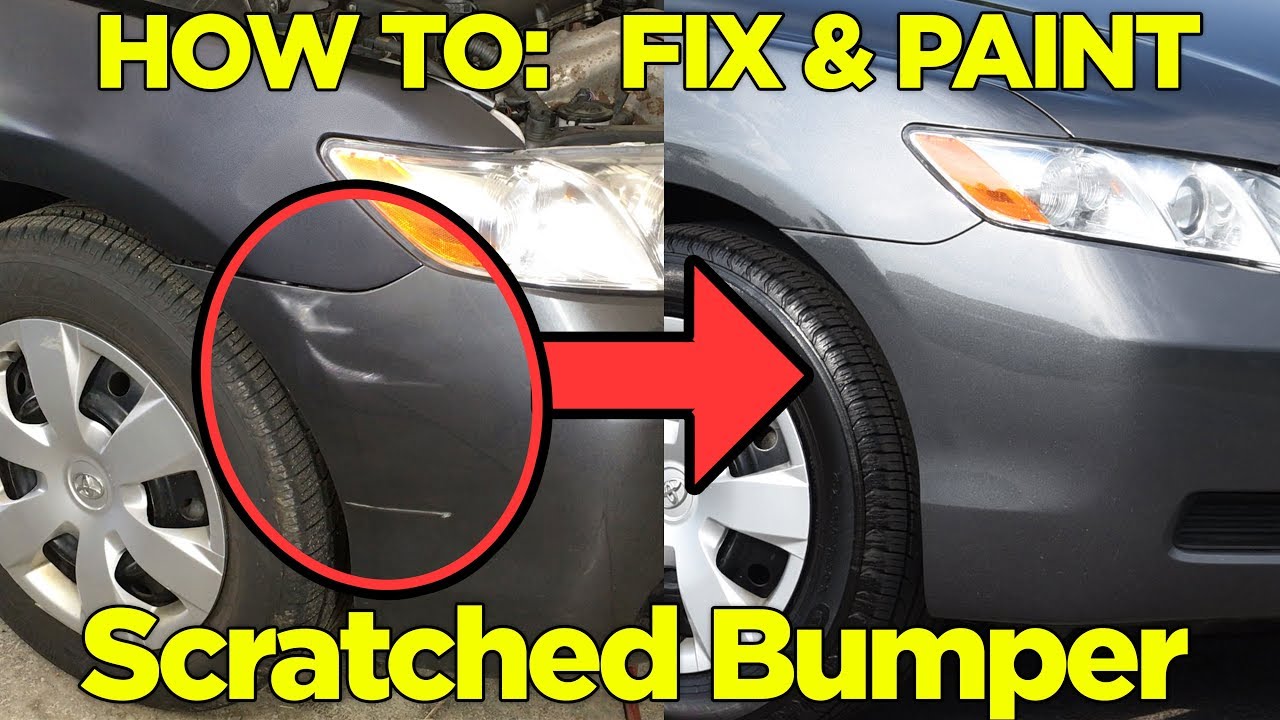
Plastic bumpers, while designed to absorb impacts and protect the vehicle's body, are susceptible to scratches and abrasions. These blemishes, ranging from minor surface scratches to deeper gouges, can detract from a vehicle's appearance. Repairing a scratched plastic bumper is a manageable task, even for the DIY enthusiast with some patience and the right tools.
Assessing the Damage
Before diving into the repair process, a thorough assessment of the damage is crucial. This will determine the appropriate repair method and materials needed.
Surface Scratches: These are typically light scratches that only affect the clear coat or the very top layer of the plastic. They often appear as hazy or swirl-like marks.
Mid-Depth Scratches: These scratches penetrate deeper into the plastic, often reaching the colored layer beneath the clear coat. They are usually visible and can be felt with a fingernail.
Deep Scratches and Gouges: These are the most severe type of damage, often exposing the raw, uncolored plastic underneath. They may involve chipped or missing pieces of the bumper.
Tools and Materials
Gathering the necessary tools and materials is essential for a successful repair. Here's a comprehensive list:
- Cleaning Supplies: Soap and water, degreaser, microfiber towels.
- Sandpaper: Assorted grits (e.g., 320, 400, 600, 800, 1000, 1500, 2000 grit) for progressively smoothing the surface. Wet/dry sandpaper is preferred.
- Sanding Block: Provides a flat, even surface for sanding.
- Body Filler (Plastic): For filling deep scratches and gouges. Choose a filler specifically designed for plastic bumpers. Bondo is a common brand.
- Putty Knife or Spreader: For applying body filler smoothly.
- Primer: An automotive primer to prepare the repaired area for painting.
- Automotive Paint: Matching the vehicle's color code is crucial for a seamless repair. Obtain the correct paint code from the vehicle's door jamb or owner's manual.
- Clear Coat: To protect the paint and provide a glossy finish.
- Tack Cloth: For removing dust and debris before painting.
- Masking Tape and Paper: To protect surrounding areas from overspray.
- Safety Glasses and Gloves: To protect your eyes and skin.
- Heat Gun (Optional): Can be used to help shape and cure body filler.
- Adhesion Promoter (Optional): Enhances the adhesion of primer and paint to the plastic.
- Polishing Compound and Pads (Optional): For buffing and polishing the repaired area after painting.
Repair Procedure
Follow these steps for a comprehensive scratch repair:
Step 1: Cleaning and Preparation
Thoroughly clean the bumper area with soap and water to remove any dirt, grime, or wax. Follow with a degreaser to eliminate any remaining contaminants. Dry the area completely with a microfiber towel. Mask off the surrounding area with masking tape and paper to protect it from sanding and painting.
Step 2: Sanding (Surface Scratches)
For surface scratches, begin by wet sanding the affected area with 800 grit sandpaper. Use a sanding block to ensure even pressure and avoid creating new scratches. Sand in a circular motion, keeping the sandpaper wet with water. Gradually increase the grit to 1000, 1500, and finally 2000, sanding with each grit until the scratches are no longer visible. Clean the area thoroughly with a tack cloth after each sanding step.
Step 3: Sanding (Mid-Depth and Deep Scratches)
For mid-depth scratches, start with 400 or 600 grit sandpaper. If there are deep scratches or gouges, begin with 320 grit to remove any rough edges or loose material. Sand until the edges of the scratch are smooth and blended with the surrounding surface. Clean the area thoroughly with a tack cloth.
Step 4: Applying Body Filler (Deep Scratches and Gouges)
Mix the plastic body filler according to the manufacturer's instructions. Apply the filler to the scratched area using a putty knife or spreader, slightly overfilling the scratch to allow for sanding. Work quickly, as body filler can harden relatively quickly. If needed, use a heat gun on a low setting to assist with shaping and curing the filler.
Step 5: Sanding Body Filler
Once the body filler has fully cured, sand it down to match the contours of the bumper. Start with 320 grit sandpaper to remove the bulk of the excess filler, then progress to finer grits (400, 600) to smooth the surface. Use a sanding block to ensure a flat, even surface. Feather the edges of the filled area to blend seamlessly with the surrounding plastic. Clean the area thoroughly with a tack cloth.
Step 6: Priming
Apply several thin, even coats of automotive primer to the repaired area, allowing each coat to dry completely before applying the next. This will provide a smooth surface for the paint to adhere to. Sand the primer lightly with 800 grit sandpaper after it has dried completely to remove any imperfections. Clean the area thoroughly with a tack cloth.
Step 7: Painting
Apply several thin, even coats of automotive paint to the primed area, allowing each coat to dry completely before applying the next. Hold the spray can approximately 8-10 inches from the surface and use smooth, overlapping strokes. Check the paint code of your car with the color you are using to make sure you have the proper color match. Once the paint has dried completely, inspect the area for any imperfections. Clean the area thoroughly with a tack cloth.
Step 8: Applying Clear Coat
Apply several thin, even coats of automotive clear coat to the painted area, allowing each coat to dry completely before applying the next. This will protect the paint and provide a glossy finish. As with the paint, use smooth, overlapping strokes. Allow the clear coat to dry completely for at least 24 hours.
Step 9: Wet Sanding and Polishing (Optional)
If necessary, wet sand the clear coat with 2000 grit sandpaper to remove any orange peel or imperfections. Then, use a polishing compound and a polishing pad on a buffer to restore the gloss and shine of the clear coat. This step is optional but can significantly improve the final appearance of the repair.
Step 10: Final Touches
Remove the masking tape and paper. Clean the repaired area with a clean microfiber towel. Inspect the repair to ensure that it is seamless and undetectable.
Important Considerations
- Color Matching: Accurate color matching is critical for a successful repair. Always use the correct paint code for your vehicle. Consider blending the paint into the surrounding area for a more seamless transition.
- Plastic Type: Different types of plastic may require different repair techniques and materials. Identify the type of plastic used in your bumper before starting the repair. Polypropylene (PP) and Acrylonitrile Butadiene Styrene (ABS) are common bumper materials.
- Temperature and Humidity: Temperature and humidity can affect the drying time and adhesion of body filler, primer, paint, and clear coat. Work in a well-ventilated area with moderate temperature and humidity.
- Safety: Always wear safety glasses and gloves when sanding, applying body filler, priming, and painting. Work in a well-ventilated area to avoid inhaling fumes.
Alternatives and Professional Repair
While DIY bumper repair can save money, it's not always the best option. For severe damage, complex repairs, or if you are not comfortable with the process, consider seeking professional assistance. Auto body shops have the expertise, equipment, and materials to perform high-quality repairs that meet industry standards.
Alternatives to traditional repair include:
- Bumper Repair Kits: These kits often contain pre-mixed filler, paint, and clear coat. They are suitable for minor scratches and scuffs.
- Mobile Bumper Repair Services: These services offer on-site repair, which can be convenient for busy individuals.
- Bumper Replacement: In cases of extensive damage, replacing the entire bumper may be the most cost-effective solution.
Successfully repairing a scratched plastic bumper requires patience, attention to detail, and the right tools and materials. By following these steps and considering the important considerations, you can restore your vehicle's appearance and protect its value. Remember to prioritize safety and seek professional assistance when needed.