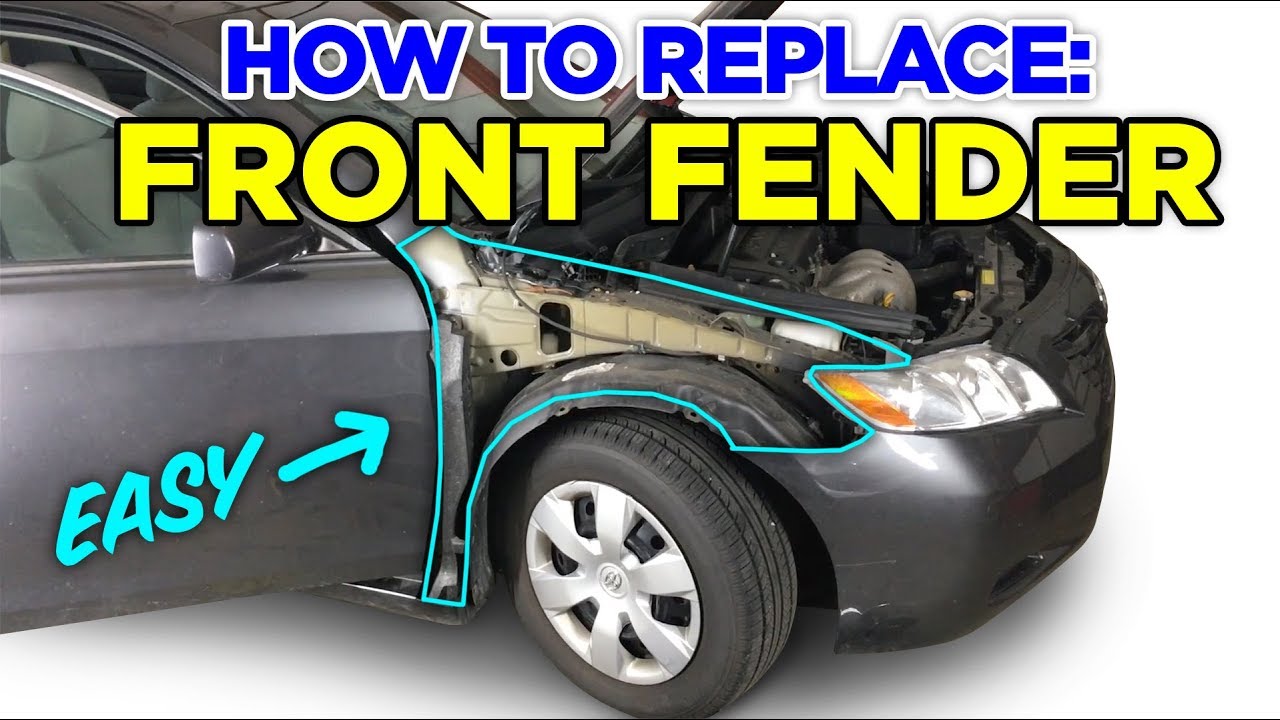
How To Replace A Front Fender
Replacing a front fender can seem like a daunting task, but with the right tools, a bit of patience, and this guide, it's a project most car enthusiasts can tackle in their own garage. This article will walk you through the process, breaking down complex steps into manageable chunks, and using familiar car models as examples.
Understanding the Anatomy of a Front Fender
Before we dive into the replacement process, let's understand what a front fender is and how it's attached to your car. The front fender is the body panel located on either side of the front of your car, covering the front wheels. It's typically bolted or welded to the car's frame and also attached to other body panels like the hood, bumper, and sometimes the rocker panel.
Think of a classic example like a 1967 Ford Mustang. The Mustang's front fenders are quite prominent and well-defined, contributing significantly to its iconic look. These fenders are bolted to the frame and the inner fender well, allowing for relatively straightforward replacement compared to cars with more integrated body designs.
In contrast, a modern Honda Civic might have fenders that are more tightly integrated with the front bumper and headlights. This means removing these components may be necessary to access all the fender's mounting points. Understanding these differences is crucial before you start.
Tools and Materials You'll Need
Gathering the right tools is essential for a smooth and successful fender replacement. Here's a list of what you'll likely need:
- Socket set and wrenches: Metric or SAE, depending on your car. A good quality set is invaluable.
- Screwdrivers: Both flathead and Phillips head.
- Impact driver (optional but recommended): For stubborn or rusted bolts.
- Panel removal tools: To safely remove plastic clips and trim pieces without damage.
- Jack and jack stands: To safely lift and support the vehicle. Never work under a car supported only by a jack.
- Safety glasses and gloves: Protect your eyes and hands.
- New front fender: Ensure it's the correct part for your car's year, make, and model.
- Body filler and sandpaper (if needed): To address any minor imperfections in the new fender or surrounding areas.
- Primer and paint (matching your car's color): For finishing the new fender. Aerosol cans are convenient for small jobs, but professional-grade paint and equipment will yield the best results.
- Masking tape and paper: To protect surrounding areas from overspray.
- Rust penetrant (e.g., WD-40 or PB Blaster): To loosen rusted bolts.
- Torque wrench: To tighten bolts to the manufacturer's specifications.
- Shop towels: For cleaning up spills and keeping your workspace tidy.
Step-by-Step Fender Replacement Guide
1. Preparation and Safety
Begin by disconnecting the negative terminal of your car battery. This will prevent any accidental electrical shorts during the process. Next, loosen the lug nuts on the wheel of the side you're working on. Then, using a jack, lift the vehicle and securely support it with jack stands. Remove the wheel.
Safety is paramount. Always use jack stands and wear safety glasses and gloves. Never work under a vehicle supported only by a jack.
2. Removing the Old Fender
This is where the real work begins. Start by removing any trim pieces, mud flaps, or other accessories attached to the fender. Use panel removal tools to avoid damaging these parts. Now, locate the bolts and screws that hold the fender in place. These are typically found along the top edge of the fender (near the hood), along the inner fender well, and at the bottom near the rocker panel and bumper.
Spray rust penetrant on any stubborn bolts and let it soak for a few minutes. Use the appropriate socket or wrench to loosen and remove the bolts. An impact driver can be very helpful for rusted bolts. Be careful not to strip the bolt heads. If a bolt is severely corroded, you might need to use a bolt extractor.
As you remove the bolts, carefully support the fender to prevent it from falling and potentially causing damage. Once all the bolts are removed, gently wiggle the fender free. It might be attached with adhesive in some areas, so take your time and use a plastic scraper to carefully separate the fender from the body. Some models, like older Toyota Camrys, might have spot welds in addition to bolts. These will need to be carefully drilled out. Take care not to damage the underlying metal.
3. Preparing the Mounting Surface
With the old fender removed, inspect the mounting surface for any rust or damage. Clean the area thoroughly with a wire brush or sandpaper to remove any loose rust. If there's any significant rust damage, you'll need to address it before installing the new fender. This might involve welding in new metal or using a rust converter.
4. Installing the New Fender
Carefully position the new fender onto the car, aligning it with the mounting holes. Start by loosely installing a few bolts to hold the fender in place. Then, gradually tighten all the bolts, making sure the fender is properly aligned with the surrounding body panels. Don't overtighten the bolts; just snug them down. Use a torque wrench to tighten the bolts to the manufacturer's specified torque. This is crucial to prevent damage to the fender or the car's frame.
Check the gaps between the fender and the hood, door, and bumper. These gaps should be uniform and consistent. If the gaps are uneven, you might need to adjust the fender's position slightly by loosening the bolts and shifting it until the gaps are correct.
5. Painting and Finishing (If Necessary)
If your new fender came unpainted, you'll need to paint it to match your car's color. This process involves several steps:
- Cleaning: Thoroughly clean the fender with a wax and grease remover.
- Sanding: Lightly sand the fender with fine-grit sandpaper (e.g., 400-grit) to create a smooth surface for the primer to adhere to.
- Priming: Apply several thin coats of primer, allowing each coat to dry completely before applying the next.
- Sanding the Primer: After the primer has dried, sand it smooth with fine-grit sandpaper (e.g., 600-grit).
- Painting: Apply several thin coats of your car's color paint, allowing each coat to dry completely before applying the next.
- Clear Coat (Optional): Apply several thin coats of clear coat to protect the paint and give it a glossy finish.
- Polishing: After the clear coat has dried, polish the fender to remove any imperfections and create a smooth, shiny surface.
Mask off the surrounding areas to prevent overspray. Aerosol cans are convenient for small jobs, but professional-grade paint and equipment will yield the best results. If you're not comfortable painting, consider taking the fender to a professional body shop.
6. Reassembly
Once the fender is installed and painted (if necessary), reinstall any trim pieces, mud flaps, or other accessories that you removed earlier. Reinstall the wheel and tighten the lug nuts. Lower the vehicle and remove the jack stands. Finally, torque the lug nuts to the manufacturer's specified torque.
Reconnect the negative terminal of the car battery.
Troubleshooting Tips
- Stripped bolts: Use a bolt extractor or heat the bolt with a torch to loosen it.
- Misaligned fender: Loosen the bolts and adjust the fender's position until the gaps are uniform.
- Paint not matching: Ensure you have the correct paint code for your car. Take a sample to an automotive paint supplier for matching.
- Rust: Address any rust issues before installing the new fender to prevent future problems.
Practical Takeaways
- Preparation is key: Gather all the necessary tools and materials before you start.
- Safety first: Always use jack stands and wear safety glasses and gloves.
- Take your time: Don't rush the process. Patience is essential for a good result.
- Proper alignment is crucial: Ensure the fender is properly aligned with the surrounding body panels before tightening the bolts.
- Consider professional help: If you're not comfortable with any of the steps, consider taking your car to a professional body shop.
Replacing a front fender is a manageable task for most car enthusiasts with the right tools and guidance. By following these steps, you can save money and gain valuable experience working on your car. Remember to prioritize safety and take your time for the best results. Good luck!