How To Replace A Intake Manifold Gasket
The intake manifold gasket – often the unsung hero (or villain!) of your engine. It's tasked with creating a vital seal between the intake manifold and the cylinder head, preventing vacuum leaks that can wreak havoc on your engine's performance. A failing gasket can lead to rough idling, poor fuel economy, decreased power, and even a check engine light glaring angrily from your dashboard. So, when the symptoms surface, replacing that pesky gasket becomes a necessary evil. But fear not, fellow gearheads! This guide will walk you through the process, highlighting the nuances across different engines and vehicle types.
Understanding the Landscape: Gasket Types and Engine Configurations
Before we dive into the nuts and bolts, let's appreciate the diversity in intake manifold design. This will affect your repair approach.
- Flat Intake Manifold Gaskets: Common on older pushrod V8s and inline engines. These are usually a single, flat piece of material (cork, rubber, or composite).
- O-Ring Style Gaskets: Found in many modern overhead cam (OHC) engines, especially those with individual intake runners. These are circular rubber seals that fit into grooves on the manifold and head.
- Multi-Piece Gaskets: Some engines, particularly V-shaped engines with complex intake manifolds, use a collection of smaller gaskets for different sections.
Engine configuration also plays a huge role:
- Inline Engines (I4, I6): Generally simpler access to the intake manifold. The process is often more straightforward.
- V-Engines (V6, V8): Can be more challenging due to the manifold sitting deeper in the engine bay. Rear cylinders can be a pain to reach!
- Turbocharged/Supercharged Engines: These often have more complex intake systems with intercoolers and additional piping that needs to be removed.
The Job: A Step-by-Step Guide (General Principles)
While specifics will vary, these steps provide a solid foundation:
- Preparation is Key: Disconnect the negative battery cable. Gather your tools: socket set, wrenches, screwdrivers, torque wrench, gasket scraper, rags, and the new intake manifold gasket. Have a shop manual specific to your vehicle handy!
- Clear the Decks: Remove anything obstructing access to the intake manifold: air intake, throttle body, fuel lines (depressurize the fuel system first!), vacuum lines, sensors (MAP, MAF), and any wiring harnesses. Label everything clearly with masking tape and a marker to avoid confusion during reassembly.
- Drain Coolant (If Necessary): Some intake manifolds have coolant passages. Consult your shop manual. If required, drain the cooling system partially to avoid a coolant spill when the manifold is removed.
- Unbolt the Manifold: Loosen the intake manifold bolts in a reverse order of the tightening sequence (check your shop manual!). Work your way outwards from the center to prevent warping the manifold.
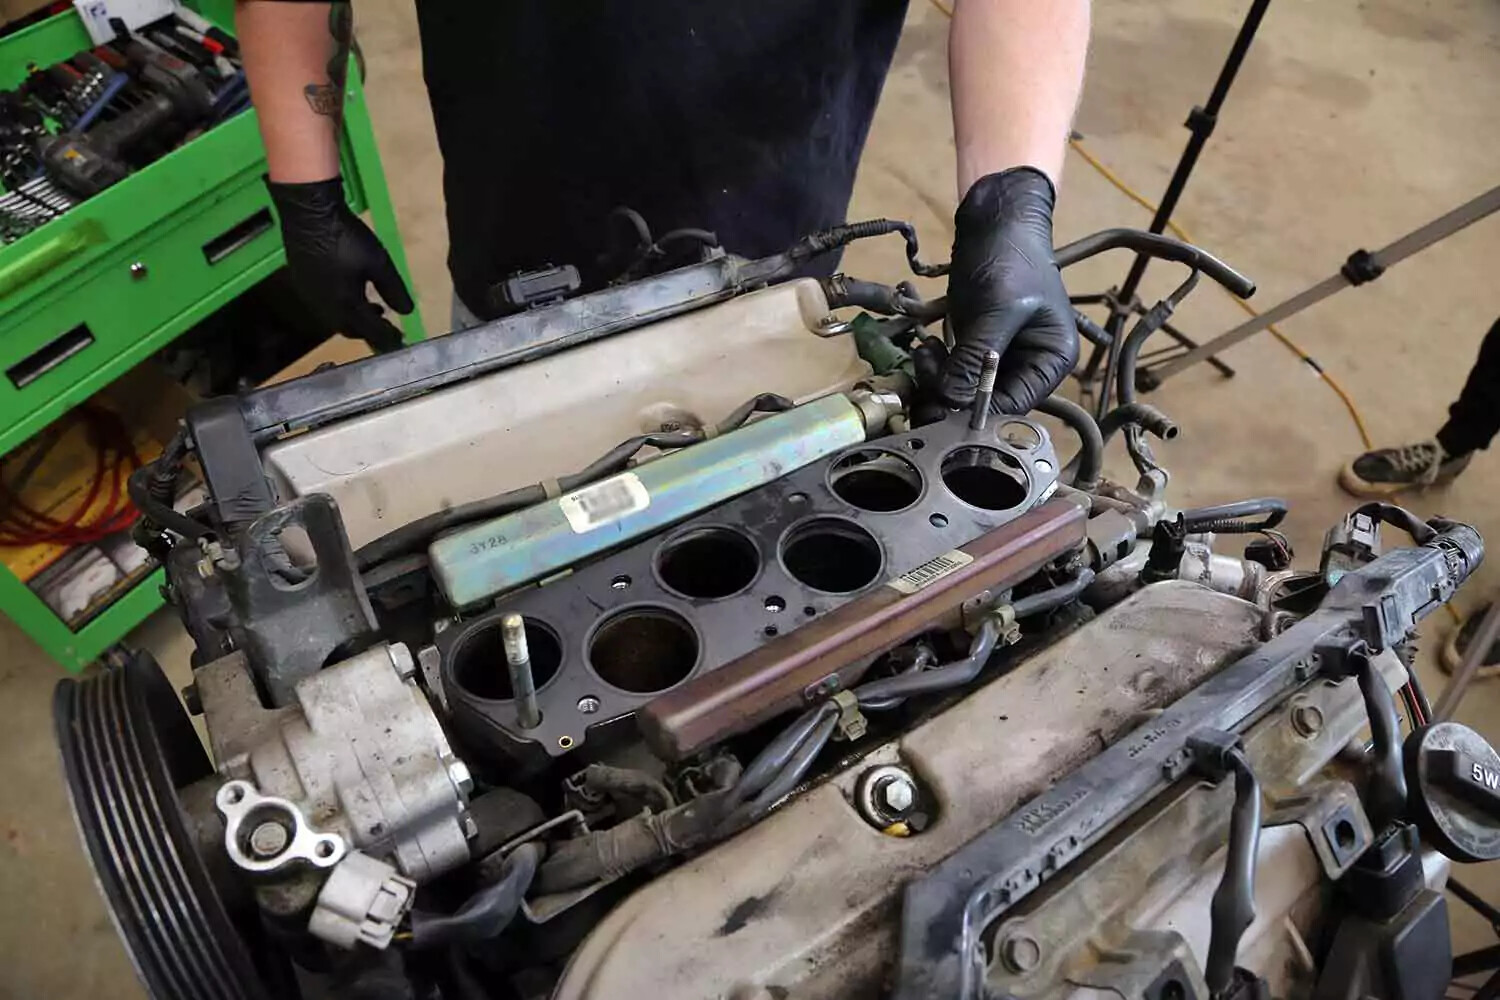
- Remove the Manifold: Gently wiggle the manifold to break the seal. Be careful not to damage any sensors or vacuum lines.
- Gasket Removal and Surface Prep: This is crucial! Scrape off all traces of the old gasket material from both the intake manifold and the cylinder head. Use a gasket scraper and solvent. A razor blade *can* be used, but with extreme caution to avoid gouging the surfaces. Cleanliness is paramount!
- Inspect the Manifold: Check the intake manifold for cracks, warpage, or other damage. A warped manifold won't seal properly even with a new gasket. Consider having it resurfaced by a machine shop if needed.
- Install the New Gasket: Position the new gasket on the cylinder head or intake manifold. Some gaskets require sealant (RTV). Consult your shop manual for specific instructions. Apply sealant sparingly – too much can be just as bad as not enough.
- Reinstall the Manifold: Carefully lower the intake manifold onto the cylinder head, aligning the bolt holes.
- Torque to Spec: Tighten the intake manifold bolts in the correct sequence and to the specified torque. Use a torque wrench! Over-tightening can damage the gasket or the manifold. Under-tightening leads to leaks.
- Reassemble: Reconnect all vacuum lines, fuel lines, sensors, wiring harnesses, throttle body, and air intake. Double-check everything against your labels.
- Refill Coolant (If drained): Refill the cooling system and bleed any air from the system.
- Reconnect Battery: Reconnect the negative battery cable.
- Start and Test: Start the engine and listen for any vacuum leaks. Monitor the engine temperature and check for coolant leaks.
Model-Specific Examples and Considerations
Ford 5.0L V8 (Fox Body Mustang Era)
These engines typically use a flat intake manifold gasket. Access is relatively good, making this a manageable DIY project. However, be mindful of the distributor location and vacuum line routing at the rear of the manifold.
BMW E46 3 Series (Inline 6)
The E46 often uses O-ring style gaskets for each intake runner. Access can be tighter due to the cramped engine bay. Disconnecting the fuel rail and injectors requires extra care. It's also crucial to properly clean the sealing surfaces on the intake manifold runners for a leak-free seal. Many owners replace the CCV system at the same time, since it's often located under the intake manifold.
LS Series GM V8 Engines
These engines are known for their robust design, but intake manifold gasket failures can still occur. The LS series often uses a flat intake gasket with integrated coolant passages. Be extremely careful when tightening the bolts to the specified torque, as the aluminum block can be easily damaged. A torque wrench is essential! Many aftermarket intake manifolds for LS engines use different gaskets, so be sure to use the correct one.
Tech Table: Common Gasket Materials and Considerations
| Gasket Material | Pros | Cons | Typical Applications |
|---|---|---|---|
| Cork | Inexpensive, good conformability to uneven surfaces | Prone to shrinking and cracking, less durable | Older engines, low-stress applications |
| Rubber | Good sealing properties, more durable than cork | Can deteriorate over time due to heat and oil exposure | Various applications, including fuel systems |
| Composite (Paper/Fiber) | Good resistance to heat and oil, relatively inexpensive | Can be susceptible to moisture damage | Intake manifolds, valve covers |
| Multi-Layer Steel (MLS) | Excellent sealing properties, very durable, resists blow-out | More expensive, requires very flat sealing surfaces | High-performance engines, turbocharged/supercharged applications |
Pros and Cons of DIY vs. Professional Installation
DIY:
- Pros: Cost savings, satisfaction of doing it yourself, learning experience.
- Cons: Time commitment, potential for mistakes, requires tools and mechanical knowledge, warranty implications (if applicable).
Professional Installation:
- Pros: Guaranteed workmanship, expertise, proper tools, warranty, saves time and hassle.
- Cons: Higher cost.
Real-World Driving Impressions After Replacement
A successful intake manifold gasket replacement often results in a noticeable improvement in engine performance. Expect a smoother idle, improved throttle response, better fuel economy, and a return of lost power. No more embarrassing stumbles at stoplights! However, if you still experience issues, double-check your work, look for vacuum leaks elsewhere, or consider the possibility of other underlying engine problems. Remember, a new gasket is just one piece of the puzzle.
Common Pitfalls and Pro Tips
- Over-Tightening Bolts: This is a common mistake that can damage the gasket or the manifold. Always use a torque wrench and follow the specified torque sequence.
- Not Cleaning Surfaces Properly: Residual gasket material will prevent the new gasket from sealing correctly. Take your time and ensure both surfaces are clean and smooth.
- Using the Wrong Gasket: Double-check the part number to ensure you have the correct gasket for your engine.
- Skipping the Shop Manual: The shop manual is your best friend. It contains detailed instructions, torque specifications, and diagrams specific to your vehicle.
- Pro Tip: Take pictures before and during disassembly. This will help you remember where everything goes during reassembly.
- Pro Tip: Consider replacing other wear items while you have the intake manifold off, such as vacuum lines, coolant hoses, and sensors.
Replacing an intake manifold gasket is a rewarding DIY project for the mechanically inclined. By understanding the principles, following the steps carefully, and paying attention to the details, you can save money and restore your engine's performance. But remember to always prioritize safety and consult a professional if you're unsure about any aspect of the repair.
Important Note: This is a general guide. Always consult your vehicle's repair manual for specific instructions and torque specifications.
"The bitterness of poor quality remains long after the sweetness of low price is forgotten." – Benjamin Franklin (Applies to cheap gaskets too!)
Now, let's spark a debate! Which is the most frustrating engine to replace an intake manifold gasket on: a transversely mounted V6 or a longitudinal inline-6? Sound off in the comments below!