How To Replace Led Headlights
Is your car's nighttime visibility not what it used to be? Are your LED headlights flickering, dimming, or completely out? You're not alone. LED headlights, while generally long-lasting, can sometimes fail, and replacing them is a repair many car owners can tackle themselves with the right guidance. This article will walk you through the process, helping you diagnose the problem and safely replace your LED headlights.
Diagnosing the Problem: Is it Really the LED Headlight?
Before you rush into replacing the LED headlight, it's important to be certain that's the actual issue. Modern vehicle lighting systems are more complex than they used to be. Here's a checklist to help you pinpoint the problem:
- Check the Obvious: Is the headlight completely out, or is it just dimmer than the other side? A completely dead headlight is the most obvious indicator.
- Inspect for Damage: Look for cracks or breaks in the headlight housing. Water ingress can damage the LED and its control circuitry.
- Test the Connection: Gently wiggle the connector leading to the headlight. If the light flickers or comes on momentarily, you likely have a loose connection. Cleaning the connector with electrical contact cleaner might solve the issue.
- Check Fuses and Relays: Consult your owner's manual to locate the headlight fuse and relay. A blown fuse is a common cause of a dead headlight and is a cheap and easy fix. Swap the relay with an identical one from another system (like the horn relay) to see if that resolves the issue. If it does, replace the original relay.
- Consider the Control Module: Some vehicles have a dedicated headlight control module. While less common, a faulty module can cause headlight issues. Diagnosing this often requires specialized equipment and might be best left to a professional.
Important Note: If you've ruled out the obvious issues and suspect a more complex problem like a faulty control module or wiring harness issue, it's best to consult a qualified mechanic. Electrical problems can be tricky and potentially dangerous to troubleshoot without the proper knowledge and equipment.
Gathering Your Supplies: Tools and Parts
If you've determined that the LED headlight itself is the culprit, here's what you'll need to replace it:
- New LED Headlight: This is the most important part! Make sure you get the correct type for your vehicle. Consult your owner's manual or an online parts catalog to find the exact replacement part number. Provide your VIN number to the parts supplier to ensure accurate fitment. Consider purchasing from a reputable brand to ensure quality and longevity.
- Socket Set or Wrenches: The specific size will depend on your vehicle, but a basic socket set with various sizes will usually suffice.
- Screwdrivers: Both Phillips head and flathead screwdrivers may be needed to remove trim pieces or fasteners.
- Trim Removal Tools (Optional but Recommended): These plastic tools help you remove interior trim pieces without scratching or damaging them.
- Gloves: To protect your hands from dirt and grime.
- Work Light: To provide ample illumination, especially if you're working in a dimly lit garage.
- Safety Glasses: To protect your eyes from debris.
- Electrical Contact Cleaner: To clean the headlight connector.
- Dielectric Grease: To protect the new headlight connector from corrosion.
- Owner's Manual: Contains valuable information about your vehicle, including headlight replacement procedures.
Approximate Cost of Parts: LED headlights can range in price from $50 to $500+ per headlight, depending on the vehicle make, model, and the quality of the replacement part. It's worth spending a bit more for a reputable brand, as a cheaper headlight might not last as long or provide the same level of illumination.
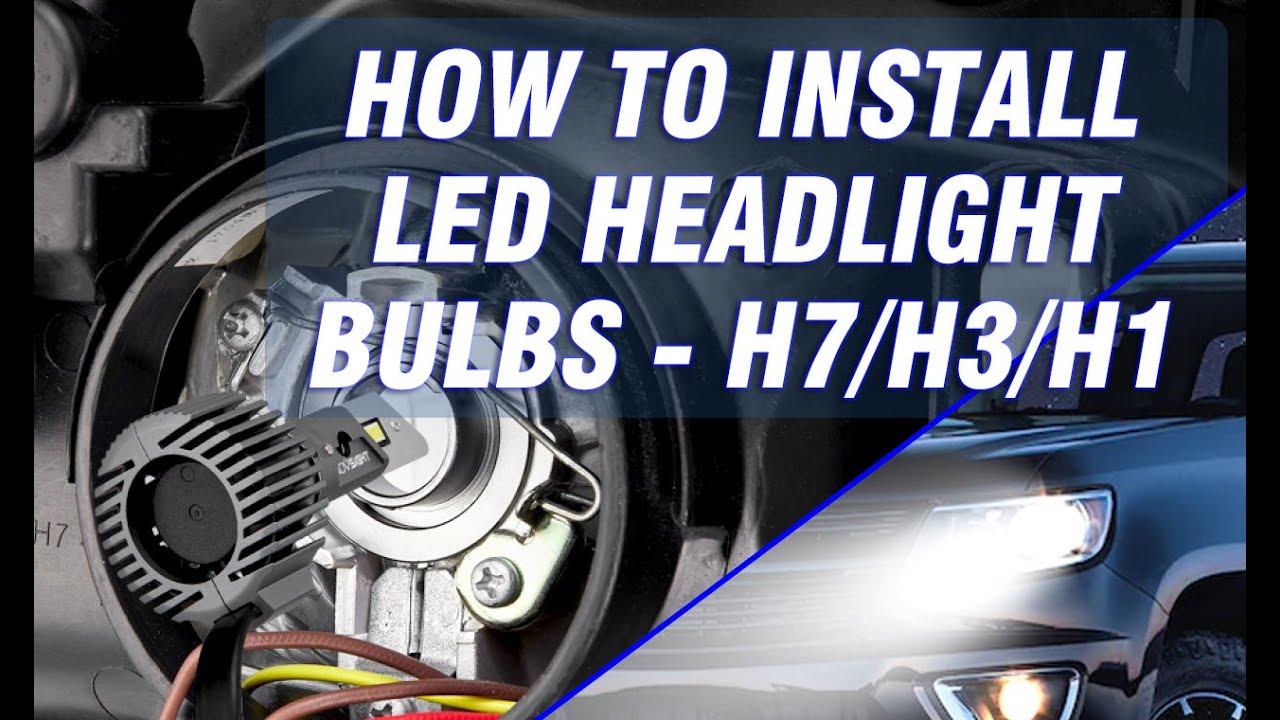
Step-by-Step Guide: Replacing Your LED Headlight
Safety First! Before you begin, disconnect the negative terminal of your car battery. This will prevent any accidental electrical shocks. Make sure the car is parked on a level surface and the parking brake is engaged.
- Accessing the Headlight: This is often the most challenging part. Some vehicles allow you to access the headlight assembly directly from the engine bay by removing a few screws or clips. Others may require you to remove the entire headlight housing, which could involve removing the grille or bumper. Consult your owner's manual or search online for vehicle-specific instructions. YouTube is a great resource for visual guides.
- Disconnecting the Electrical Connector: Once you have access to the headlight, locate the electrical connector. Gently press the release tab and pull the connector straight out. Do not pull on the wires themselves. Inspect the connector for any signs of corrosion or damage. Clean it with electrical contact cleaner if necessary.
- Removing the Old LED Headlight: The LED headlight is typically held in place by a retaining clip or screws. The method varies greatly between vehicle designs. Some might involve a simple twist-and-lock mechanism, while others require unscrewing a retaining bracket. Pay close attention to how the old headlight is installed so you can install the new one correctly.
- Installing the New LED Headlight: Align the new LED headlight with the opening and secure it using the retaining clip or screws. Make sure it's properly seated and locked in place.
- Connecting the Electrical Connector: Apply a small amount of dielectric grease to the terminals of the electrical connector. This will help prevent corrosion and ensure a good connection. Push the connector firmly into the headlight until it clicks into place.
- Reassembling the Headlight Housing (if necessary): If you had to remove the headlight housing to access the headlight, carefully reinstall it, making sure all screws and clips are securely fastened.
- Testing the New Headlight: Reconnect the negative terminal of your car battery. Turn on the headlights to make sure the new headlight is working properly. Check both low beam and high beam.
- Adjusting the Headlight Aim (if necessary): After replacing a headlight, it's important to check the headlight aim to ensure proper visibility and avoid blinding oncoming drivers. Most vehicles have adjustment screws located on the headlight housing. You can adjust the aim vertically and horizontally. There are several online resources that provide instructions on how to properly aim your headlights. Some auto parts stores or repair shops will also offer headlight aiming services.
Troubleshooting Common Issues
- Headlight Doesn't Work After Installation: Double-check that the electrical connector is properly connected and that the headlight is securely seated. Check the fuse again to make sure it hasn't blown. If the issue persists, the new headlight might be defective.
- Headlight Flickers: This could indicate a loose connection or a faulty headlight. Check the connector and the wiring harness for any signs of damage.
- Headlight Aim is Incorrect: Adjust the headlight aim using the adjustment screws on the headlight housing. Consult an online guide or have a professional adjust the aim for you.
Pro Tip: Take pictures during the removal process, especially of how the retaining clips and screws are positioned. This will help you remember how to put everything back together correctly.
When to Call a Professional
While replacing LED headlights is a task that many car owners can handle, there are situations where it's best to seek professional help:
- You're Uncomfortable Working on Your Car: If you're not comfortable working on your car's electrical system or you're unsure about any of the steps involved, it's best to leave the job to a professional.
- The Headlight Housing is Difficult to Access: Some vehicles require extensive disassembly to access the headlight housing, which can be time-consuming and challenging.
- You Suspect a More Complex Electrical Problem: If you've ruled out a faulty headlight and suspect a problem with the wiring harness, control module, or other electrical components, it's best to consult a qualified mechanic.
Approximate Labor Costs: If you decide to have a professional replace your LED headlight, expect to pay between $50 and $200 in labor, depending on the complexity of the job and the labor rates in your area. Be sure to get a quote from several shops before committing to the repair.
Replacing an LED headlight can seem daunting, but with the right tools, knowledge, and a little patience, it's a task that many car owners can successfully complete. By following the steps outlined in this article, you can save money on labor costs and restore your car's nighttime visibility. Remember to prioritize safety and don't hesitate to seek professional help if you're unsure about any of the steps involved.