How To Replace Slave Cylinder
The humble slave cylinder, often overlooked until it fails, is a critical component in a hydraulically actuated clutch system. Its job is simple: to translate the hydraulic pressure generated by the master cylinder into mechanical movement, disengaging the clutch and allowing you to shift gears. When it malfunctions, shifting becomes difficult, noisy, or even impossible. Understanding the function and replacement process of the slave cylinder can empower you to tackle this repair yourself, saving money and gaining valuable automotive knowledge.
Understanding the Clutch Hydraulic System
Before diving into the replacement process, let's briefly examine how the clutch hydraulic system works. Imagine a closed hydraulic circuit with two cylinders connected by a line. One cylinder, the master cylinder, is actuated by your foot via the clutch pedal. When you depress the pedal, the master cylinder pushes hydraulic fluid through the line. This pressure travels to the other cylinder, the slave cylinder, which is mounted near the transmission. The slave cylinder, in turn, pushes on a lever (typically a fork) that acts on the clutch release bearing, ultimately disengaging the clutch. Releasing the pedal allows the fluid to flow back, engaging the clutch.
Common slave cylinder failure symptoms include:
- Difficulty shifting gears.
- A soft or spongy clutch pedal.
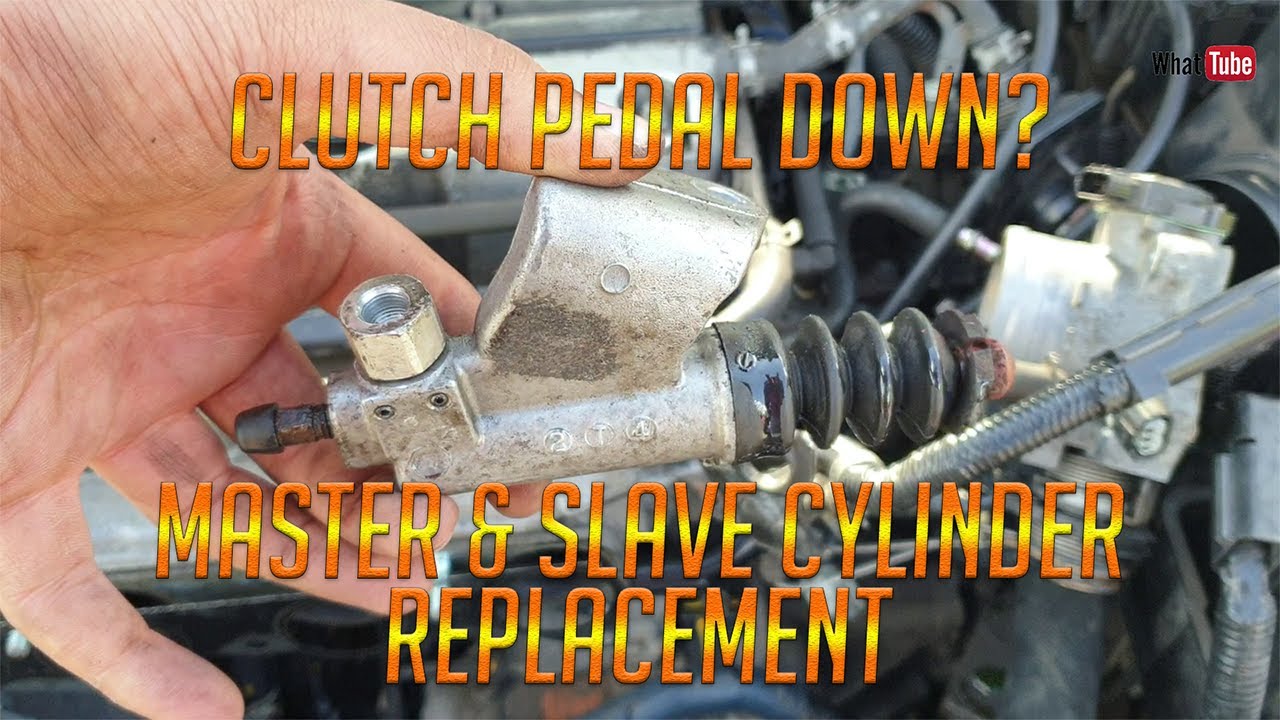
- Clutch pedal sticking to the floor.
- Fluid leaks near the transmission.
- Noise coming from the clutch area.
These symptoms can also indicate other issues within the clutch system, such as a faulty master cylinder or a leaking clutch line. However, a leaking or non-functional slave cylinder is a common culprit.
Tools and Materials Required
Replacing a slave cylinder requires a relatively modest set of tools and materials. Here's a list:
- New slave cylinder (ensure it's the correct part for your vehicle).
- Wrench set (metric or SAE, depending on your vehicle).
- Flare nut wrenches (highly recommended for brake lines and hydraulic fittings).
- Socket set (metric or SAE, depending on your vehicle).
- Brake fluid (DOT 3 or DOT 4, check your vehicle's specifications).
- Catch pan or container.
- Rags or shop towels.
- Jack and jack stands.
- Wheel chocks.
- Penetrating oil (if bolts are rusted).
- Brake bleeder wrench or bleeder kit (optional, but helpful).
- Safety glasses.
- Gloves.
Step-by-Step Replacement Procedure
Safety First! Always prioritize safety. Use wheel chocks to prevent the vehicle from rolling, and support the vehicle securely with jack stands before working underneath it.
1. Preparation
a. Secure the Vehicle: Place wheel chocks behind the rear wheels. Loosen the lug nuts on the front wheels. Jack up the front of the vehicle and securely support it with jack stands. Remove the front wheels.
b. Locate the Slave Cylinder: The slave cylinder is typically located on the side of the transmission, near where the transmission bolts to the engine. It will be connected to the clutch fork by a pushrod and to the hydraulic line.
c. Inspect the Area: Before disconnecting anything, inspect the area around the slave cylinder. Note the routing of the hydraulic line and the position of the pushrod. Look for any signs of leaks or damage.
2. Disconnecting the Hydraulic Line
a. Prepare a Catch Pan: Place a catch pan under the slave cylinder to collect any spilled brake fluid. Brake fluid is corrosive and can damage paint, so be careful to avoid spills.
b. Loosen the Fitting: Use a flare nut wrench to loosen the hydraulic line fitting at the slave cylinder. Flare nut wrenches are designed to grip the fitting on multiple sides, reducing the risk of rounding it off. If the fitting is stuck, apply penetrating oil and let it soak for a few minutes.
c. Disconnect the Line: Once the fitting is loose, carefully disconnect the hydraulic line. Be prepared for brake fluid to leak out. Cap the end of the line (a small piece of plastic wrap and a rubber band will work) to prevent further fluid loss and contamination of the hydraulic system.
Warning: Brake fluid is harmful. Avoid contact with skin and eyes. Wear safety glasses and gloves.
3. Removing the Slave Cylinder
a. Disconnect the Pushrod: The pushrod connects the slave cylinder to the clutch fork. It may be held in place by a clip, a pin, or simply by friction. Carefully disconnect the pushrod from the clutch fork.
b. Remove the Mounting Bolts: The slave cylinder is typically held in place by two or three bolts. Use a wrench or socket to remove these bolts. Some bolts may be difficult to access, so be patient and use the appropriate tools.
c. Remove the Slave Cylinder: Once the bolts are removed, carefully remove the slave cylinder from the transmission.
4. Installing the New Slave Cylinder
a. Inspect the New Cylinder: Before installing the new slave cylinder, inspect it for any damage. Make sure the pushrod is properly installed and that the bleeder screw (if present) is closed.
b. Install the Slave Cylinder: Position the new slave cylinder in the same location as the old one. Align the mounting holes and install the mounting bolts. Tighten the bolts to the manufacturer's specified torque (refer to your vehicle's repair manual).
c. Connect the Pushrod: Connect the pushrod to the clutch fork, ensuring it's securely attached.
d. Connect the Hydraulic Line: Carefully connect the hydraulic line to the slave cylinder. Tighten the fitting using a flare nut wrench. Again, refer to your vehicle's repair manual for the correct torque specification.
5. Bleeding the Clutch System
Bleeding the clutch system is essential after replacing the slave cylinder. This removes air from the hydraulic lines, ensuring proper clutch operation.
a. Locate the Bleeder Screw: The bleeder screw is typically located on the slave cylinder. It's a small screw with a conical tip.
b. Attach a Bleeder Hose: Attach a clear hose to the bleeder screw. Place the other end of the hose in a container filled with brake fluid. This prevents air from being drawn back into the system.
c. Open the Bleeder Screw: Have an assistant slowly depress the clutch pedal. While the pedal is depressed, open the bleeder screw. Air and fluid will flow through the hose into the container.
d. Close the Bleeder Screw: Before your assistant releases the clutch pedal, close the bleeder screw. This prevents air from being sucked back into the system.
e. Repeat: Repeat steps c and d until no more air bubbles appear in the fluid flowing through the hose. Be sure to check the brake fluid level in the master cylinder reservoir frequently and top it off as needed.
f. Final Check: Once you're confident that all the air has been bled from the system, tighten the bleeder screw securely. Remove the hose.
6. Final Steps and Testing
a. Clean Up: Clean up any spilled brake fluid.
b. Reinstall the Wheels: Reinstall the front wheels and tighten the lug nuts to the manufacturer's specified torque.
c. Lower the Vehicle: Carefully lower the vehicle to the ground.
d. Test the Clutch: Start the engine and test the clutch. Make sure you can shift smoothly through all the gears. If the clutch still feels spongy or if you have difficulty shifting, repeat the bleeding process.
Troubleshooting Tips
Even with careful attention to detail, problems can sometimes arise during the slave cylinder replacement process. Here are a few troubleshooting tips:
- Difficulty Loosening Fittings: If fittings are stubborn, use penetrating oil and let it soak for several minutes. Avoid using excessive force, as this can damage the fittings.
- Rounded-Off Fittings: If you accidentally round off a fitting, use a specialized socket designed for rounded-off nuts and bolts.
- Persistent Air in the System: If you're having trouble bleeding the system, check for leaks in the hydraulic lines and connections. You may also need to bench bleed the master cylinder.
- Spongy Clutch Pedal: A spongy clutch pedal can indicate air in the system, a faulty master cylinder, or a leak in the hydraulic lines.
Replacing a slave cylinder is a manageable task for the DIY mechanic with some patience and the right tools. By understanding the principles of the clutch hydraulic system and following these steps carefully, you can restore smooth shifting to your vehicle and save money on professional repair costs. Remember to always prioritize safety and consult your vehicle's repair manual for specific instructions and torque specifications.