How To Test Auto Ac For Leaks
Summer's here, and if your car's AC is blowing warmer than a hairdryer on low, you've probably got a refrigerant leak. Tracking down these invisible escape artists can feel like chasing ghosts, but with a little know-how and the right tools, you can diagnose the problem and save yourself a bundle compared to a shop visit. This isn't a complete repair guide, but a DIY focused diagnostic approach, and when in doubt, always consult a professional.
The Usual Suspects: Common AC Leak Locations
Before you grab your tools, understand where AC systems are most vulnerable. Think of it like knowing the hotspots on a track – that's where accidents are most likely.
- Condenser: Located at the front of the car, it's bombarded with road debris and can suffer punctures. Look for oily residue or damage to the fins. Especially prone to damage in cars with low front bumpers and minimal grill protection.
- Compressor: The heart of the system, leaks often occur around the seals and fittings. Listen for unusual noises (grinding, squealing) that might indicate compressor distress leading to leaks. Variable displacement compressors, common in modern cars, are often more complex and potentially more prone to internal leaks.
- Evaporator: Buried deep inside the dashboard, leaks here are trickier to spot. A musty odor coming from the vents is a telltale sign. Access is often labor-intensive, requiring significant dashboard disassembly. Cars with automatic climate control and complex ducting are typically more difficult to access than those with manual systems.
- Hoses and Fittings: These are subject to age, vibration, and corrosion. Check for cracks, bulges, and oily residue around connections. Vehicles subjected to harsh winters and road salt are particularly susceptible to corrosion at hose fittings.
- Service Ports (Schrader Valves): These can leak over time, especially if they've been frequently used.
Tools of the Trade: From Basic to Advanced
Your toolkit will depend on how deeply you want to dive into diagnostics. Here's a rundown, ranging from budget-friendly to professional-grade:
- UV Dye and UV Light: A budget-friendly starting point. Inject dye into the system, run the AC, and use a UV light to trace leaks. Works best for moderate to larger leaks. Small leaks can be difficult to detect.
- Electronic Leak Detector: More sensitive than UV dye, it sniffs for refrigerant in the air. Requires careful calibration and can be fooled by other chemicals.
- Refrigerant Manifold Gauge Set: Measures system pressures, providing clues about the location and severity of the leak. Essential for diagnosing system performance, but requires knowledge of AC system operation and proper pressure readings.
- Vacuum Pump: Used to evacuate the system before recharging, also helps identify large leaks by observing vacuum decay. Essential for proper AC system repair and ensuring long-term performance.
- Nitrogen Tank and Regulator: For pressure testing the system with inert nitrogen, a safer alternative to refrigerant for leak detection. Recommended for experienced DIYers or professionals.
Spec Table: Leak Detection Tools
| Tool | Cost | Sensitivity | Pros | Cons |
|---|---|---|---|---|
| UV Dye & Light | $20-50 | Low-Medium | Affordable, easy to use | Can be messy, less effective for small leaks |
| Electronic Leak Detector | $50-200 | Medium-High | More sensitive than UV dye, pinpoint accuracy | Requires calibration, can be sensitive to other chemicals |
| Manifold Gauge Set | $50-300 | Indirect (Pressure Readings) | Diagnoses system performance, identifies pressure issues | Requires knowledge of AC systems, doesn't directly find leaks |
| Vacuum Pump | $80-400 | Indirect (Vacuum Decay) | Identifies large leaks, essential for system repair | Doesn't pinpoint leak location, requires vacuum decay test |
| Nitrogen Tank & Regulator | $150-500 | High (Pressure Testing) | Safe and effective for pressure testing | Requires specialized equipment and knowledge |
Step-by-Step Leak Detection: A Practical Guide
Let's walk through the most common methods, starting with the basics:
- Visual Inspection: Pop the hood and meticulously inspect all AC components. Look for oily residue, damaged fins on the condenser, and corroded fittings. Pay close attention to the compressor, hoses, and connections. A bright flashlight and a clean engine bay are your friends here.
- The Soapy Water Test (For Fittings): Mix dish soap with water and spray around fittings and connections. Bubbles indicate a leak. A simple but effective method for finding small leaks at connections.
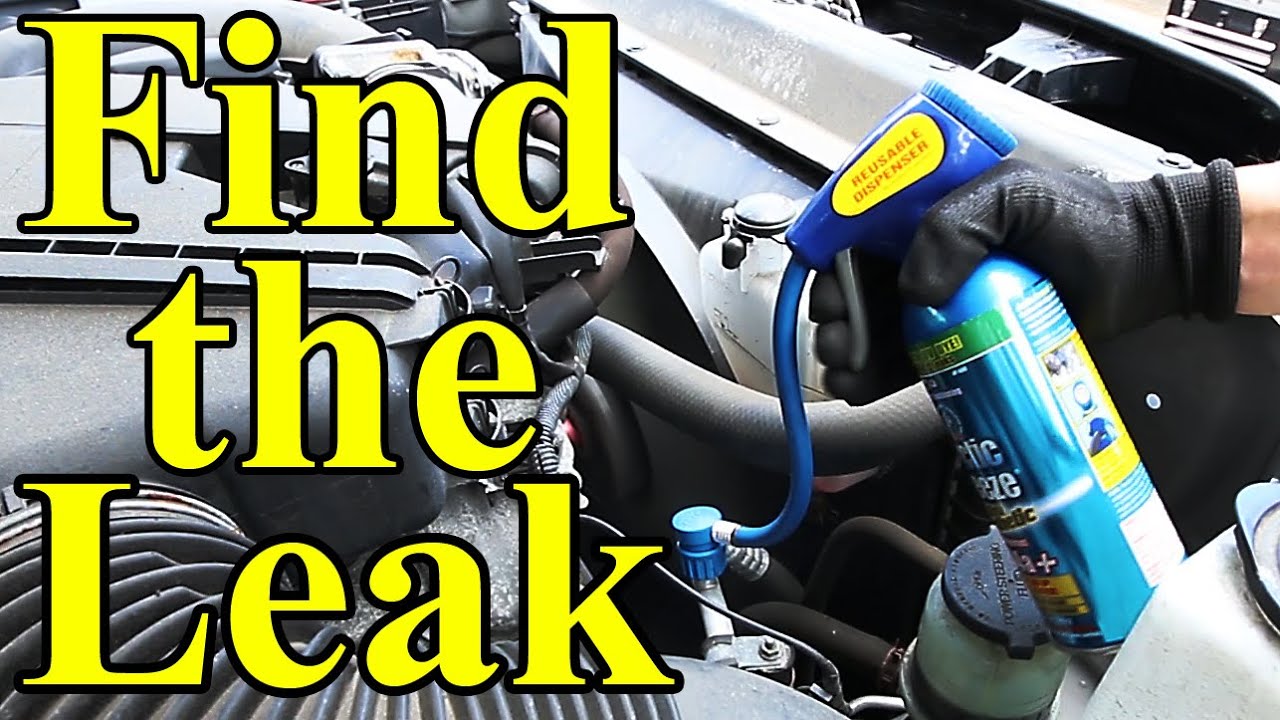
- UV Dye and UV Light:
- Purchase AC UV dye and an injector. Many kits are available at auto parts stores.
- Connect the injector to the low-pressure service port (usually marked with a "L" and a blue cap).
- Inject the dye into the system.
- Run the AC for 15-30 minutes to circulate the dye.
- Use the UV light to scan the AC components in a darkened environment. Leaks will appear as glowing yellow or green spots.
- Electronic Leak Detector:
- Calibrate the detector according to the manufacturer's instructions.
- Slowly move the probe around AC components, paying close attention to fittings, hoses, and the compressor.
- The detector will beep or display a reading when it detects refrigerant.
- Be patient and methodical. Drafts and wind can affect the detector's accuracy.
- Pressure Testing (with Manifold Gauge Set):
- Connect the manifold gauge set to the high- and low-pressure service ports.
- Start the engine and turn on the AC.
- Observe the pressure readings. Low pressure on the low side and/or high pressure on the high side can indicate a leak, blockage, or other system problems. Consult a repair manual or online resources for proper pressure readings for your specific vehicle.
- This method requires a good understanding of AC system operation. If you're unsure, consult a professional.
- Vacuum Test:
- Connect a vacuum pump to the AC system.
- Evacuate the system to the recommended vacuum level (typically 28-30 inches of mercury).
- Close the valves on the manifold gauge set and turn off the vacuum pump.
- Observe the vacuum gauge. If the vacuum drops rapidly, it indicates a significant leak. A slow drop may indicate a smaller leak.
Model-Specific Considerations
AC systems vary considerably between makes and models. Here's where it gets interesting:
- Older Cars (Pre-1994): Often used R-12 refrigerant, which is now illegal to use (unless you have the proper certification and existing stock). Retrofitting to R-134a is common, but can introduce new leak points if not done correctly. Pay extra attention to the condition of hoses and O-rings, as they may not be compatible with R-134a.
- European Cars (BMW, Mercedes, Audi): Tend to have more complex AC systems with multiple sensors and control modules. Leaks can be more difficult to diagnose due to the integrated nature of the system. Specialized scan tools may be required to access AC system data and diagnose problems.
- Hybrid and Electric Vehicles: Use special refrigerants (like R-1234yf) that are more environmentally friendly, but can be more expensive and require specialized equipment. High-voltage components are also present, so caution is advised when working on the AC system.
- Cars with Rear AC: Have longer refrigerant lines, increasing the potential for leaks along the entire length of the vehicle. Inspect the rear AC unit and lines carefully for signs of damage or leaks.
Real-World Driving Impressions & Leak Effects
Beyond the technical aspects, consider the driving experience. A small leak might initially manifest as slightly warmer air on very hot days. A larger leak will result in consistently weak or non-existent cooling. You might also notice the compressor cycling on and off more frequently as the system struggles to maintain pressure. Listen for unusual noises from the compressor, as it may be working harder than it should.
My personal experience with a '98 Honda Civic: A pinhole leak in the condenser (courtesy of a rogue rock) resulted in a gradual loss of cooling over a few weeks. Initially, the AC worked fine on cooler days, but struggled in direct sunlight. Eventually, the system stopped cooling altogether. Replacing the condenser was a straightforward DIY job, but required evacuating and recharging the system, which I had done professionally.
A Word of Caution
Refrigerant can be harmful to the environment and potentially hazardous to your health. Always wear gloves and eye protection when working on AC systems. Discharging refrigerant into the atmosphere is illegal. If you're uncomfortable working with refrigerant, it's best to leave the job to a qualified technician.
Key takeaway: AC diagnostics are a process of elimination. Start with the simple checks and gradually move towards more complex procedures. Document your findings along the way to help narrow down the source of the leak.
So, there you have it – a comprehensive guide to tracking down AC leaks. Now, for the fun part: Do you prefer UV dye or an electronic leak detector? Let the debate begin!