Knock Sensor 1 Circuit Bank 1
The modern internal combustion engine is a marvel of engineering, a finely tuned orchestra of controlled explosions working in harmony. But what happens when one of those explosions goes rogue? That's where the knock sensor comes in, specifically Knock Sensor 1 Circuit Bank 1, the focus of our deep dive today. We’ll explore its function, construction, and troubleshooting techniques, giving you a solid understanding of this critical engine component.
What is "Knock" and Why is it Bad?
Before we delve into the sensor itself, let's understand what it's trying to detect: detonation, often referred to as "knock" or "pinging." Detonation is an uncontrolled, spontaneous combustion of the air-fuel mixture in the cylinder after the spark plug has already initiated the normal combustion process. Think of it like a second, unwanted explosion occurring simultaneously with the primary one. This creates pressure waves that collide with the cylinder walls, producing a characteristic metallic "knocking" sound.
Why is this bad? Detonation subjects engine components to extreme stress. Repeated occurrences can lead to:
- Piston damage: Including cracked pistons, broken ring lands, and even complete piston failure.
- Connecting rod damage: Bent or broken connecting rods are a common consequence of severe detonation.
- Cylinder head damage: Cracked cylinder heads and damaged valves can result from the intense pressure spikes.
- Bearing damage: Main and connecting rod bearings can be damaged by the abnormal loads.
- Reduced engine lifespan: Even if the engine doesn't suffer a catastrophic failure, persistent knock will accelerate wear and tear, shortening its lifespan.
Several factors can contribute to knock, including:
- Low octane fuel: Fuel with a lower octane rating is more prone to detonation under pressure.
- Excessive engine temperature: High engine temperatures increase the likelihood of spontaneous combustion.
- High compression ratio: Engines with higher compression ratios are more susceptible to knock.
- Lean air-fuel mixture: A lean mixture burns hotter, increasing the risk of detonation.
- Advanced ignition timing: Firing the spark plug too early can lead to knock.
- Carbon buildup in the combustion chamber: Carbon deposits can create hot spots that ignite the mixture prematurely.
The Knock Sensor: An Acoustic Detective
The knock sensor's job is to "listen" for the telltale frequencies associated with detonation. It's essentially a small microphone bolted to the engine block or cylinder head, constantly monitoring vibrations. Most modern knock sensors utilize a piezoelectric element.
Piezoelectric Effect: This is the key principle behind how the knock sensor works. Piezoelectric materials generate an electrical charge when subjected to mechanical stress or pressure. Conversely, they deform when an electrical voltage is applied to them. In a knock sensor, the vibration caused by engine knock applies pressure to the piezoelectric element. This pressure generates a small AC voltage signal that varies in amplitude and frequency depending on the intensity of the knock.
Knock Sensor 1 Circuit Bank 1: Deciphering the Code
The designation "Knock Sensor 1 Circuit Bank 1" tells us a few important things:
- Knock Sensor 1: This indicates the primary or first knock sensor in the engine's configuration. Some engines, particularly V-shaped engines, may have multiple knock sensors for greater accuracy and coverage.
- Bank 1: This refers to one side of the engine, typically in a V-type or horizontally opposed engine configuration. Bank 1 is usually the bank containing cylinder #1. In an inline engine, which has only one bank of cylinders, this distinction is often irrelevant, but the terminology persists.
- Circuit: This refers to the wiring and connections associated with the knock sensor. Problems within the circuit – such as broken wires, loose connections, or corrosion – can prevent the sensor from functioning correctly.
The Engine Control Unit (ECU) continuously monitors the voltage signal produced by the knock sensor. In normal operation, the sensor output will be a relatively low voltage signal. When detonation occurs, the amplitude and frequency of the signal will increase. The ECU is programmed with a threshold. If the knock sensor signal exceeds this threshold, the ECU interprets this as knock and initiates corrective action.
How the ECU Responds to Knock
When the ECU detects knock, it typically takes the following actions to protect the engine:
- Retarding Ignition Timing: This is the most common and effective method of knock control. Retarding the ignition timing means firing the spark plug later in the combustion cycle. This reduces cylinder pressure and temperature, mitigating the risk of detonation. The ECU will usually retard timing incrementally until the knock ceases.
- Adjusting Air-Fuel Mixture: In some cases, the ECU may also enrich the air-fuel mixture. A richer mixture has a cooling effect, which can also help prevent knock.
- Limiting Boost Pressure (in turbocharged engines): For turbocharged engines, the ECU might reduce the turbocharger's boost pressure. Lower boost means lower cylinder pressure, thus decreasing the likelihood of knock.
These actions are usually performed in real-time, creating a closed-loop feedback system that constantly adapts to changing driving conditions. However, repeatedly correcting for knock through timing retardation results in reduced engine performance and fuel economy. Addressing the underlying cause of the knock is the ideal solution.
Troubleshooting Knock Sensor 1 Circuit Bank 1
A malfunctioning knock sensor or its circuit can trigger a diagnostic trouble code (DTC), such as P0325, which typically indicates a problem with the knock sensor 1 circuit in bank 1. Here's a breakdown of common issues and troubleshooting steps:
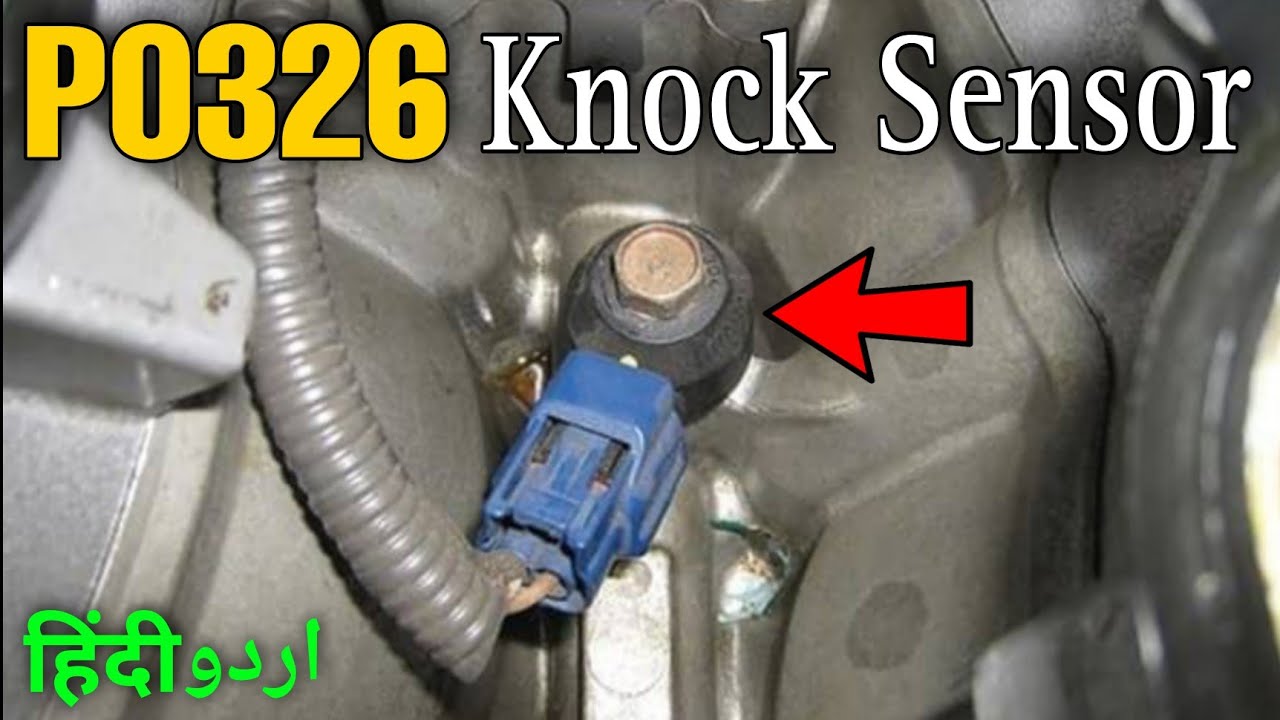
- Visual Inspection: Start with a thorough visual inspection of the knock sensor, its wiring, and connectors. Look for:
- Damaged wiring: Check for frayed, cracked, or broken wires.
- Loose connections: Ensure that all connectors are securely plugged in.
- Corrosion: Inspect connectors for signs of corrosion. Clean or replace corroded connectors as needed.
- Damaged sensor: Look for cracks or other physical damage to the sensor itself.
Note: Some knock sensors are located in hard-to-reach areas. You may need to remove other components to access them.
- Testing the Sensor:
- Resistance Test: Use a multimeter to measure the resistance across the knock sensor terminals. Consult the vehicle's service manual for the correct resistance value. A resistance reading that is significantly outside the specified range indicates a faulty sensor.
- Voltage Test: With the engine running, use a multimeter to measure the AC voltage output of the sensor. Gently tap the engine block near the sensor (with a rubber mallet, for example). You should see a corresponding increase in voltage. If the voltage doesn't change, the sensor may be faulty. Note that this test requires careful interpretation as engine noise can also influence the reading.
- Testing the Wiring:
- Continuity Test: Use a multimeter to check the continuity of the wiring between the knock sensor connector and the ECU connector. This confirms that there are no breaks or open circuits in the wiring.
- Short-to-Ground Test: Use a multimeter to check for shorts to ground in the wiring. This confirms that the wiring is not making unintended contact with the vehicle's chassis.
- Check for Other Codes: Knock sensor codes can sometimes be secondary to other engine problems. Address any other DTCs before focusing solely on the knock sensor. For example, a lean running condition due to a faulty oxygen sensor can cause knock.
- Consult Service Information: Always refer to the vehicle-specific service manual or repair database for detailed troubleshooting procedures, wiring diagrams, and component specifications.
Replacement Considerations
If the knock sensor is found to be faulty, replacement is typically the best course of action. When replacing a knock sensor:
- Use a Quality Replacement Part: Opt for a reputable brand and ensure that the replacement sensor is compatible with your vehicle.
- Torque to Specification: The knock sensor must be torqued to the manufacturer's specified torque value. Overtightening or undertightening can affect its sensitivity.
- Clean Mounting Surface: Ensure that the mounting surface on the engine block or cylinder head is clean and free of debris. This ensures good contact between the sensor and the engine.
Understanding the role of the knock sensor 1 circuit bank 1, its function, and potential problems can empower you to diagnose and address issues effectively. Remember to always consult service information and exercise caution when working on automotive electrical systems.