Large Leak In The Evap System
Okay, so you're dealing with a dreaded "Large Leak in the EVAP System" error code. It's a common problem, but can be a pain to diagnose. Don't worry, we'll break it down. This isn't just about clearing the code; it's about understanding why it's there and fixing the root cause.
First off, let's be clear: a "large leak" means the Engine Control Unit (ECU) is detecting a significant breach in the Evaporative Emission Control (EVAP) system. This system is designed to prevent fuel vapors from escaping into the atmosphere. It's a closed loop, and the ECU monitors its pressure to ensure it's sealed. When it detects a pressure drop outside the acceptable range, bam – the dreaded code pops up.
Understanding the EVAP System Components
To diagnose a large leak, you need to know the players. Here are the key components:
- Fuel Tank: Holds the gasoline and, crucially, its vapors.
- Fuel Cap: Seems simple, but a faulty fuel cap is the #1 cause of EVAP leak codes! It needs to seal tightly.
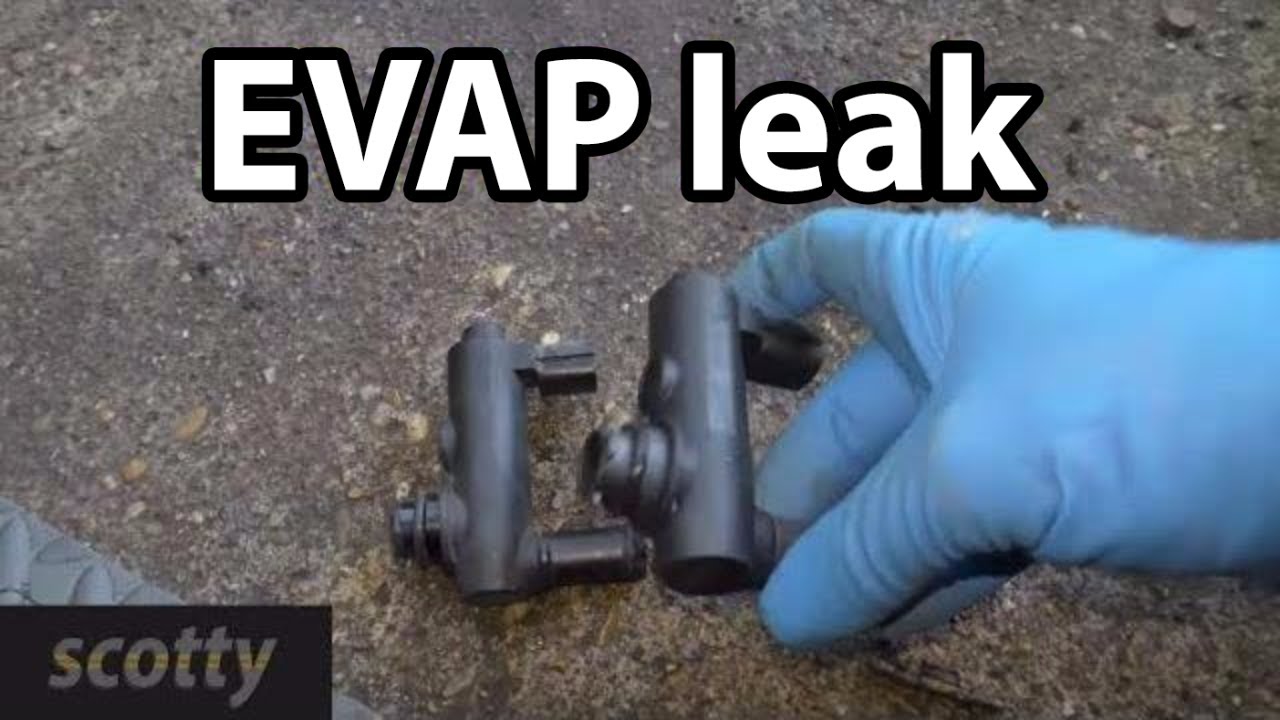
- Canister: Usually a charcoal-filled container that stores fuel vapors until the engine is ready to burn them. Think of it like a sponge for gasoline fumes.
- Canister Vent Valve (CVV): Controls airflow into the canister. It's typically normally open, allowing fresh air to enter, but closes during EVAP system tests. If it sticks open, you've got a leak.
- Purge Valve (or Canister Purge Solenoid): Controls the flow of fuel vapors from the canister to the intake manifold to be burned during normal engine operation. This is usually normally closed and opens when the ECU commands it. A faulty purge valve that's stuck open can cause a large leak, especially at idle.
- Fuel Tank Pressure Sensor (FTPS): Monitors the pressure inside the fuel tank. The ECU uses this data to perform EVAP system tests and detect leaks.
- EVAP Hoses and Lines: Connect all the components. These are prone to cracking and dry rotting, creating leak points.
- Leak Detection Pump (LDP): Some vehicles use an LDP to create vacuum in the EVAP system for testing. It's less common now, but if your car has one, it could be the culprit.
Common Error Codes and What They Mean
While a "large leak" code is pretty general, knowing the specific code can provide clues. Common codes include:
- P0455: EVAP Emission Control System Leak Detected (Large Leak) - This is the most common and generally means a significant leak somewhere in the system.
- P0456: EVAP Emission Control System Leak Detected (Very Small Leak) - This code is for tiny leaks, but sometimes a worsening leak can eventually trigger a P0455.
- P0457: EVAP Emission Control System Leak Detected (Fuel Cap Loose/Off) - Indicates a problem specifically related to the fuel cap.
Diagnosing a Large EVAP Leak: A Step-by-Step Approach
Here's a systematic way to tackle this issue:
Step 1: Visual Inspection (The Low-Hanging Fruit)
Start with a thorough visual inspection. This costs nothing and can often reveal the problem:
- Fuel Cap: Check that it's properly tightened and that the rubber seal is in good condition (no cracks or tears). If in doubt, replace it – they're cheap!
- EVAP Hoses and Lines: Carefully inspect all the hoses and lines connecting the EVAP components. Look for cracks, splits, dry rotting, or loose connections. Pay special attention to areas near the engine where heat can accelerate deterioration. Use a flashlight to get a good view.
- Canister: Check the canister for any signs of damage or cracks. Make sure the hoses connected to it are secure.
Step 2: Smoke Testing (The Professional's Choice)
The most reliable way to pinpoint an EVAP leak is with a smoke machine. This device pumps smoke into the EVAP system, and you visually inspect for where the smoke escapes. This will reveal even the smallest leaks that you might miss with a visual inspection alone.
Safety First: When using a smoke machine, be sure to disconnect the battery to prevent any electrical issues. Also, ensure the area is well-ventilated.
To perform a smoke test:
- Locate the EVAP service port (usually near the engine compartment or under the hood). Consult your vehicle's service manual to find its exact location.
- Connect the smoke machine to the EVAP service port.
- Introduce smoke into the system.
- Carefully inspect all EVAP components and hoses for escaping smoke. Pay close attention to connections, seams, and areas prone to wear and tear.
Mark any leak points you find. You'll need to repair or replace the affected components.
Step 3: Component Testing with a Multimeter
If the smoke test doesn't reveal any obvious leaks, you might need to test individual components with a multimeter.
- Canister Vent Valve (CVV): Disconnect the electrical connector and use a multimeter to check for continuity across the terminals. When the valve is de-energized (no power), it should be open (low resistance). Applying 12V should close the valve (high resistance). If it doesn't behave as expected, replace it.
- Purge Valve: Similar to the CVV, disconnect the electrical connector and check for resistance across the terminals. Consult your vehicle's service manual for the specific resistance value. Also, you can apply 12V to the valve and listen for a click, indicating that it's opening and closing. If it's stuck open, it needs replacing.
- Fuel Tank Pressure Sensor (FTPS): This is a bit more complicated. You'll need to consult your vehicle's service manual for the specific testing procedure and voltage readings. The FTPS outputs a voltage signal that corresponds to the pressure in the fuel tank. If the voltage is outside the expected range, the sensor might be faulty.
Step 4: Using a Scan Tool (Beyond Code Reading)
A good scan tool can do more than just read codes. Many scan tools have advanced features that can help diagnose EVAP system problems.
- Actuator Tests: Many scan tools can command the CVV and Purge valve to open and close. This allows you to verify that the ECU is able to control these components and that the valves are responding correctly.
- Live Data Monitoring: Monitor the FTPS readings while the engine is running. This can help identify intermittent problems or erratic sensor behavior.
- EVAP System Tests: Some scan tools can initiate EVAP system tests to check for leaks. These tests often involve pressurizing or evacuating the EVAP system and monitoring the pressure for any changes.
Repairing a Large EVAP Leak
Once you've identified the source of the leak, it's time to fix it. Common repairs include:
- Replacing the Fuel Cap: If the fuel cap is faulty, simply replace it with a new one. Make sure to get the correct cap for your vehicle.
- Replacing EVAP Hoses and Lines: Cracked or damaged hoses should be replaced with new hoses of the correct size and material. Use fuel-resistant hoses designed for EVAP systems. Secure the hoses with clamps to prevent leaks.
- Replacing the Canister Vent Valve (CVV) or Purge Valve: If either of these valves is faulty, replace it with a new one.
- Repairing Cracks in the Fuel Tank or Canister: Depending on the severity of the damage, you might be able to repair cracks with epoxy or plastic welding. However, if the damage is extensive, it's best to replace the component.
After the Repair: Clearing the Code and Verifying the Fix
After making the repair, clear the trouble code using a scan tool. Then, monitor the EVAP system to ensure the problem is resolved. You can do this by driving the vehicle and checking for any new trouble codes. Some vehicles require a specific drive cycle to fully test the EVAP system. Consult your vehicle's service manual for the recommended drive cycle.
If the code returns, re-evaluate your diagnosis and repeat the troubleshooting steps. Sometimes, a large leak can be caused by multiple small leaks, so you might need to do some more detective work.
Dealing with a large EVAP leak can be frustrating, but with a systematic approach and a little patience, you can diagnose and repair the problem yourself. Remember to always prioritize safety and consult your vehicle's service manual for specific procedures and torque specifications.