Leaky Oil Pan Gasket Symptoms
A leaky oil pan gasket can be a frustrating and messy problem for car owners and mechanics alike. Left unattended, it can lead to serious engine damage due to oil starvation. This article dives into the common symptoms of a leaky oil pan gasket, explores the root causes, provides practical troubleshooting steps, and offers solutions for various car models.
Recognizing the Signs: Symptoms of a Leaky Oil Pan Gasket
The most obvious sign of a leaky oil pan gasket is the presence of oil. However, spotting the leak isn't always as straightforward as seeing a puddle. Here's a breakdown of common symptoms:
Visible Oil Leaks
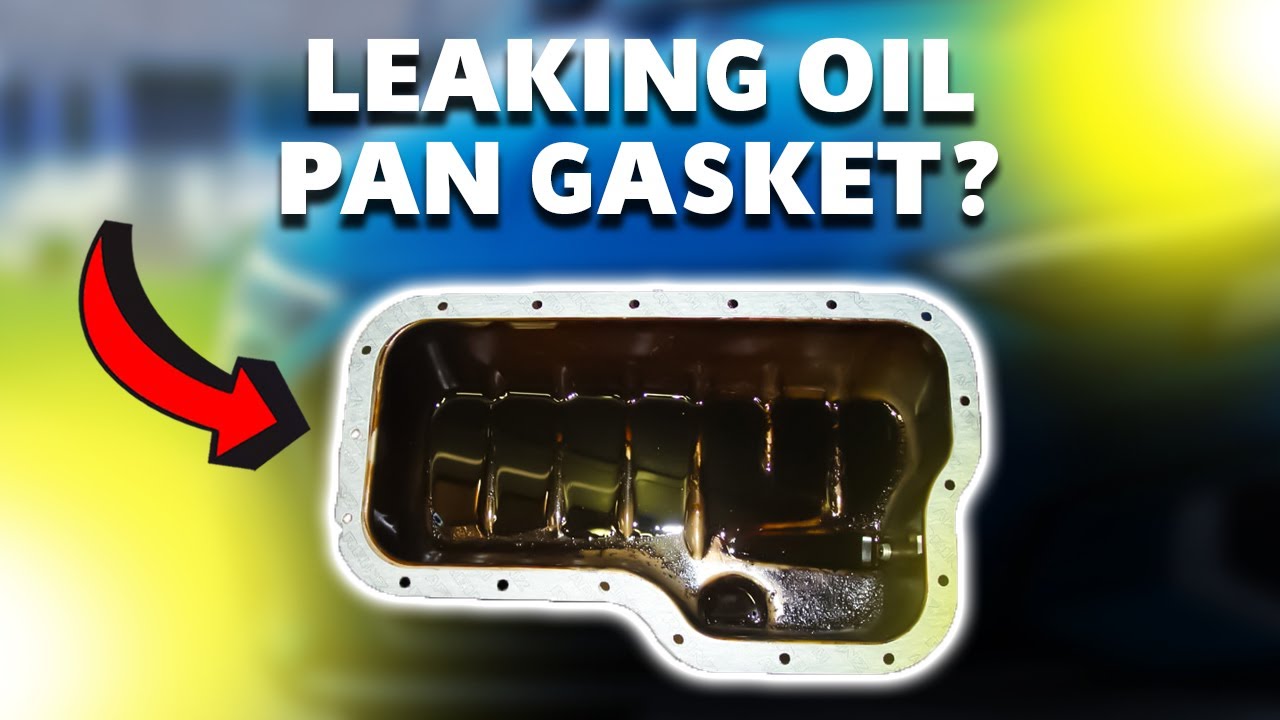
This is the most direct indication. Look for:
- Puddles of oil under your car, especially after it's been parked for a while. The oil will usually be located towards the front of the vehicle, near the engine.
- Oil drips hanging from the oil pan itself. Use a flashlight to get a good view.
- Oil stains on your driveway or garage floor. Observe the color and consistency of the oil. Fresh oil is usually amber or light brown, while older oil can be dark brown or black.
Important: Don't immediately assume every oil leak is from the oil pan. Check other potential sources like the valve cover gasket, oil filter, or oil drain plug.
Oil Spots on Engine Components
Even if you don't see puddles on the ground, you might find oil splashed or coated on other engine components. For instance:
- The engine block itself might be coated in oil, especially around the lower sections.
- Suspension components and steering linkages near the oil pan can be covered in grime and oil.
- Exhaust components near the oil pan may have oil baked onto them, often accompanied by a burning smell.
Burning Oil Smell
When oil leaks onto hot engine components, like the exhaust manifold or catalytic converter, it burns. This creates a distinctive, acrid smell that enters the cabin, especially when the car is idling or after it's been driven for a while.
Note: Burning oil smells can also indicate other problems, such as a leaking valve cover gasket or failing piston rings. It's important to inspect thoroughly.
Low Oil Level
A leaky oil pan gasket, even a slow one, will gradually deplete your engine oil. Regularly check your oil level using the dipstick. If you notice a consistent decrease in oil level between oil changes, even when there are no other obvious symptoms, a leak could be the culprit.
Example: A Honda Civic owner notices they need to add a quart of oil every 1,500 miles, while previously they never needed to top off between oil changes. This raises a red flag for a potential leak.
Oil Pressure Fluctuations
In more severe cases, a significant oil leak can lead to a drop in oil pressure. Your oil pressure gauge (if equipped) might fluctuate erratically, or the oil pressure warning light might illuminate. Low oil pressure can quickly cause catastrophic engine damage, so this symptom should be treated as an emergency.
Excessive Engine Noise
While not a direct symptom of a leaky gasket, prolonged low oil levels due to a leak can lead to increased engine noise, particularly ticking or knocking sounds. This occurs because critical engine components are not adequately lubricated.
Digging Deeper: Causes of a Leaky Oil Pan Gasket
Understanding the causes of a leaking oil pan gasket helps you prevent future problems:
- Age and Deterioration: Like any rubber or cork component, oil pan gaskets degrade over time due to heat cycling and exposure to oil. They can become brittle, cracked, and lose their sealing ability.
- Improper Installation: Incorrect torque during installation is a major culprit. Over-tightening can crush the gasket, while under-tightening allows it to leak. Following manufacturer's torque specifications is crucial.
- Damaged Gasket Surface: Nicks, scratches, or corrosion on the oil pan or engine block sealing surfaces can prevent the gasket from properly seating.
- Warped Oil Pan: In some cases, the oil pan itself can become warped due to impact damage or thermal stress. A warped pan will not seal properly, even with a new gasket.
- Over-Tightening the Drain Plug: While not directly related to the gasket, over-tightening the drain plug can damage the oil pan threads and create a leak path.
- Use of Incorrect Oil: Some oils can be more aggressive on certain gasket materials. Always use the oil type recommended by the manufacturer.
Troubleshooting the Leak: A Step-by-Step Approach
Before replacing the oil pan gasket, perform thorough troubleshooting to confirm the source of the leak:
- Clean the Area: Use engine degreaser to thoroughly clean the oil pan and surrounding area. This makes it easier to pinpoint the leak's origin.
- Run the Engine: Start the engine and let it idle for a few minutes. Carefully observe the oil pan and surrounding area for signs of fresh oil leaking.
- Check the Drain Plug: Ensure the drain plug is properly tightened and that the sealing washer is in good condition. Replace the washer if necessary.
- Inspect Other Potential Sources: Rule out other common leak sources, such as the valve cover gasket, oil filter adapter, and front/rear main seals.
- Use Dye Tracer (Optional): Add UV dye to the engine oil and use a UV light to locate the leak. This is especially helpful for finding hard-to-spot leaks.
Fixing the Problem: Oil Pan Gasket Replacement
Replacing the oil pan gasket is a relatively straightforward job for experienced mechanics, but it can be challenging for DIYers without proper tools and knowledge.
General Steps:
- Drain the Oil: Drain all the oil from the engine.
- Remove Obstacles: Disconnect any components that obstruct access to the oil pan, such as the exhaust system, sway bar, or crossmember.
- Remove the Oil Pan: Unbolt the oil pan and carefully remove it.
- Clean the Sealing Surfaces: Thoroughly clean the oil pan and engine block sealing surfaces with a scraper and solvent. Ensure the surfaces are free of old gasket material and debris.
- Install the New Gasket: Install the new oil pan gasket, following the manufacturer's instructions. Some gaskets require sealant, while others are pre-coated.
- Torque the Bolts: Tighten the oil pan bolts to the specified torque using a torque wrench. Follow the recommended tightening sequence.
- Reinstall Components: Reinstall any components that were removed to access the oil pan.
- Refill with Oil: Refill the engine with the correct type and amount of oil.
- Check for Leaks: Start the engine and let it idle for a few minutes. Carefully inspect the oil pan and surrounding area for leaks.
Real-World Examples & Considerations:
- Ford F-150 (4.6L/5.4L): These engines are known for oil pan gasket leaks, often due to corrosion of the steel oil pan. Consider replacing the pan along with the gasket. Access can be tight, requiring careful maneuvering around the exhaust and suspension.
- Toyota Camry (2.4L): The 2.4L Camry engine is prone to oil leaks, including from the oil pan. The oil pan bolts are often difficult to access, requiring specialized tools.
- BMW 3 Series (E46): The aluminum oil pan on these models can be easily warped if over-tightened. Use a new gasket and follow the torque specifications precisely.
Preventive Maintenance: Keeping Your Car in Top Condition
Preventing oil pan gasket leaks and other engine problems requires regular maintenance:
- Regular Oil Changes: Change your oil and filter at the recommended intervals using the correct type of oil.
- Inspect for Leaks Regularly: Visually inspect your engine for leaks during each oil change.
- Address Leaks Promptly: Don't ignore small leaks. They can worsen over time and lead to more serious problems.
- Use a Torque Wrench: Always use a torque wrench when tightening bolts, especially on critical components like the oil pan.
- Avoid Harsh Driving: Aggressive driving can put extra stress on your engine and accelerate wear and tear.
- Consider a High-Mileage Oil: If your car has high mileage, consider using a high-mileage oil that contains seal conditioners.
By understanding the symptoms, causes, and solutions related to leaky oil pan gaskets, car owners and mechanics can effectively diagnose and address this common problem, keeping vehicles running smoothly and preventing costly engine damage. Remember to always consult your vehicle's repair manual for specific instructions and torque specifications.