Lexus Nx 300 Rear Brake Pad Replacement
Lexus NX 300 Rear Brake Pad Replacement: A Comprehensive Guide
Maintaining your Lexus NX 300's braking system is crucial for safety and performance. Worn brake pads can significantly reduce your vehicle's stopping power, leading to potentially dangerous situations. This guide provides a comprehensive overview of the rear brake pad replacement process on a Lexus NX 300, helping you understand when it's time for a change, the necessary tools, and the steps involved. While this guide aims to be informative, remember that brake work should ideally be performed by a qualified mechanic. If you're not comfortable with any of these steps, seeking professional assistance is always the best option.
When to Replace Your Lexus NX 300 Rear Brake Pads
Several indicators can signal that your Lexus NX 300's rear brake pads need replacing. Paying attention to these warning signs can prevent further damage to your braking system and ensure your safety on the road:
- Squealing or Screeching Noises: This is the most common sign. Many brake pads have a built-in wear indicator that creates a high-pitched squeal when the pads are nearing the end of their lifespan.
- Grinding Noises: A grinding noise indicates that the brake pads are completely worn down, and the metal backing plate is rubbing against the rotor. This can cause significant damage to the rotor, requiring costly repairs.
- Reduced Braking Performance: If you notice that your car takes longer to stop or requires more pressure on the brake pedal, your brake pads may be worn.
- Vibration or Pulsation When Braking: While this could indicate warped rotors, it can also be caused by unevenly worn brake pads.
- Dashboard Warning Light: Some Lexus NX 300 models have a brake pad wear indicator light on the dashboard. If this light illuminates, it's a clear sign that your brake pads need inspection and potential replacement.
- Visual Inspection: Regularly inspect your brake pads for wear. You can usually see the brake pads through the spokes of your wheels. If the pad material is less than ¼ inch thick, it's time to replace them.
Generally, rear brake pads on a Lexus NX 300 can last anywhere from 30,000 to 70,000 miles, depending on driving habits and conditions. City driving with frequent stops will typically wear down brake pads faster than highway driving.
Tools and Materials Needed for Rear Brake Pad Replacement
Before you begin the Lexus NX 300 rear brake pad replacement, gather all the necessary tools and materials. Having everything on hand will make the process smoother and more efficient.
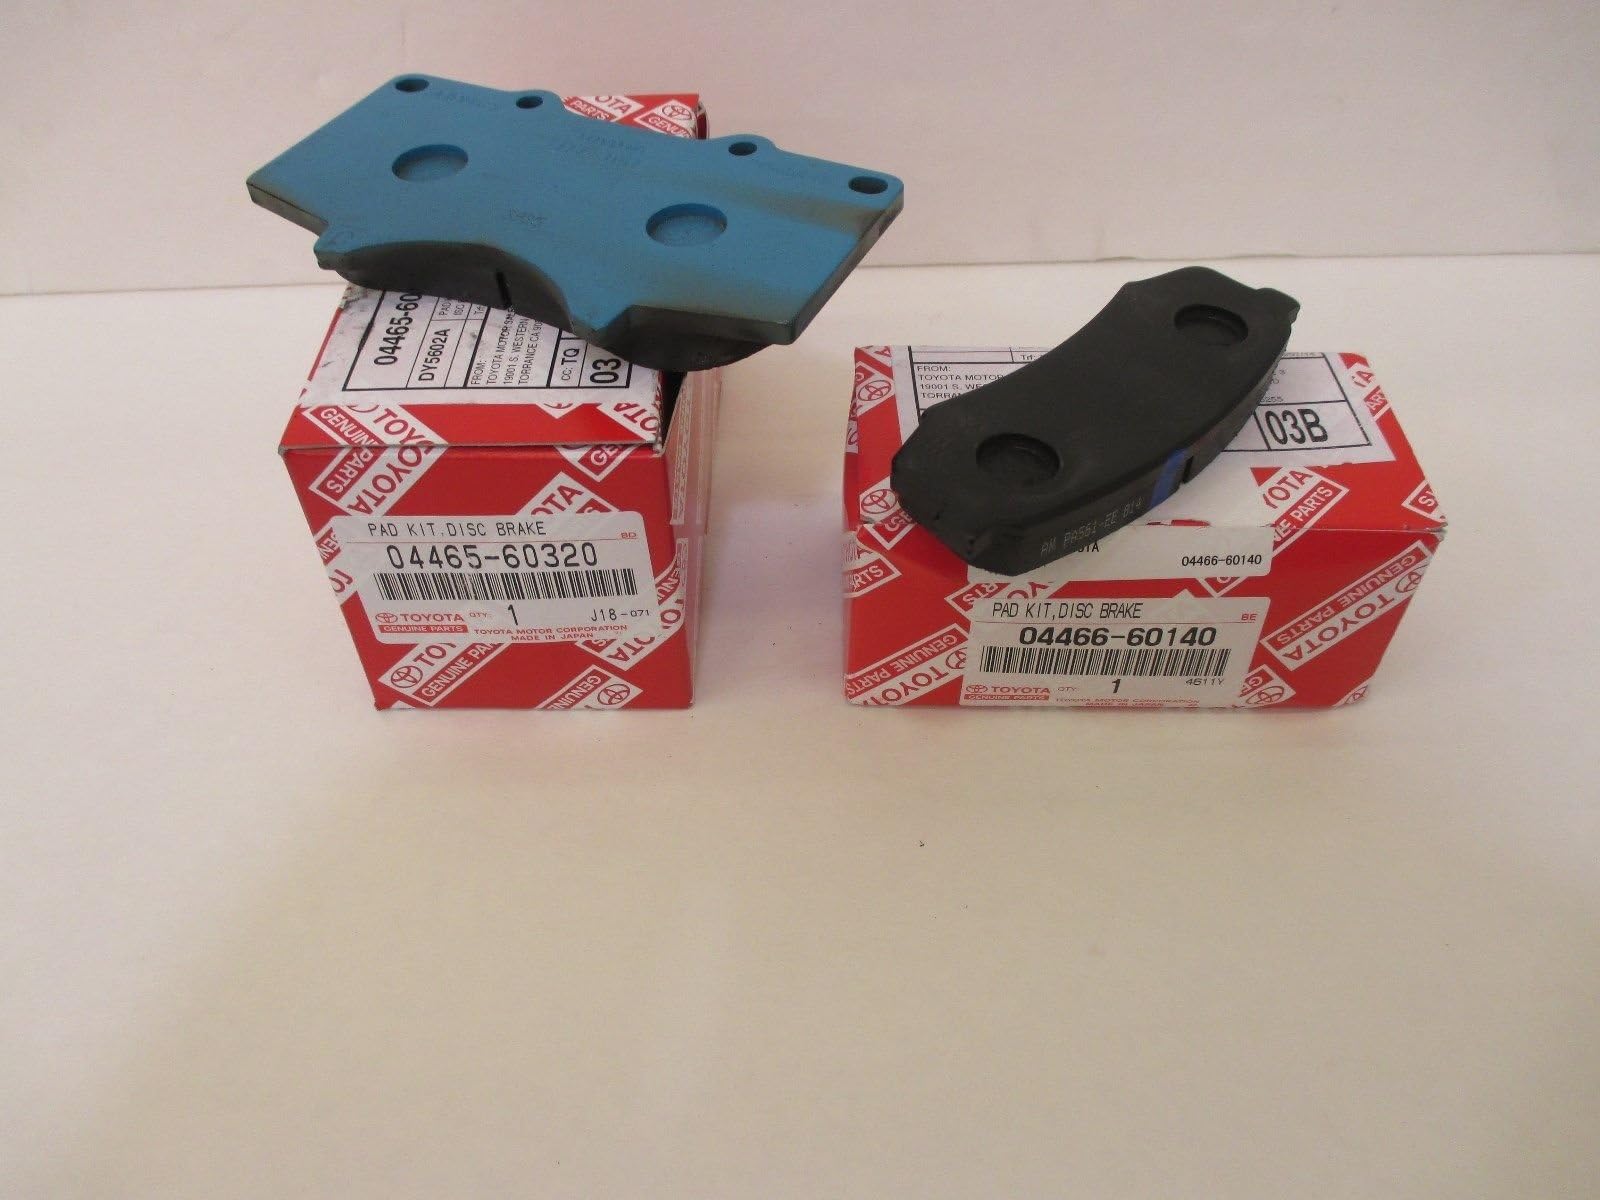
- New Rear Brake Pads: Purchase brake pads specifically designed for your Lexus NX 300 model year. Ceramic brake pads are often a good choice for their quiet operation and long lifespan.
- Brake Pad Spreader or C-Clamp: This tool is essential for compressing the brake caliper piston back into its bore.
- Socket Set and Wrench Set: You'll need a socket set and wrench set to remove the wheel, caliper bolts, and other components. Specific sizes will vary, so have a comprehensive set available.
- Torque Wrench: A torque wrench is crucial for tightening the caliper bolts and wheel lug nuts to the correct specifications. Refer to your Lexus NX 300's owner's manual for the proper torque values.
- Jack and Jack Stands: A jack and jack stands are necessary to safely lift and support the vehicle. Never work under a vehicle supported only by a jack.
- Wheel Chocks: Use wheel chocks to secure the wheels that are not being lifted.
- Brake Cleaner: Brake cleaner is used to clean the brake rotors and calipers.
- Brake Lubricant: Apply brake lubricant to the back of the brake pads and the caliper slides to prevent squealing and ensure smooth operation.
- Gloves: Protect your hands from dirt and brake dust.
- Safety Glasses: Wear safety glasses to protect your eyes from brake dust and debris.
- Shop Rags: Have plenty of shop rags on hand to wipe up spills and clean parts.
- Rotor Turning Tool (Optional): If your rotors have grooves or imperfections, you may want to have them turned or replaced.
- Pen and Paper (Optional): To make a note of how everything fits together during disassembly.
Step-by-Step Guide to Replacing Lexus NX 300 Rear Brake Pads
Disclaimer: This is a general guide and may not cover every specific detail for your Lexus NX 300. Always consult your vehicle's service manual for specific instructions and torque specifications. If you are not comfortable with any of these steps, seek professional assistance.
- Prepare the Vehicle: Park your Lexus NX 300 on a level surface and engage the parking brake. Chock the front wheels to prevent the vehicle from rolling.
- Loosen the Lug Nuts: Use a lug wrench to loosen the lug nuts on the wheel you'll be working on. Do not remove them completely at this stage.
- Lift and Secure the Vehicle: Use a jack to lift the vehicle until the wheel is off the ground. Place jack stands under the vehicle's frame near the jacking point for support. Never work under a vehicle supported only by a jack.
- Remove the Wheel: Finish removing the lug nuts and take off the wheel.
- Locate the Brake Caliper: The brake caliper is the assembly that holds the brake pads against the rotor.
- Disconnect the Brake Pad Wear Sensor (If Applicable): Some models have a brake pad wear sensor connected to one of the brake pads. Disconnect the sensor carefully.
- Remove the Caliper Bolts: Locate the caliper bolts on the back of the caliper. Typically, there are two bolts. Use a wrench or socket to remove these bolts. Sometimes, the lower bolt might need to be completely removed, while the top bolt only needs to be loosened to allow the caliper to pivot upwards.
- Detach the Caliper: Carefully detach the caliper from the rotor. If the caliper is stuck, you may need to gently wiggle it loose. Avoid damaging the brake lines.
- Support the Caliper: Once the caliper is detached, do not let it hang by the brake line. Use a bungee cord or wire to suspend the caliper from the suspension to prevent damage to the brake line.
- Remove the Old Brake Pads: The old brake pads should now be accessible. They may simply slide out of the caliper or be held in place by clips. Take note of how the pads are positioned for reinstallation.
- Compress the Caliper Piston: Use a brake pad spreader or C-clamp to compress the caliper piston back into its bore. This is necessary to create enough space for the new, thicker brake pads. Be careful not to damage the piston or the caliper. If the piston is difficult to compress, there may be an issue with the caliper that requires professional attention.
- Clean the Caliper and Rotor: Use brake cleaner to thoroughly clean the caliper and rotor. This will remove brake dust and debris, ensuring proper braking performance.
- Install the New Brake Pads: Install the new brake pads into the caliper, making sure they are properly seated and aligned. Apply brake lubricant to the back of the brake pads where they contact the caliper piston and shims. Also, lubricate the caliper slide pins.
- Reattach the Caliper: Carefully reattach the caliper to the rotor, aligning the bolt holes.
- Reinstall the Caliper Bolts: Reinstall the caliper bolts and tighten them to the torque specifications listed in your vehicle's service manual. Using a torque wrench is crucial to ensure proper tightening.
- Reconnect the Brake Pad Wear Sensor (If Applicable): Reconnect the brake pad wear sensor.
- Reinstall the Wheel: Reinstall the wheel and tighten the lug nuts by hand.
- Lower the Vehicle: Lower the vehicle using the jack and remove the jack stands.
- Tighten the Lug Nuts: Use a torque wrench to tighten the lug nuts to the torque specifications listed in your vehicle's service manual.
- Repeat on the Other Side: Repeat the process on the other rear wheel.
- Pump the Brakes: After replacing the brake pads on both sides, pump the brake pedal several times to restore pressure to the braking system. The pedal may feel soft initially, but it should firm up as you pump it.
- Test Drive: Perform a test drive in a safe area to ensure that the brakes are functioning properly. Listen for any unusual noises and feel for any vibrations. Be gentle with the brakes during the first few stops to allow the new pads to bed in.
Important Considerations and Safety Tips
Safety First: Always prioritize safety when working on your vehicle's braking system. Wear safety glasses and gloves, and never work under a vehicle supported only by a jack. If you're unsure about any step, seek professional assistance.
- Brake Fluid: When compressing the caliper piston, the brake fluid level in the master cylinder may rise. Be sure to check the fluid level and remove any excess fluid to prevent it from overflowing. Use only the correct DOT specification brake fluid for your Lexus NX 300.
- Brake Rotors: Inspect your brake rotors for wear and damage. If they are excessively worn, grooved, or warped, they should be replaced or resurfaced.
- Bedding In New Brake Pads: Properly bedding in your new brake pads is crucial for optimal performance and longevity. Follow the brake pad manufacturer's recommendations for bedding-in procedures. This typically involves performing a series of controlled stops from moderate speeds.
- Professional Inspection: Even if you successfully replace your brake pads, it's always a good idea to have a qualified mechanic inspect your braking system to ensure everything is working correctly.
- Disposing of Old Brake Pads: Dispose of your old brake pads properly. Many auto parts stores will accept them for recycling.
Troubleshooting Common Issues
- Brakes Squealing After Replacement: This can be caused by several factors, including improper lubrication, low-quality brake pads, or glazed rotors. Ensure that you properly lubricated the brake pads and caliper slides. If the squealing persists, consider replacing the brake pads with a higher-quality brand or having the rotors resurfaced.
- Soft Brake Pedal: A soft brake pedal after replacing brake pads can indicate air in the brake lines. This may require bleeding the brakes to remove the air.
- Uneven Brake Wear: Uneven brake wear can be caused by a variety of factors, including sticking caliper slides, a faulty brake caliper, or a problem with the brake lines. Inspect these components and address any issues.
Replacing the rear brake pads on your Lexus NX 300 is a manageable task for DIY enthusiasts with some mechanical experience. However, it's essential to follow the proper procedures and prioritize safety. By understanding the warning signs, gathering the necessary tools, and following the step-by-step guide, you can ensure that your Lexus NX 300's braking system is in top condition. Remember, if you're unsure about any step, it's always best to seek professional assistance from a qualified mechanic. This guide aims to equip you with the knowledge needed to approach this task confidently and make informed decisions about your vehicle's maintenance.