Nissan Altima 2014 Oil Change
The 2014 Nissan Altima, a mid-size sedan known for its fuel efficiency and comfortable ride, remains a popular choice on the used car market. A key aspect of maintaining its longevity is consistent and proper oil changes. This article delves into the specifics of performing an oil change on a 2014 Nissan Altima, covering everything from oil type and capacity to step-by-step instructions and essential maintenance tips.
Understanding the 2014 Nissan Altima Engine Options
The 2014 Altima was offered with two engine choices:
- 2.5-liter QR25DE Inline-4: This engine, the more common of the two, provides a balance of fuel economy and adequate power for daily driving.
- 3.5-liter VQ35DE V6: Found in higher trim levels, this engine delivers significantly more horsepower and torque, offering a more spirited driving experience.
The engine type directly influences the oil capacity and, to a lesser extent, the recommended oil type. Knowing which engine your Altima has is crucial before starting the oil change process.
Recommended Oil Type and Capacity
2.5-liter QR25DE Inline-4 Engine
For the 2.5-liter engine, Nissan recommends using 5W-30 engine oil that meets the ILSAC GF-5 standard. Synthetic or synthetic blend oils are preferred for enhanced engine protection and improved cold-weather performance. The oil capacity for this engine is approximately 4.8 quarts (4.5 liters), including the oil filter.
3.5-liter VQ35DE V6 Engine
The 3.5-liter V6 engine also requires 5W-30 engine oil meeting the ILSAC GF-5 standard. Again, synthetic or synthetic blend options are highly recommended. The oil capacity for this engine is slightly higher, at approximately 5.3 quarts (5.0 liters), including the oil filter.
Important Note: Always consult your owner's manual for the most accurate and up-to-date information specific to your vehicle. While 5W-30 is generally recommended, factors like extreme temperatures might necessitate a different viscosity grade.
Essential Tools and Materials
Before beginning the oil change, gather the necessary tools and materials:
- New engine oil (as specified above)
- New oil filter (ensure it's the correct one for your engine)
- Oil filter wrench
- Socket wrench set
- Drain pan
- Wrench for the oil drain plug (usually 14mm or 19mm – confirm before starting)
- Funnel
- Gloves
- Rags or paper towels
- Jack and jack stands (optional, but highly recommended for easier access)
- Wheel chocks
Step-by-Step Oil Change Procedure
- Prepare the Vehicle: Park the car on a level surface, engage the parking brake, and use wheel chocks behind the rear wheels. If using a jack, consult your owner's manual for the correct jacking points. Safely lift the vehicle and secure it with jack stands. Never work under a vehicle supported only by a jack.
- Warm Up the Engine: Run the engine for a few minutes to warm the oil. Warm oil flows more easily, ensuring a more complete drain.
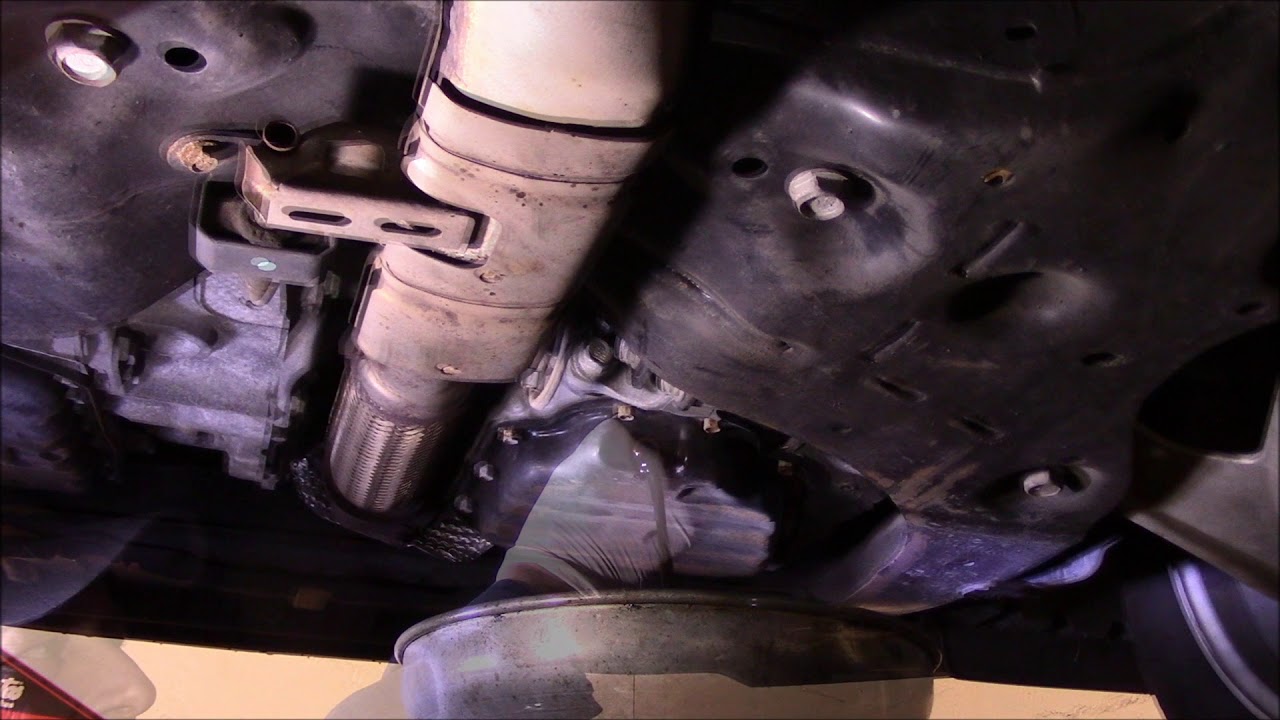
- Locate and Remove the Oil Drain Plug: Position the drain pan under the oil drain plug. Use the correct wrench to loosen and remove the drain plug. Be prepared for the oil to flow out quickly.
- Allow the Oil to Drain Completely: Let the oil drain completely, which may take 15-20 minutes.
- Remove the Old Oil Filter: Locate the oil filter. It's typically accessible from underneath the vehicle or sometimes from the engine bay. Use the oil filter wrench to loosen and remove the old filter. Be prepared for some residual oil to spill.
- Prepare the New Oil Filter: Lightly lubricate the rubber gasket on the new oil filter with fresh engine oil. This helps create a good seal.
- Install the New Oil Filter: Screw the new oil filter onto the engine by hand until the gasket makes contact. Then, tighten it an additional ¾ to 1 full turn, according to the instructions on the filter. Do not overtighten.
- Reinstall the Oil Drain Plug: Clean the oil drain plug and install a new crush washer if available. Tighten the drain plug to the manufacturer's specified torque. Overtightening can damage the oil pan. If you don’t have a torque wrench, tighten snugly, but not excessively.
- Lower the Vehicle (if applicable): Carefully lower the vehicle from the jack stands.
- Add New Oil: Locate the oil fill cap on the engine. Remove the cap and insert a funnel. Pour in the specified amount of new engine oil. Start with slightly less than the recommended amount and check the dipstick.
- Check the Oil Level: Use the dipstick to check the oil level. Add more oil as needed to reach the "full" mark. Avoid overfilling.
- Start the Engine: Start the engine and let it run for a few minutes. Check for any leaks around the oil drain plug and oil filter.
- Recheck the Oil Level: Turn off the engine and let it sit for a few minutes to allow the oil to settle. Recheck the oil level and add more if necessary.
- Reset the Oil Life Reminder: Reset the oil life reminder system in your vehicle according to the instructions in your owner's manual.
- Dispose of Used Oil Properly: Take the used oil and filter to a recycling center or auto parts store for proper disposal.
Oil Change Frequency: Following the Maintenance Schedule
Nissan typically recommends oil changes every 7,500 miles or 12 months under normal driving conditions for the 2014 Altima. However, if you drive under severe conditions, such as frequent short trips, stop-and-go traffic, or dusty environments, more frequent oil changes may be necessary. Consider changing the oil every 3,750 miles or 6 months in these situations. Always consult your owner's manual for the recommended maintenance schedule.
Cost of an Oil Change: DIY vs. Professional Service
The cost of an oil change for a 2014 Nissan Altima can vary depending on whether you do it yourself or have it done professionally. A DIY oil change will typically cost between $30 and $60, depending on the type of oil and filter you choose. A professional oil change at a quick lube shop or dealership can range from $70 to $150 or more, depending on the shop and the type of oil used. While DIY saves money, professional services offer convenience and expertise.
Common Issues and Maintenance Tips
- Oil Leaks: Regularly inspect for oil leaks around the oil drain plug, oil filter, and valve cover gasket. Address leaks promptly to prevent engine damage.
- Using the Correct Oil Filter: Using the correct oil filter is crucial for proper filtration and engine protection. Always use a filter designed specifically for your engine.
- Over-tightening: Avoid over-tightening the oil drain plug and oil filter, as this can damage the oil pan and filter housing.
- Regular Inspections: While performing an oil change, take the opportunity to inspect other components, such as belts, hoses, and fluid levels.
The Importance of Using Quality Oil
Using high-quality engine oil that meets Nissan's specifications is crucial for the longevity and performance of your 2014 Altima's engine. Cheap or low-quality oil can break down prematurely, leading to increased engine wear and potential damage. Investing in a reputable brand of synthetic or synthetic blend oil is a worthwhile investment.
Troubleshooting Oil Pressure Problems
If you experience low oil pressure or the oil pressure warning light illuminates, it's crucial to address the issue promptly. Potential causes include:
- Low oil level
- Clogged oil filter
- Faulty oil pump
- Worn engine bearings
Consult a qualified mechanic to diagnose and repair the problem.
Conclusion
Performing regular oil changes is a vital aspect of maintaining the health and longevity of your 2014 Nissan Altima. By understanding the recommended oil type, capacity, and maintenance schedule, you can ensure that your engine receives the proper lubrication and protection it needs. Whether you choose to do it yourself or have it done professionally, prioritizing regular oil changes will help keep your Altima running smoothly for years to come.