Nissan Altima Ignition Coil Replacement
So, your Nissan Altima's been acting up, huh? Stuttering on acceleration, maybe a check engine light staring you down? Chances are, one or more of your ignition coils might be on their way out. Replacing them is a fairly straightforward job that you can definitely tackle in your garage with the right tools and a little know-how. Let's get into it.
Understanding Ignition Coils
Before we start wrenching, let's quickly review what ignition coils actually do. In a nutshell, they're responsible for taking the low-voltage (typically 12V) power from your car's battery and boosting it into a high-voltage jolt – we're talking tens of thousands of volts – that's needed to create a spark at the spark plug. This spark ignites the air-fuel mixture in the combustion chamber, causing the engine to run. Each cylinder in your Altima (likely four or six, depending on the engine) has its own ignition coil, either directly mounted on top of the spark plug (coil-on-plug, or COP) or connected to it via a short spark plug wire.
When a coil fails, it can lead to a misfire, which is when the air-fuel mixture isn't properly ignited in a cylinder. This results in a loss of power, rough running, and potentially damage to your catalytic converter if left unaddressed. The Check Engine Light (CEL) will usually illuminate, and a diagnostic scan will reveal a specific error code indicating which cylinder is misfiring, such as P0301 (Cylinder 1 misfire), P0302 (Cylinder 2 misfire), and so on.
Tools and Materials You'll Need
Here's a list of what you'll need to successfully replace your Altima's ignition coils:
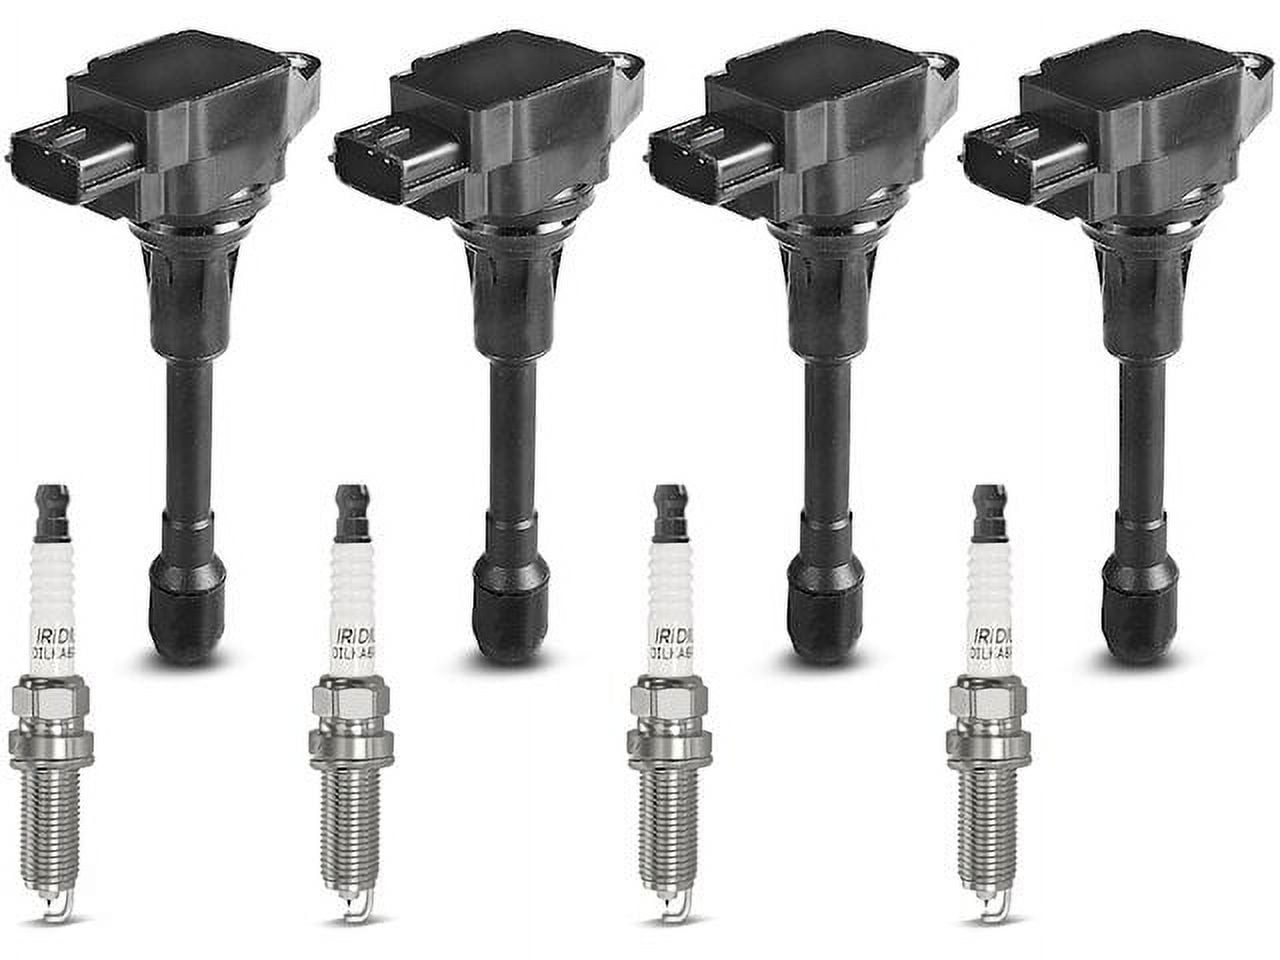
- New Ignition Coils: Purchase the correct coils for your specific Altima year and engine model. Don't cheap out here; go with a reputable brand like Denso, NGK, or Delphi.
- Socket Set: Metric sizes, typically 10mm and 12mm sockets are needed.
- Ratchet: To use with your sockets.
- Extension Bars: A few different lengths will come in handy for reaching those hard-to-access coils.
- Spark Plug Socket: If you plan on replacing the spark plugs at the same time (recommended). Make sure it's the correct size for your Altima's spark plugs (usually 5/8" or 16mm).
- Torque Wrench: Crucial for tightening the coil mounting bolts to the correct specification (more on this later).
- Screwdrivers: Both flathead and Phillips head may be needed.
- Dielectric Grease: To protect the electrical connections.
- Penetrating Oil: In case any bolts are seized.
- Clean Rags: For wiping up any spills.
- Work Gloves: To protect your hands.
- Safety Glasses: To protect your eyes.
- Diagnostic Scan Tool (OBD-II Scanner): To read and clear trouble codes.
Step-by-Step Ignition Coil Replacement
Now for the main event! Follow these steps to replace the ignition coils on your Nissan Altima:
1. Safety First!
Disconnect the negative battery cable. This is the most important step. Use a wrench to loosen the nut on the negative terminal (usually black) and carefully remove the cable. Tuck it away so it can't accidentally reconnect.
2. Locate the Ignition Coils
On most Altima engines, the ignition coils are located on top of the engine, directly above the spark plugs. They're usually covered by a plastic engine cover. Remove this cover by unscrewing any fasteners (usually 10mm bolts) or by simply pulling it off (it might be held in place by clips).
3. Disconnect the Electrical Connector
Each ignition coil has an electrical connector attached to it. Gently squeeze the retaining clip on the connector and pull it straight off the coil. Do not yank on the wires. Inspect the connector for any signs of corrosion or damage. If necessary, clean it with electrical contact cleaner.
4. Remove the Mounting Bolt(s)
Each coil is secured to the engine with one or two mounting bolts. Use the appropriate socket (usually 10mm or 12mm) to remove these bolts. Place the bolts in a safe place so you don't lose them.
5. Remove the Old Ignition Coil
Carefully pull the ignition coil straight up and out of the spark plug well. It might be a little snug, but it should come out with a bit of gentle wiggling. Inspect the coil boot (the rubber part that connects to the spark plug) for any cracks, tears, or signs of oil contamination.
6. (Optional) Inspect the Spark Plug
This is the perfect time to inspect your spark plugs. If they look worn, fouled, or damaged, replace them now. Use the spark plug socket and extension bar to carefully remove the spark plug. Check the gap and condition of the plug. If replacing, gap the new spark plugs to the manufacturer's specification. Refer to your owner's manual or a reliable online source for the correct spark plug gap.
7. Install the New Ignition Coil
Before installing the new ignition coil, apply a small amount of dielectric grease to the inside of the coil boot. This will help protect the electrical connection and prevent corrosion. Carefully insert the new coil into the spark plug well, making sure it seats properly on top of the spark plug.
8. Reinstall the Mounting Bolt(s)
Reinstall the mounting bolt(s) that secure the coil to the engine. Tighten the bolts to the manufacturer's specified torque using a torque wrench. This is crucial to ensure the coil is properly secured and doesn't vibrate loose. The torque specification is usually around 8-10 Nm (Newton-meters), but always consult your vehicle's service manual or a reliable online source for the correct specification.
9. Reconnect the Electrical Connector
Plug the electrical connector back into the ignition coil until it clicks into place. Make sure the retaining clip is fully engaged.
10. Repeat for Remaining Coils
Repeat steps 3-9 for all the remaining ignition coils you are replacing.
11. Reinstall the Engine Cover
Reinstall the plastic engine cover and secure it with the fasteners.
12. Reconnect the Battery
Reconnect the negative battery cable and tighten the nut securely.
13. Clear the Trouble Codes
Use your diagnostic scan tool to clear any trouble codes that were set by the misfire. Even if the check engine light turns off on its own, it's a good idea to clear the codes to prevent any confusion later on. Start the engine and let it idle for a few minutes. Listen for any unusual noises or vibrations. Take the car for a test drive and see if the misfire is gone.
Important Considerations & Troubleshooting
- Replacing All Coils at Once: While you might only be experiencing a misfire in one cylinder, it's often recommended to replace all the ignition coils at the same time, especially if they're all the same age and mileage. This will help prevent future failures and ensure consistent performance.
- Coil Boot Condition: Pay close attention to the condition of the coil boots. If they're cracked, torn, or oil-soaked, replace them along with the coils. Damaged boots can cause arcing and misfires.
- Torque Specifications: Always use a torque wrench to tighten the coil mounting bolts to the manufacturer's specified torque. Overtightening can damage the bolts or the coil housing, while undertightening can cause the coil to vibrate loose.
- Misfire Still Present: If you've replaced the ignition coils and the misfire is still present, the problem could be something else, such as a faulty spark plug, a clogged fuel injector, a vacuum leak, or a more serious engine problem. Further diagnosis may be required.
- Using a Multimeter: You can use a multimeter to test the primary and secondary resistance of the ignition coils. This can help you determine if a coil is faulty. Consult your vehicle's service manual for the correct resistance values.
- Beware of Counterfeits: When purchasing ignition coils, be wary of counterfeit or low-quality parts. These parts may fail prematurely or cause other problems. Always buy from a reputable supplier.
That's it! You've successfully replaced the ignition coils on your Nissan Altima. With a little patience and attention to detail, you can save yourself a lot of money by doing this job yourself. Remember to always prioritize safety and consult a professional mechanic if you're unsure about any part of the process.