Nissan Altima Oil Pan Gasket
The Nissan Altima, a mainstay in the mid-size sedan market, is known for its reliability and practicality. However, like any vehicle, it's susceptible to wear and tear over time. One common issue that Altima owners may encounter is a leaking oil pan gasket. This article delves into the intricacies of the Altima oil pan gasket, covering everything from identification of problems to replacement procedures, providing valuable information for enthusiasts, DIY mechanics, and seasoned professionals alike.
Understanding the Oil Pan and Gasket
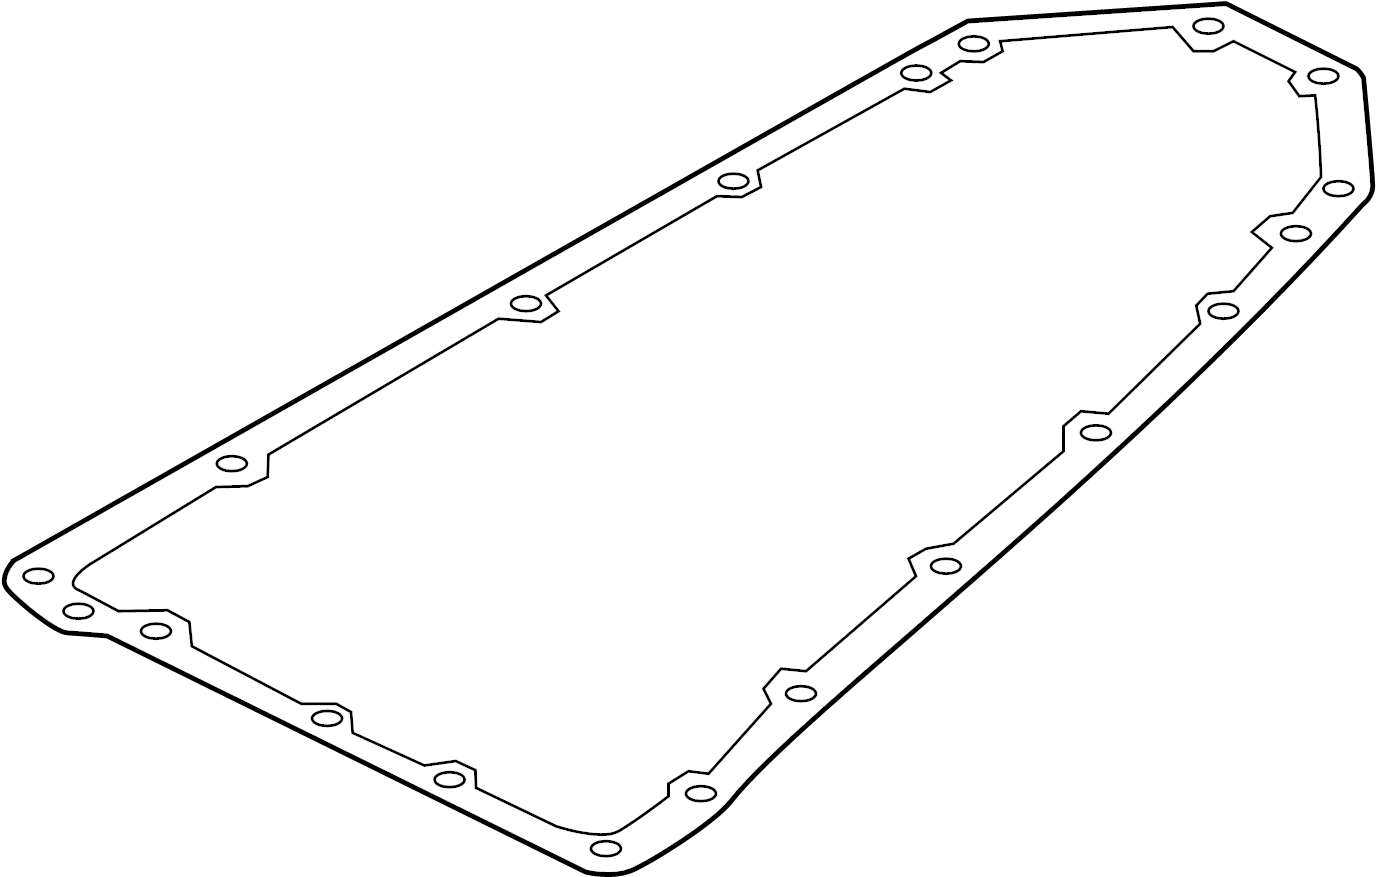
Before diving into the specifics of the Altima's oil pan gasket, it's crucial to understand the purpose of these components. The oil pan is a reservoir located at the bottom of the engine that holds the engine oil. The oil pump draws oil from the pan, circulating it through the engine to lubricate moving parts and dissipate heat. The oil pan gasket is a seal that sits between the oil pan and the engine block (or the oil pan and the engine's lower crankcase in some Altima models), preventing oil from leaking out.
Altimas have utilized several different engine configurations over the years, each potentially having a slightly different oil pan and gasket design. Common engine options include the 2.5L inline-4 (QR25DE) and the 3.5L V6 (VQ35DE). The 2.5L engine, particularly prevalent in the earlier models, is known for being relatively easy to work on, including oil pan gasket replacement. The V6, while offering more power, can present a slightly more complex task due to packaging constraints and potential exhaust manifold interference.
Symptoms of a Failing Oil Pan Gasket
Recognizing the signs of a failing oil pan gasket early on can prevent more serious engine damage. Here are some common symptoms to watch for:
- Visible Oil Leaks: This is the most obvious sign. You might notice oil spots on your driveway or garage floor, typically under the engine area. Check for drips coming from the oil pan itself or the surrounding area.
- Low Oil Level: A leaking gasket will cause a gradual decrease in oil level. Regularly check your oil dipstick to ensure the level is within the recommended range.
- Oil Pressure Warning Light: If the oil level drops significantly due to a leak, the oil pressure may decrease, triggering the oil pressure warning light on the dashboard. This is a serious warning sign and should be addressed immediately.
- Burning Oil Smell: If oil is leaking onto hot engine components, such as the exhaust manifold, it will produce a distinct burning oil smell.
- Contamination: Check for oil leaks mixed with coolant. This may be indicative of a more significant problem (e.g., head gasket), but you should still check the oil pan gasket.
Diagnosing an Oil Pan Gasket Leak
While the symptoms listed above are indicative of a potential oil pan gasket leak, it's important to properly diagnose the problem before proceeding with a repair. Here's a systematic approach:
- Visual Inspection: Carefully inspect the oil pan and the surrounding area for signs of oil leaks. Use a flashlight to get a better view of hard-to-reach areas. Look for wet, oily residue around the gasket area.
- Clean the Area: Clean the oil pan and the surrounding area with a degreaser to remove any existing oil residue. This will make it easier to identify the source of the leak.
- Run the Engine: After cleaning the area, run the engine for a few minutes and then re-inspect the oil pan for any new leaks.
- Use a UV Dye Kit: For difficult-to-find leaks, consider using a UV dye kit. Add the dye to the engine oil, run the engine, and then use a UV light to identify the source of the leak.
- Check Other Potential Leak Sources: Before concluding that the oil pan gasket is the culprit, rule out other potential leak sources, such as the oil drain plug, oil filter, and front crankshaft seal.
Oil Pan Gasket Replacement: A Step-by-Step Guide
Replacing an Altima's oil pan gasket is a task that can be tackled by experienced DIY mechanics, but it requires careful attention to detail. The following is a general guide, but always refer to your specific vehicle's repair manual for detailed instructions and torque specifications.
Tools and Materials Required:
- New oil pan gasket (OEM or high-quality aftermarket)
- Socket set and wrenches
- Torque wrench
- Drain pan
- Jack and jack stands
- Wheel chocks
- Scraper or gasket remover
- Cleaning solvent or brake cleaner
- Rags or shop towels
- New engine oil and oil filter
- Safety glasses and gloves
Procedure:
- Prepare the Vehicle: Park the Altima on a level surface, engage the parking brake, and chock the rear wheels. Loosen the oil drain plug (but do not remove it yet).
- Raise and Secure the Vehicle: Using a jack, raise the front of the vehicle and securely support it with jack stands. Never work under a vehicle supported only by a jack.
- Drain the Engine Oil: Place the drain pan under the oil pan and remove the oil drain plug. Allow the oil to drain completely.
- Remove the Oil Pan: This step may vary depending on the Altima model. Some Altimas may require removing or loosening other components, such as exhaust pipes or suspension components, to gain access to the oil pan bolts. Carefully remove all the oil pan bolts. You may need to gently tap the oil pan with a rubber mallet to loosen it. Be careful not to damage the oil pan.
- Clean the Mating Surfaces: Thoroughly clean the oil pan and engine block mating surfaces using a scraper or gasket remover to remove any old gasket material. Use a cleaning solvent or brake cleaner to remove any oil residue. The surfaces must be clean and dry for the new gasket to seal properly.
- Install the New Gasket: Install the new oil pan gasket onto the oil pan. Some gaskets may require the use of a sealant. Follow the manufacturer's instructions for sealant application.
- Reinstall the Oil Pan: Carefully reinstall the oil pan, aligning the bolt holes. Tighten the oil pan bolts to the manufacturer's specified torque using a torque wrench. Over-tightening can damage the gasket or the oil pan. Follow the specific torque sequence recommended in the repair manual.
- Reinstall the Oil Drain Plug: Install a new oil drain plug washer (if applicable) and tighten the oil drain plug to the specified torque.
- Lower the Vehicle: Carefully lower the vehicle to the ground.
- Refill the Engine Oil: Remove the old oil filter and install a new one. Refill the engine with the correct amount of new engine oil. Check the oil level with the dipstick.
- Start the Engine and Check for Leaks: Start the engine and let it run for a few minutes. Carefully inspect the oil pan area for any leaks. If you see any leaks, stop the engine and re-torque the oil pan bolts.
Common Mistakes to Avoid
Replacing an oil pan gasket can be a straightforward process, but it's easy to make mistakes that can lead to leaks or other problems. Here are some common mistakes to avoid:
- Using the Wrong Gasket: Ensure you are using the correct oil pan gasket for your specific Altima model and engine.
- Not Cleaning the Mating Surfaces: Failure to thoroughly clean the mating surfaces will prevent the new gasket from sealing properly.
- Over-Tightening the Bolts: Over-tightening the oil pan bolts can damage the gasket or the oil pan. Always use a torque wrench and tighten the bolts to the specified torque.
- Using the Wrong Sealant: If sealant is required, use the correct type of sealant recommended by the gasket manufacturer.
- Damaging the Oil Pan: Be careful not to damage the oil pan during removal or installation. A dented or warped oil pan may not seal properly.
Preventative Maintenance
While oil pan gasket failures are inevitable over time, proper maintenance can help extend the life of the gasket. Here are some tips:
- Regular Oil Changes: Change your engine oil and oil filter at the recommended intervals. Dirty oil can contribute to gasket degradation.
- Avoid Overfilling the Oil: Overfilling the engine oil can put extra pressure on the oil pan gasket.
- Check for Leaks Regularly: Inspect your engine for oil leaks regularly. Early detection of a leak can prevent more serious engine damage.
Conclusion
The oil pan gasket is a critical component of the Nissan Altima's engine, ensuring proper lubrication and preventing oil leaks. By understanding the symptoms of a failing gasket, properly diagnosing the problem, and following a careful replacement procedure, you can effectively address this common issue and keep your Altima running smoothly for years to come. Always remember to consult your vehicle's repair manual for specific instructions and torque specifications, and when in doubt, seek the assistance of a qualified mechanic. Addressing an oil leak promptly not only saves you money in the long run but also contributes to environmental responsibility by preventing oil from contaminating the environment. Remember safety first!