Nissan Xterra 3 Inch Lift Kit
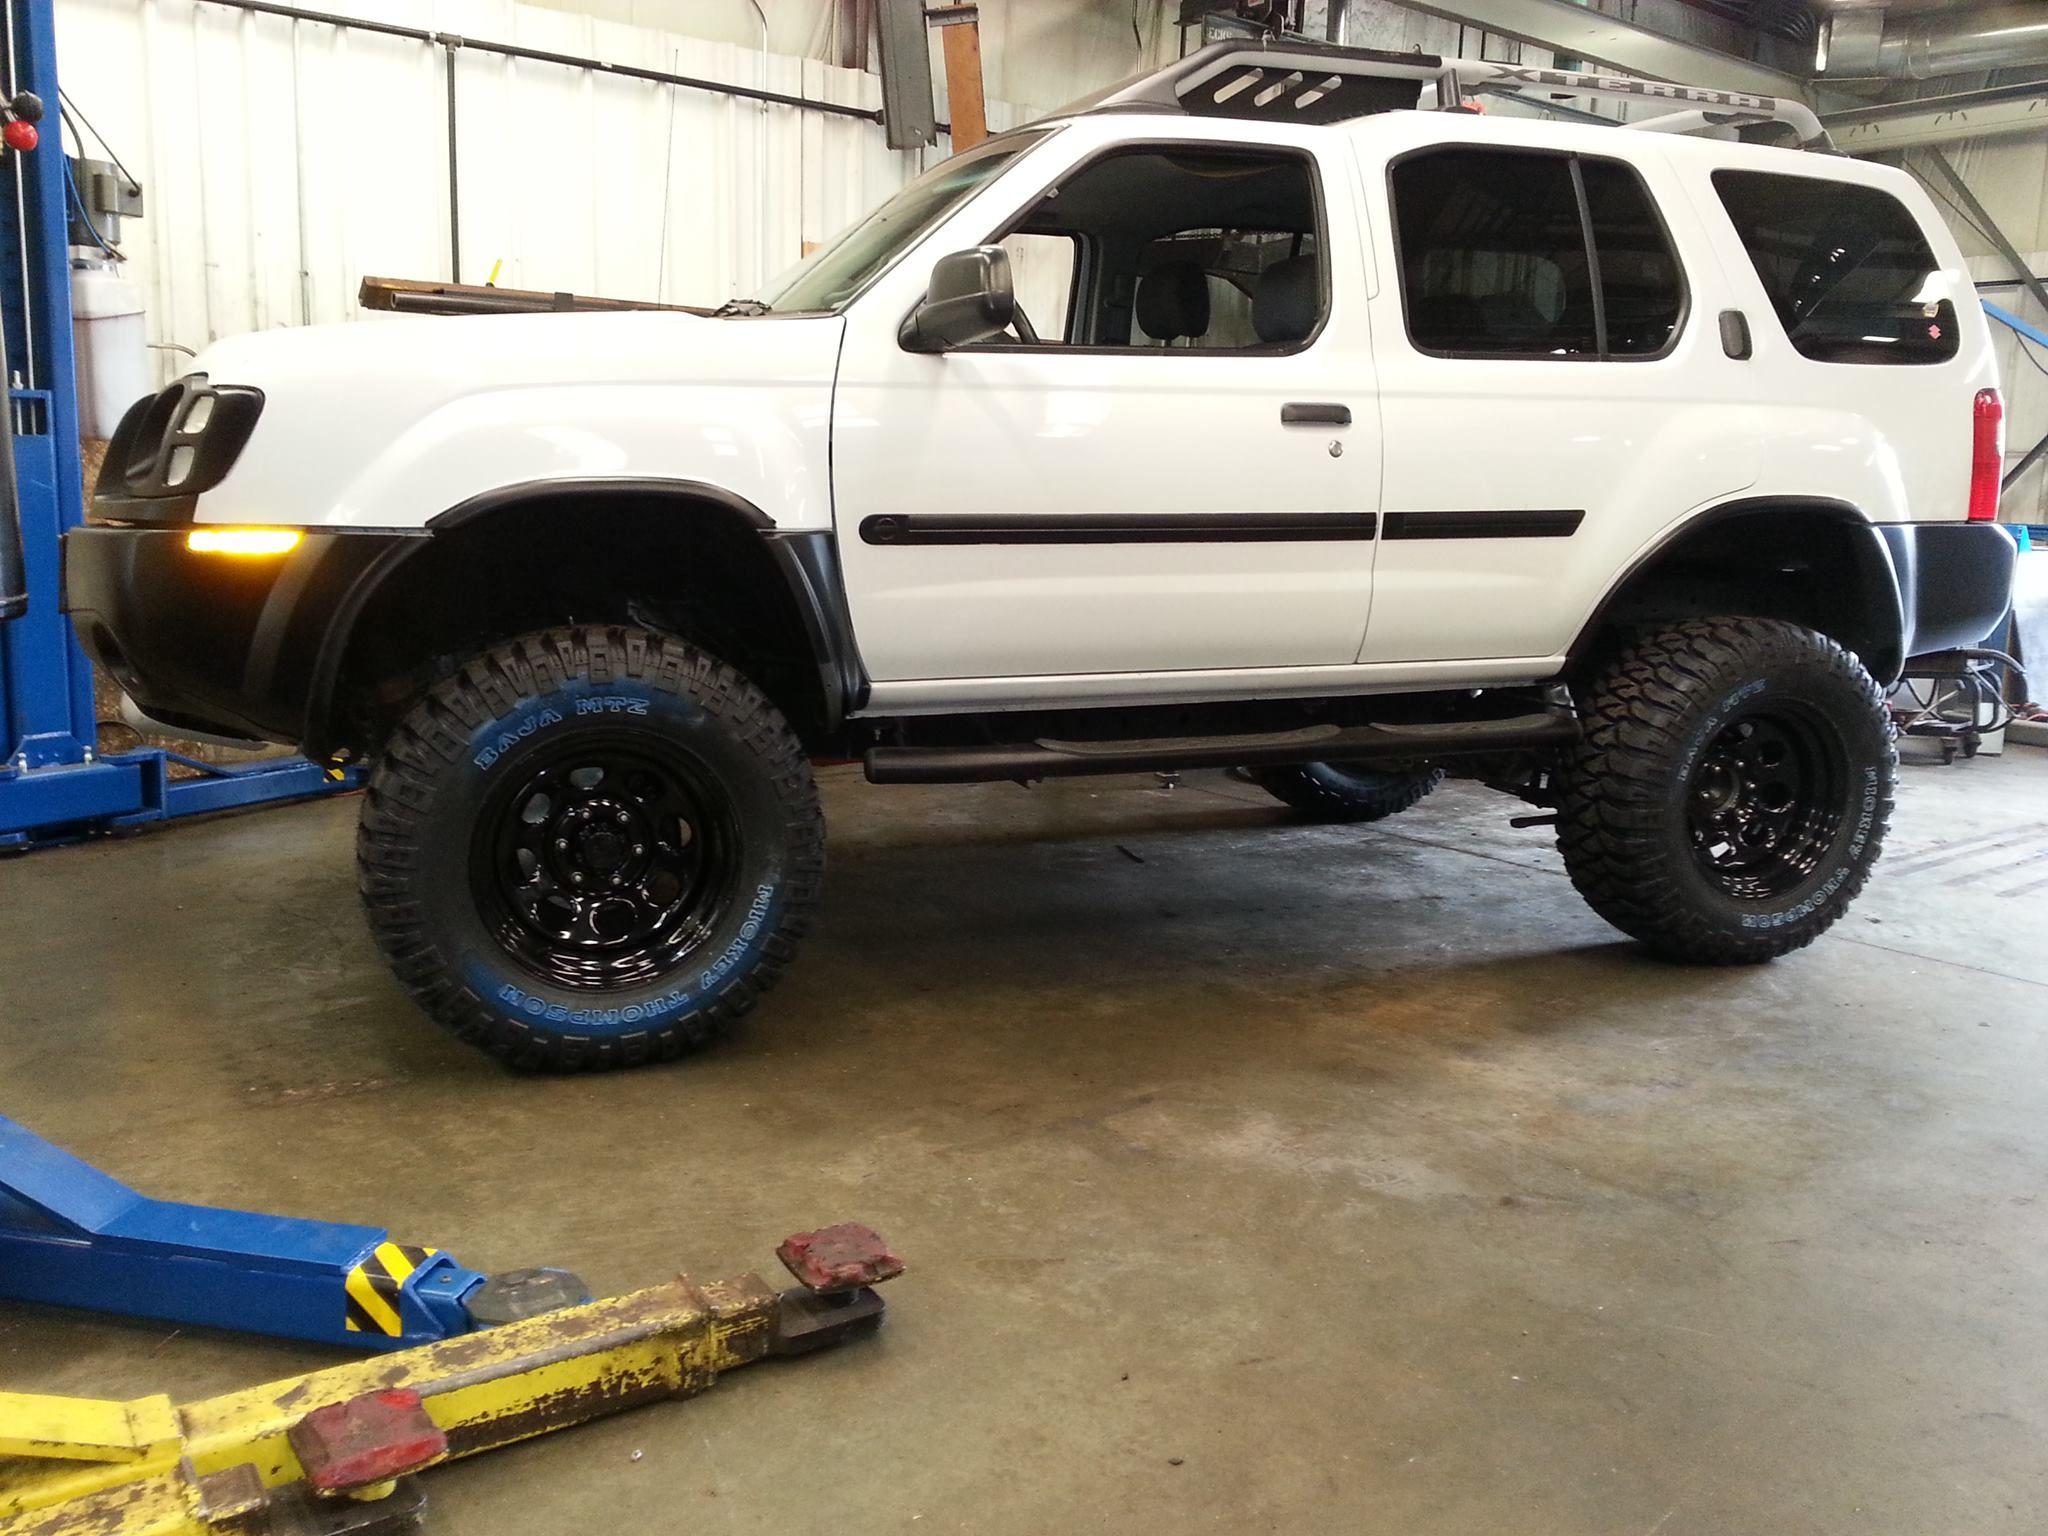
Lifting a Nissan Xterra, particularly with a 3-inch lift kit, is a popular modification aimed at enhancing off-road capability and improving overall vehicle aesthetics. While seemingly straightforward, understanding the technical intricacies behind this modification is crucial for a successful and safe installation. This guide delves into the components, principles, and potential challenges associated with installing a 3-inch lift kit on a Nissan Xterra (typically model years 2005-2015, though similar principles apply to earlier models with some variations).
Understanding the Components of a 3-Inch Lift Kit
A typical 3-inch lift kit for an Xterra comprises several key components, each designed to address specific aspects of the vehicle's suspension geometry. It's important to note that quality varies greatly between kits, impacting performance and longevity. Generally, a good kit will include:
Front Suspension Components
- Front Strut Spacers or Extended Coilovers: Strut spacers are the most common and budget-friendly option. They mount on top of the existing front struts, effectively extending the overall strut length and pushing the suspension downwards. This provides the desired lift. More advanced kits may include extended coilovers, which replace the entire strut assembly with a longer and often more robust unit, offering improved ride quality and damping performance.
- Upper Control Arms (UCAs): A 3-inch lift significantly alters the front suspension geometry, potentially leading to ball joint binding and reduced droop travel. Aftermarket UCAs with improved ball joint angles and increased strength are often recommended (and sometimes required) to correct these issues and maintain proper suspension articulation. Not using them can accelerate wear on ball joints and negatively impact handling.
- Sway Bar End Links: Lifting the suspension changes the angle of the sway bar, potentially causing binding or limiting its effectiveness. Longer sway bar end links correct this geometry, ensuring the sway bar functions optimally.
Rear Suspension Components
- Lift Blocks or Add-a-Leafs (AALs) or Full Leaf Spring Packs: The rear suspension is typically lifted using either lift blocks placed between the axle and the leaf springs, add-a-leafs which are additional leaf springs inserted into the existing pack, or full leaf spring packs. Blocks are the simplest and cheapest, but can negatively affect ride quality and increase axle wrap. AALs provide a modest increase in load capacity and lift, while full leaf packs offer the best performance, ride quality, and load-carrying capability.
- Longer Shocks: Raising the rear suspension necessitates longer shocks to accommodate the increased travel. Using the stock shocks with a lift kit will limit downtravel and can lead to premature shock failure.
- Extended U-Bolts: If lift blocks are used, longer U-bolts are required to secure the axle to the leaf springs. It's critical that these U-bolts are high-quality and properly torqued to prevent axle slippage.
Other Considerations
- Brake Lines: Depending on the specific kit and the vehicle's condition, extending the brake lines may be necessary to prevent them from becoming overstressed during suspension articulation. Stainless steel braided lines are a popular upgrade offering improved durability and braking performance.
- Driveshaft Spacers or Carrier Bearing Drop Brackets: Lifting the vehicle can alter the driveline angles, potentially causing vibrations. Driveshaft spacers or carrier bearing drop brackets may be required to correct these angles and eliminate vibrations, especially on 4x4 models.
- Bump Stops: Extended bump stops prevent the suspension from bottoming out harshly, protecting the shocks and other suspension components.
- Alignment: A proper wheel alignment is absolutely essential after installing a lift kit. This ensures proper tire wear and handling characteristics.
The Mechanics of Lifting: Geometry and Forces
The seemingly simple act of lifting a vehicle dramatically affects its suspension geometry, which in turn influences handling, ride quality, and component wear. Understanding these changes is crucial for making informed decisions about the components you choose and the installation process.
Front Suspension Geometry Changes: Lifting the front suspension using strut spacers or extended coilovers increases the angle of the upper and lower control arms. This can lead to:
- Reduced Droop Travel: The increased angle of the control arms can limit the amount of downward travel the suspension can achieve before the ball joints bind.
- Increased Ball Joint Stress: The steeper angles put more stress on the ball joints, potentially leading to premature failure. This is where aftermarket UCAs come in, correcting the ball joint angle.
- Camber Issues: Lifting often introduces positive camber (the top of the tire leaning outwards), which can cause uneven tire wear. Aftermarket UCAs often include camber adjustment to compensate for this.
Rear Suspension Geometry Changes: Lifting the rear suspension affects the driveline angle and the leaf spring geometry. These changes can lead to:
- Driveline Vibrations: The increased angle between the transmission, driveshaft, and rear differential can cause vibrations, especially at higher speeds. Driveshaft spacers or carrier bearing drop brackets help to correct this angle.
- Axle Wrap: Under acceleration, the rear axle can rotate within the leaf springs (axle wrap), leading to wheel hop and reduced traction. This is more pronounced with lift blocks and can be mitigated with stronger leaf springs or traction bars.
- Altered Roll Center: The roll center of the vehicle is the theoretical point around which the vehicle rolls during cornering. Lifting the suspension changes the roll center, potentially affecting handling characteristics.
Installation Considerations and Potential Challenges
Installing a 3-inch lift kit is not a trivial task and should be undertaken with caution. It requires a good understanding of automotive mechanics, proper tools, and meticulous attention to detail. Some common challenges include:
- Rusty or Seized Hardware: Older vehicles, especially those exposed to harsh environments, often have rusty or seized bolts and nuts. Penetrating oil, heat, and patience are essential for dealing with these issues. Breaking bolts is a common occurrence and can significantly prolong the installation process.
- Spring Compression: Compressing coil springs, especially on the front struts, can be dangerous if not done properly. A quality spring compressor is essential. If you're not comfortable with this, it's best to have a professional install the front struts.
- Alignment Issues: Even with adjustable UCAs, achieving a perfect alignment after a lift can be challenging. It's best to find an alignment shop that is experienced with lifted vehicles.
- Brake Line Length: Determining whether extended brake lines are needed can be difficult. It's best to err on the side of caution and install them if there is any doubt. A snapped brake line off-road is a very bad situation.
- Driveline Vibrations: Addressing driveline vibrations can be a process of trial and error. Experimenting with different driveshaft spacer thicknesses or carrier bearing drop bracket adjustments may be necessary.
- Torque Specifications: Following the correct torque specifications for all bolts and nuts is crucial for safety and reliability. Using a torque wrench is essential.
Post-Installation Checks and Maintenance
After installing a lift kit, it's important to perform several checks and maintenance procedures to ensure proper operation and longevity:
- Wheel Alignment: As mentioned earlier, a professional wheel alignment is absolutely essential.
- Torque Check: After driving a few hundred miles, re-torque all the suspension bolts and nuts, especially the U-bolts.
- Brake Line Inspection: Regularly inspect the brake lines for any signs of wear or rubbing.
- Ball Joint Inspection: Inspect the ball joints for any signs of play or damage.
- Driveline Vibration Monitoring: Monitor for any signs of driveline vibrations and address them promptly.
In conclusion, installing a 3-inch lift kit on a Nissan Xterra is a complex but rewarding modification. By understanding the components involved, the changes to suspension geometry, and the potential challenges, you can make informed decisions and ensure a safe and successful installation. Remember to prioritize safety and consult with a qualified mechanic if you have any doubts or concerns.