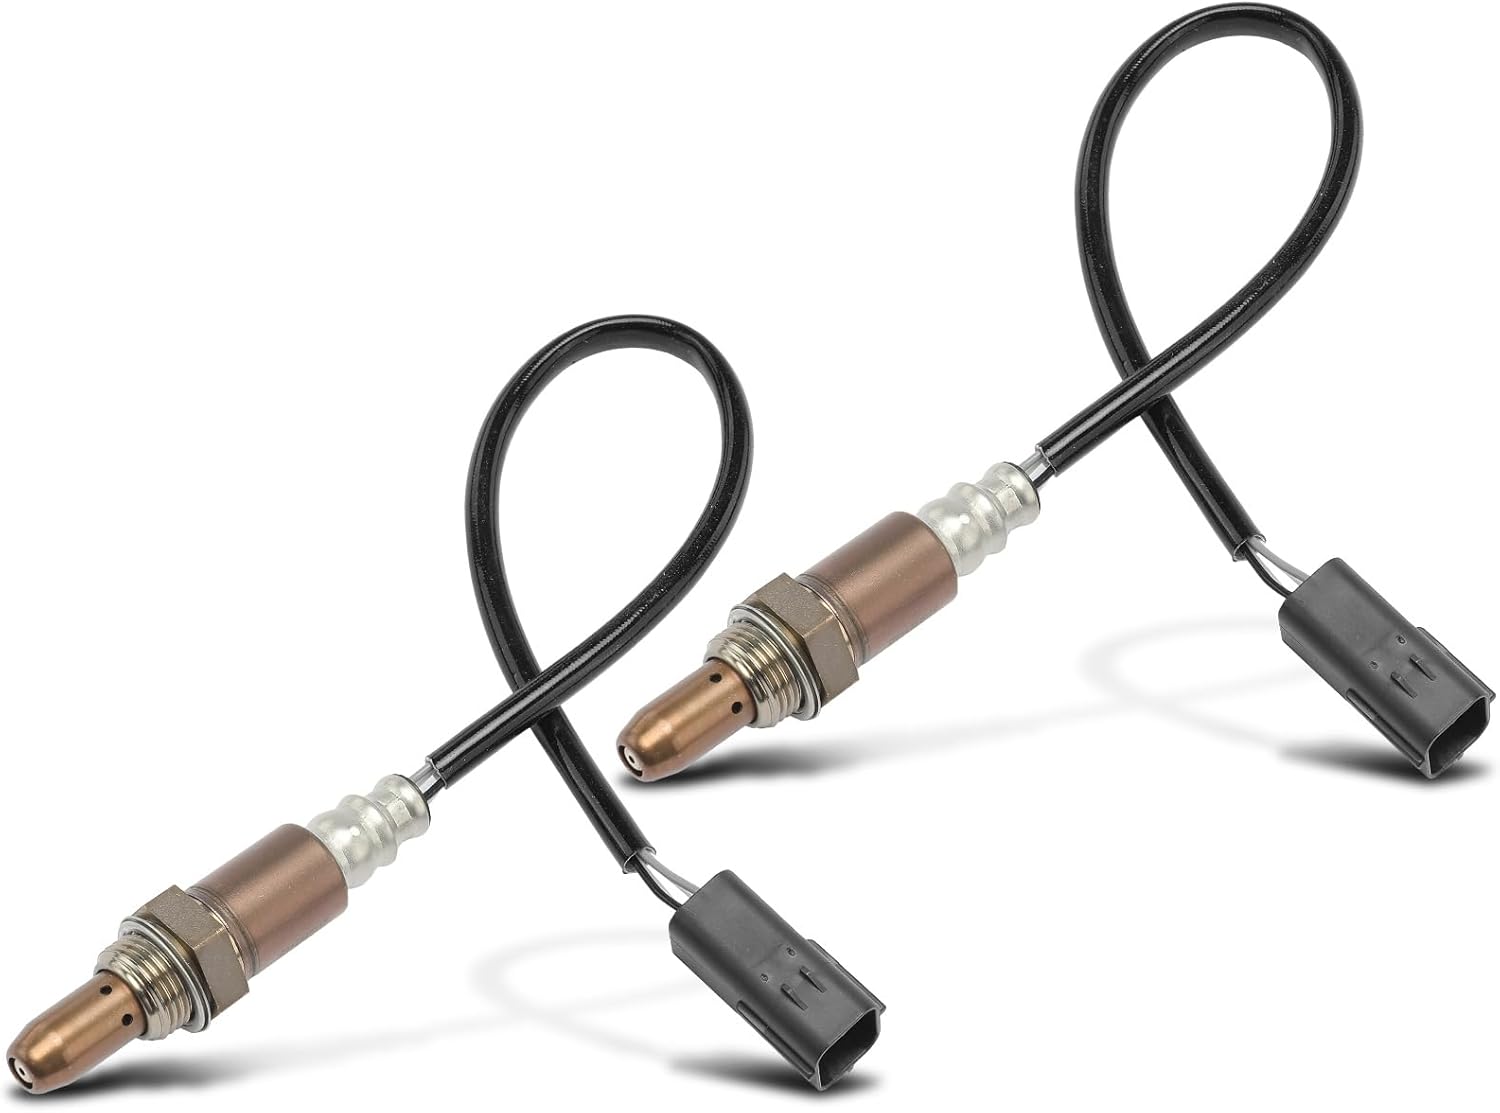
O2 Sensor 2009 Nissan Murano
Alright, let's dive into the O2 sensor on your 2009 Nissan Murano, specifically Sensor 2. This isn't a 'beginner' level fix, but with a bit of knowledge and the right tools, you can tackle it. We'll cover its function, troubleshooting, replacement, and some common pitfalls to avoid. Consider this your advanced guide to handling this specific component.
Understanding Oxygen Sensors: Bank 1 vs. Bank 2 and Sensor 1 vs. Sensor 2
First, it's crucial to understand the terminology. Your Murano, like many V6 engines, has two banks of cylinders: Bank 1 and Bank 2. Bank 1 is generally the side of the engine containing cylinder #1. Determining which side that is varies by engine design, but a service manual or online diagram specific to your Murano's engine will clarify this. Bank 2 is, naturally, the other side.
Each bank has at least one, and often two, oxygen sensors. Sensor 1 is the upstream sensor – located before the catalytic converter. Its primary job is to measure the oxygen content in the exhaust gas *before* it enters the converter. This data is critical for the Engine Control Module (ECM), also known as the Powertrain Control Module (PCM), to calculate the air-fuel ratio needed for optimal engine performance and emissions. Sensor 2, the one we’re focusing on, is the downstream sensor. It's located after the catalytic converter.
Sensor 2's main job is to monitor the efficiency of the catalytic converter. It measures the oxygen content in the exhaust *after* it has passed through the converter. The ECM compares the readings from Sensor 1 and Sensor 2. If the catalytic converter is working correctly, it should significantly reduce the oxygen content in the exhaust. If the difference between the readings of Sensor 1 and Sensor 2 is too small, the ECM will assume the catalytic converter is failing and trigger a Check Engine Light (CEL), often with codes like P0420 or P0430 (Catalyst System Efficiency Below Threshold).
The Role of Sensor 2: Beyond Catalytic Converter Monitoring
While primarily for catalyst monitoring, Sensor 2 also provides feedback for fine-tuning the air-fuel mixture, though its influence is less direct than Sensor 1. The ECM uses Sensor 2 data to verify the performance of Sensor 1 and to make minor adjustments to ensure optimal emissions. Think of it as a secondary check and balance system.
Troubleshooting Sensor 2 Issues: Symptoms and Diagnostic Codes
A failing Sensor 2 can manifest in several ways, but the most common is the dreaded Check Engine Light. Here are some key indicators:
- Check Engine Light: This is the most obvious symptom. You'll need an OBD-II scanner to read the diagnostic trouble codes (DTCs).
- Diagnostic Trouble Codes (DTCs): The most common codes associated with Sensor 2 issues are:
- P0137: O2 Sensor Circuit Low Voltage (Bank 1, Sensor 2)
- P0138: O2 Sensor Circuit High Voltage (Bank 1, Sensor 2)
- P0139: O2 Sensor Circuit Slow Response (Bank 1, Sensor 2)
- P0140: O2 Sensor Circuit No Activity Detected (Bank 1, Sensor 2)
- P0157: O2 Sensor Circuit Low Voltage (Bank 2, Sensor 2)
- P0158: O2 Sensor Circuit High Voltage (Bank 2, Sensor 2)
- P0159: O2 Sensor Circuit Slow Response (Bank 2, Sensor 2)
- P0160: O2 Sensor Circuit No Activity Detected (Bank 2, Sensor 2)
- P0420: Catalyst System Efficiency Below Threshold (Bank 1)
- P0430: Catalyst System Efficiency Below Threshold (Bank 2)
- Decreased Fuel Economy (Potentially): A faulty Sensor 2 can, in rare cases, indirectly affect fuel economy if it's providing inaccurate data to the ECM. However, this is less common than with a failing Sensor 1.
- Failed Emissions Test: If your Sensor 2 is malfunctioning, your Murano is likely to fail an emissions test.
Important Diagnostic Steps: Before you immediately replace the sensor, consider these steps:
- Read the Codes: Use an OBD-II scanner to retrieve the DTCs. Write them down.
- Research the Codes: Look up the specific codes online to understand the potential causes.
- Inspect the Wiring: Carefully examine the wiring harness and connector leading to the sensor. Look for damage, corrosion, or loose connections. A multimeter can be used to check for continuity and proper voltage.
- Check for Exhaust Leaks: Exhaust leaks *before* the catalytic converter can skew the readings of both Sensor 1 and Sensor 2, leading to false error codes. Listen for hissing sounds or visible signs of exhaust leakage.
- Live Data Analysis: If you have an advanced scan tool that can display live data, monitor the O2 sensor voltage readings. A healthy Sensor 2 should fluctuate, but within a narrower range than Sensor 1. A "lazy" sensor with slow response times or a sensor that is stuck at a constant voltage is likely failing.
- Consider Catalyst Condition: Remember that a P0420 or P0430 code *doesn't always mean the sensor is bad*. It can truly indicate a failing catalytic converter. If you've ruled out other causes, consider having the catalyst tested.
Replacing the Sensor 2: A Step-by-Step Guide
Once you've confirmed that the Sensor 2 is indeed the culprit, here's how to replace it:
- Gather Your Tools and Supplies:
- New O2 sensor (correct part number for your 2009 Murano)
- O2 sensor socket (a slotted socket specifically designed for O2 sensors)
- Wrench or socket set
- Penetrating oil (like PB Blaster)
- Torque wrench
- Gloves
- Safety glasses
- Wheel ramps or jack and jack stands (for under-vehicle access)
- Safety First: Allow the exhaust system to cool down completely. Working on a hot exhaust system is dangerous. Disconnect the negative battery cable to prevent electrical shorts.
- Access the Sensor: Depending on the location of the Sensor 2 on your Murano, you may need to raise the vehicle using ramps or a jack and jack stands. Ensure the vehicle is securely supported.
- Apply Penetrating Oil: Spray penetrating oil onto the threads of the old sensor where it screws into the exhaust pipe. Let it soak for at least 15-20 minutes to help loosen the sensor. This is crucial, as these sensors often seize.
- Remove the Old Sensor: Use the O2 sensor socket and a wrench or ratchet to carefully loosen and remove the old sensor. Apply steady, even pressure. If it's excessively tight, reapply penetrating oil and try again. Avoid stripping the threads! If the sensor refuses to budge, consider taking it to a professional to avoid damaging the exhaust system.
- Disconnect the Electrical Connector: Carefully disconnect the electrical connector from the old sensor. Note the orientation of the connector for easy reassembly.
- Install the New Sensor:
- Apply a small amount of anti-seize compound (usually included with the new sensor) to the threads of the new sensor. Do NOT get anti-seize compound on the sensor element itself.
- Carefully thread the new sensor into the exhaust pipe by hand until it's snug.
- Use the O2 sensor socket and torque wrench to tighten the sensor to the manufacturer's specified torque (usually around 30-35 ft-lbs). Overtightening can damage the sensor or the exhaust pipe.
- Reconnect the electrical connector. Ensure it clicks securely into place.
- Double-Check Everything: Make sure all connections are secure and that the wiring is properly routed away from hot exhaust components.
- Reconnect the Battery: Reconnect the negative battery cable.
- Clear the DTCs: Use your OBD-II scanner to clear the DTCs from the ECM.
- Test Drive: Take the Murano for a test drive to ensure the Check Engine Light doesn't reappear and that the vehicle is running smoothly.
Common Pitfalls and Considerations
- Using the Wrong Sensor: Make sure you get the correct part number for your specific year, make, and model. O2 sensors are not universally interchangeable.
- Stripping the Threads: As mentioned before, be careful not to strip the threads when removing or installing the sensor. Plenty of penetrating oil and patience are key.
- Contaminating the Sensor: Avoid touching the sensor element. Contaminants like oil, grease, or anti-seize compound can damage the sensor and affect its performance.
- Exhaust Leaks: As previously emphasized, exhaust leaks can mimic a failing O2 sensor or catalytic converter. Address any exhaust leaks before replacing the sensor.
- Ignoring Other Codes: If you have multiple DTCs, address the most fundamental issues first. A problem with the engine's air-fuel ratio, for example, could trigger secondary O2 sensor codes.
- Catalytic Converter Condition: A faulty catalytic converter will trigger a P0420 or P0430 code regardless of the condition of the O2 sensor. Have the catalyst tested if you suspect it might be the issue.
- Wiring Issues: Don't overlook the wiring harness. Inspect it for damage, corrosion, or loose connections. Use a multimeter to check for continuity and voltage.
When to Seek Professional Help
While this guide is designed for experienced DIYers, there are times when it's best to seek professional help:
- You're Unsure About the Diagnosis: If you're not confident in your ability to diagnose the problem accurately, it's best to consult a qualified mechanic.
- You Can't Remove the Old Sensor: If the sensor is seized and you're unable to remove it without risking damage to the exhaust system, let a professional handle it.
- You Lack the Necessary Tools or Equipment: If you don't have the proper tools or equipment, such as an O2 sensor socket or a torque wrench, it's best to have a professional do the job.
- You're Not Comfortable Working Under the Vehicle: If you're not comfortable working under the vehicle, it's best to let a professional handle it.
Replacing the Sensor 2 on your 2009 Nissan Murano is a task that can be accomplished with the right knowledge and tools. By following these steps and avoiding common pitfalls, you can potentially save money and keep your Murano running smoothly. Remember to prioritize safety and seek professional help when needed. Good luck!